
DIY Fabric Jar Opener – Easy 10-Minute Sewing Project


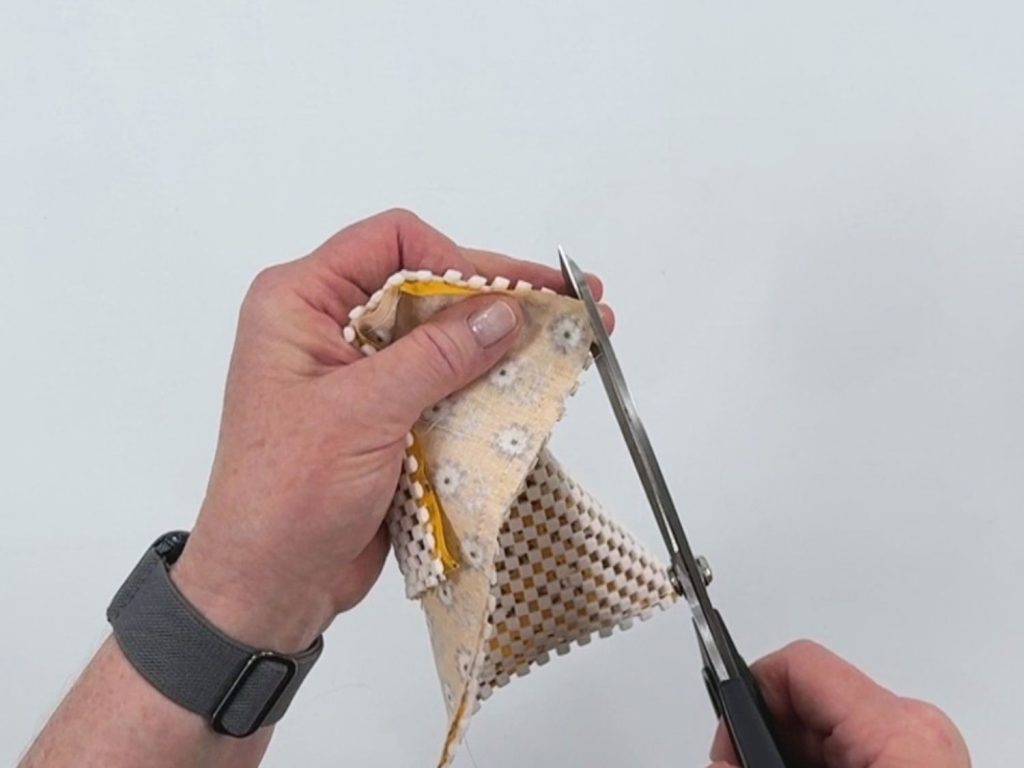
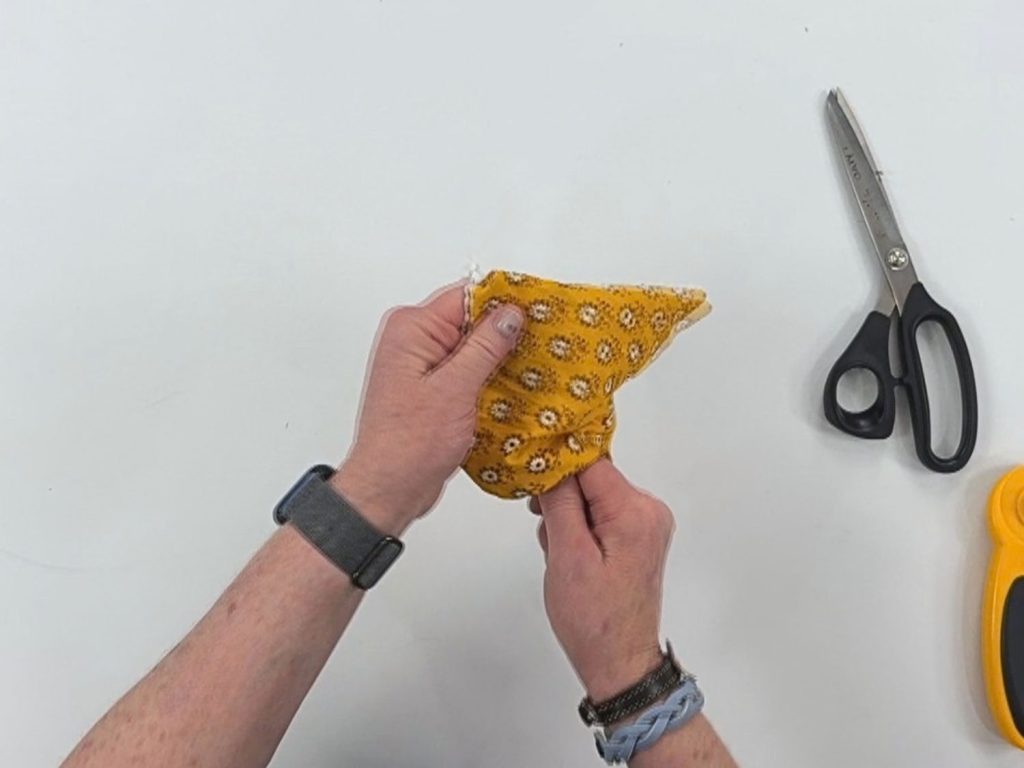
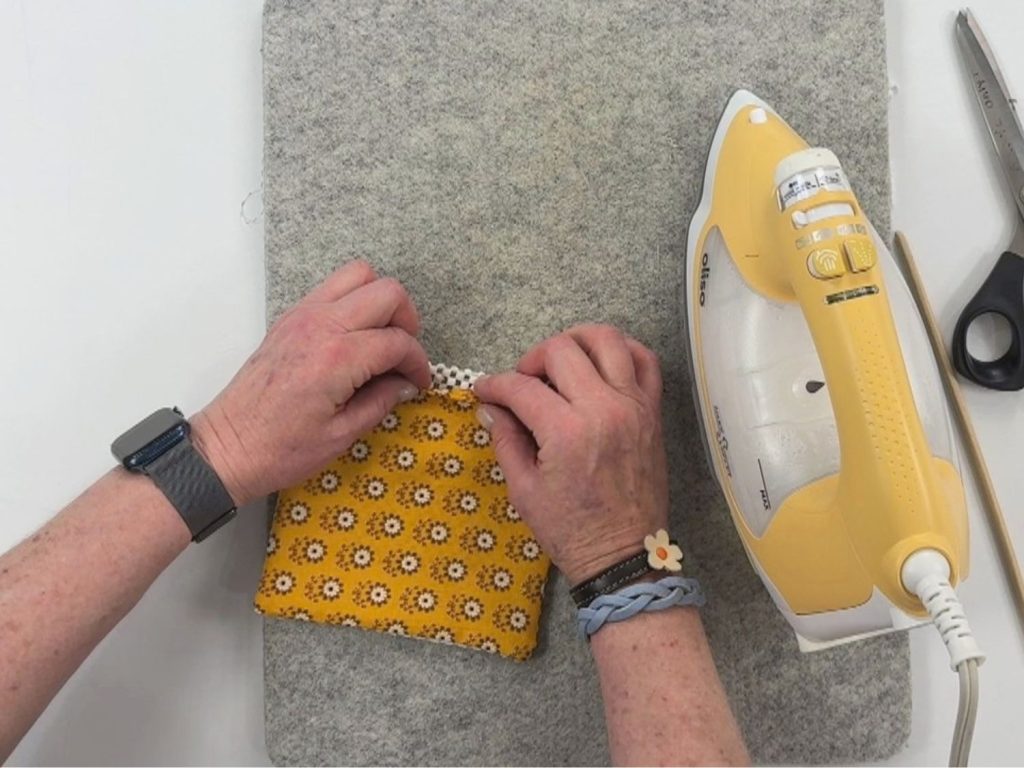
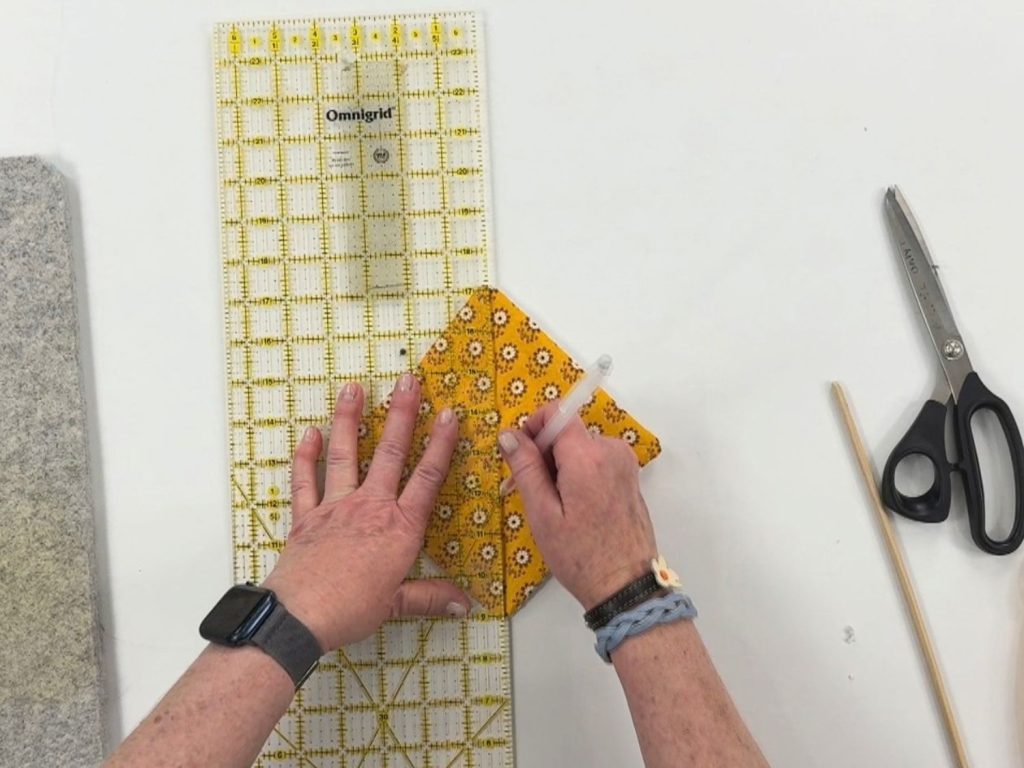
7. Mark the Diagonal Quilting Lines
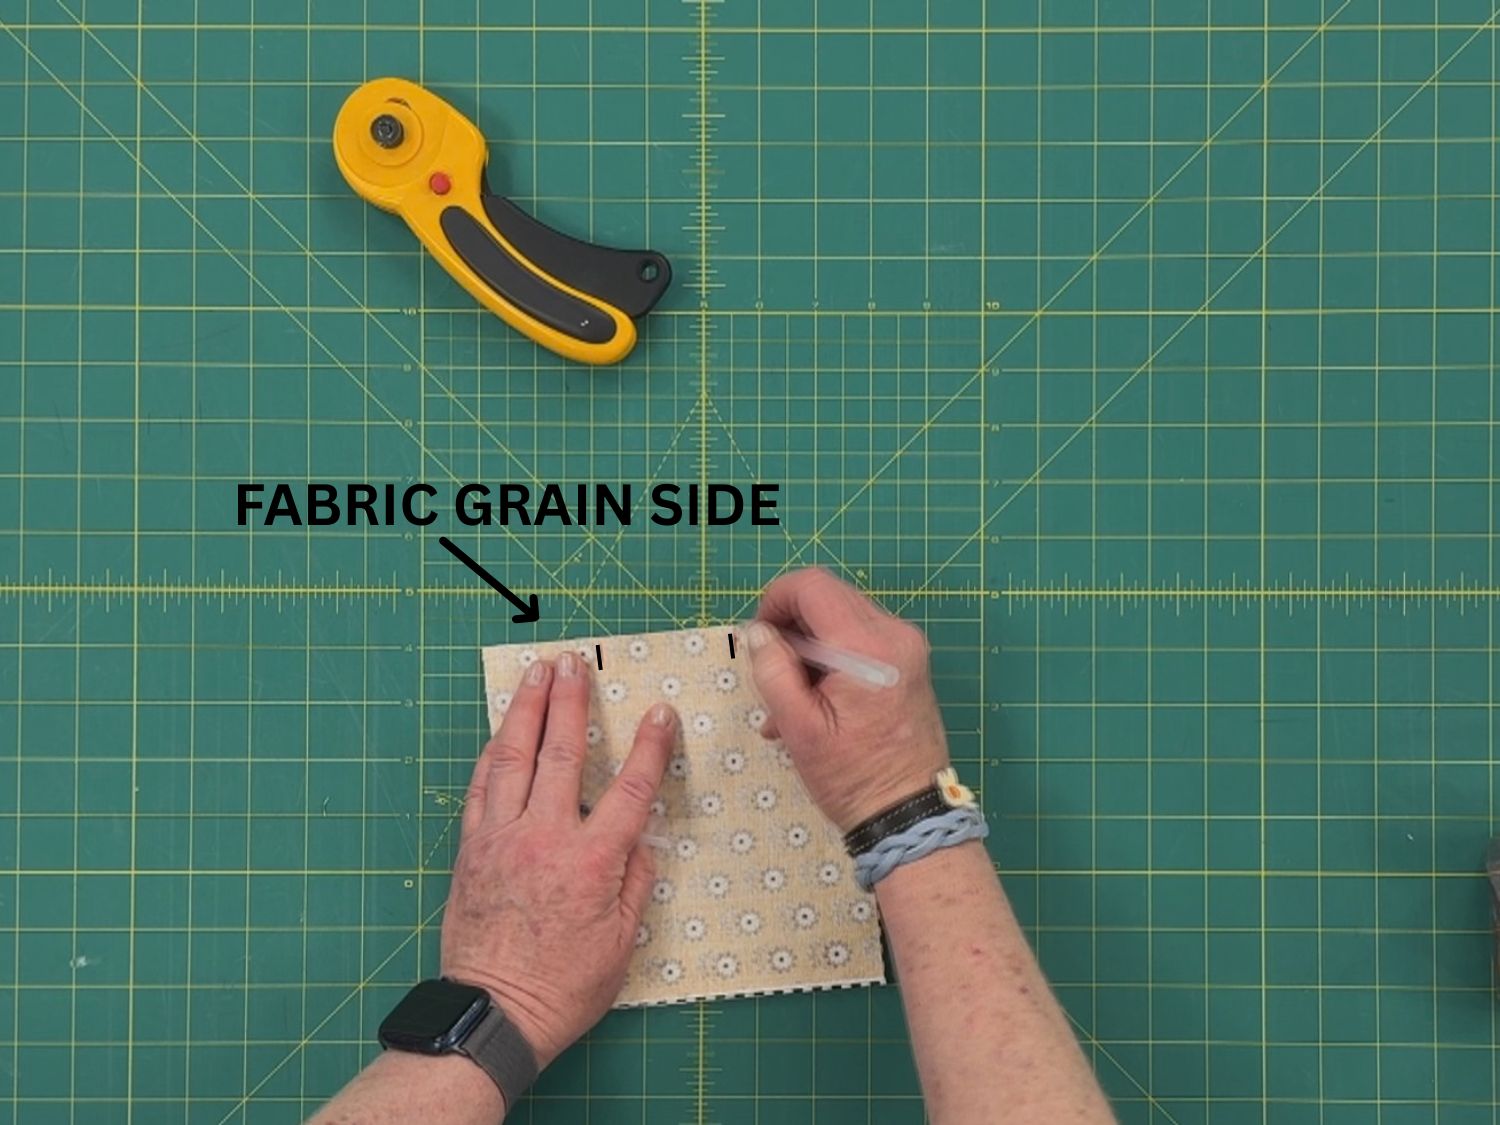
Using a removable fabric marking pen, draw a diagonal line from one corner to the opposite corner.
Repeat with the other two corners so you have a large X across the jar opener.
I like using a heat-erasable marking pen because the lines disappear when heat is applied.
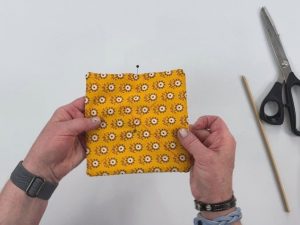 Place a pin in the center to keep the two layers from shifting while you sew.
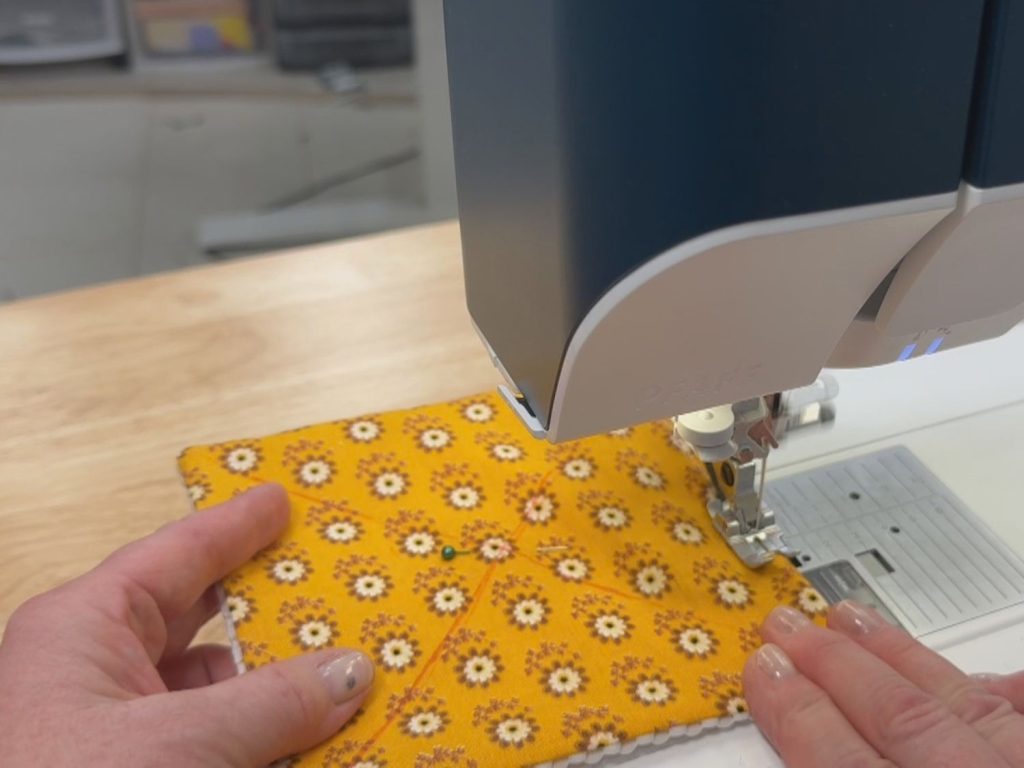
8. Topstitch Around the Jar Opener
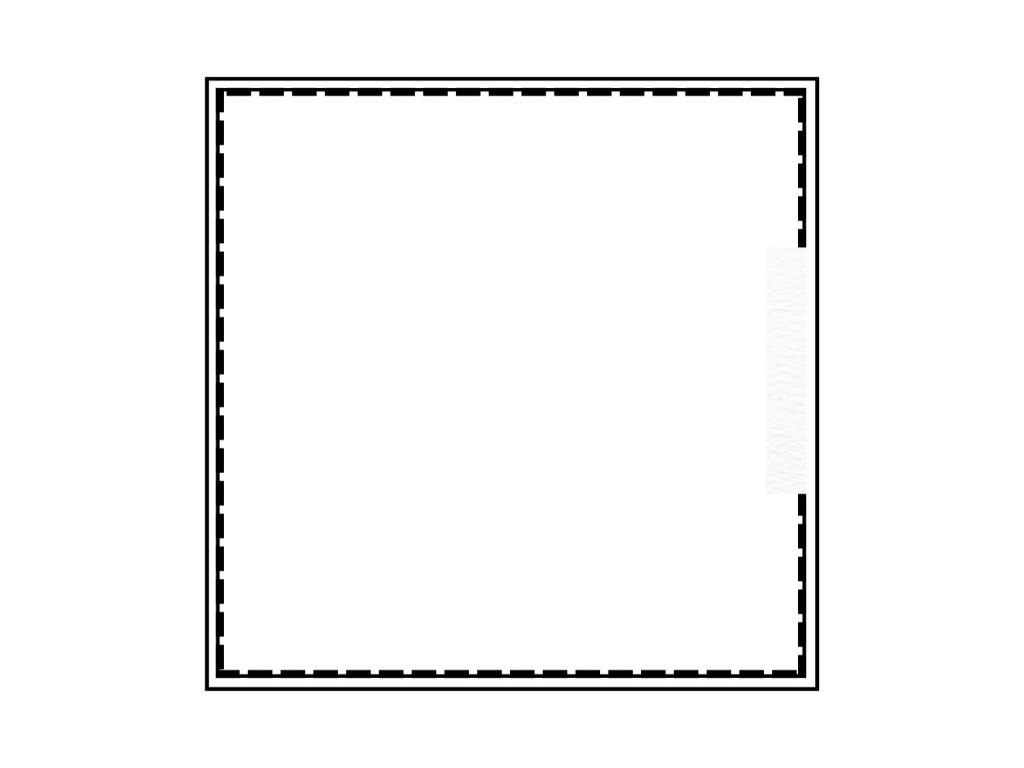
Topstitch around the outside edge using approximately a ⅛-inch seam allowance.
This topstitching will also close the opening you used for turning.

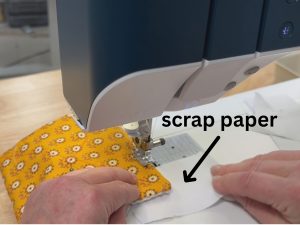 Here’s a little trick that makes sewing the shelf liner much easier:
Grab four small scraps of regular paper.
As you approach each corner, slide a little piece of paper underneath the corner of the jar opener.
The paper gives the feed dogs something to grab onto and helps keep the shelf liner moving smoothly through the sewing machine.
Another sewing tip: Hold onto the top thread for the first few stitches when you begin topstitching. This can help prevent those annoying tangled or “bird’s nest” stitches from forming underneath.
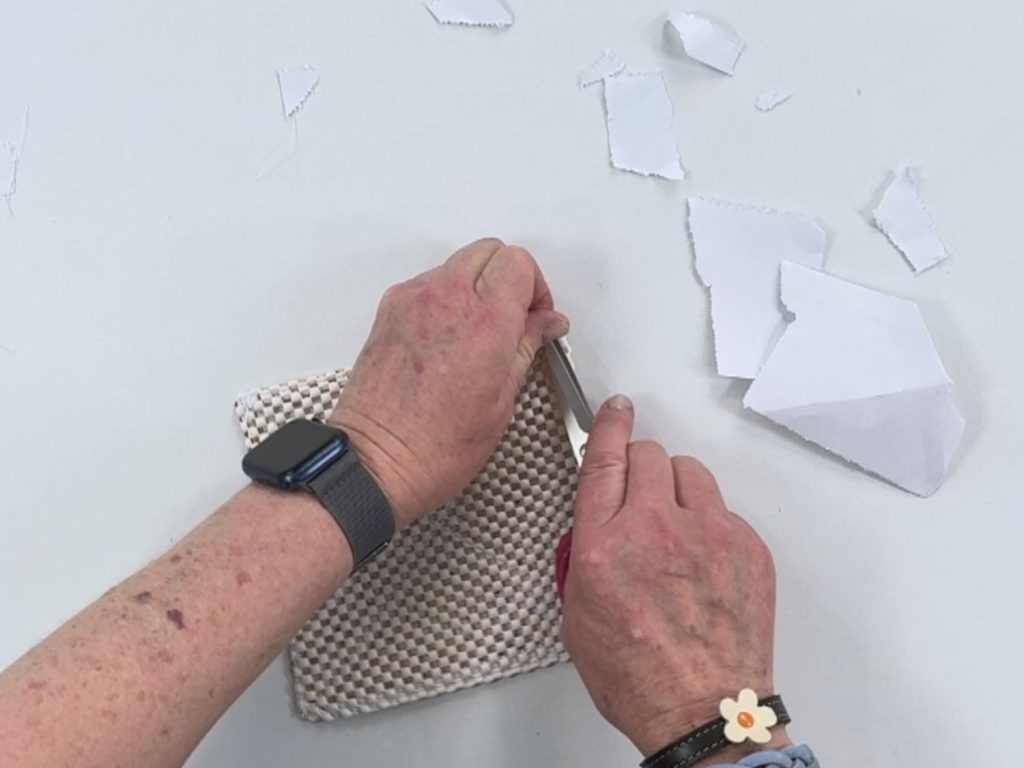


Have fun sewing!


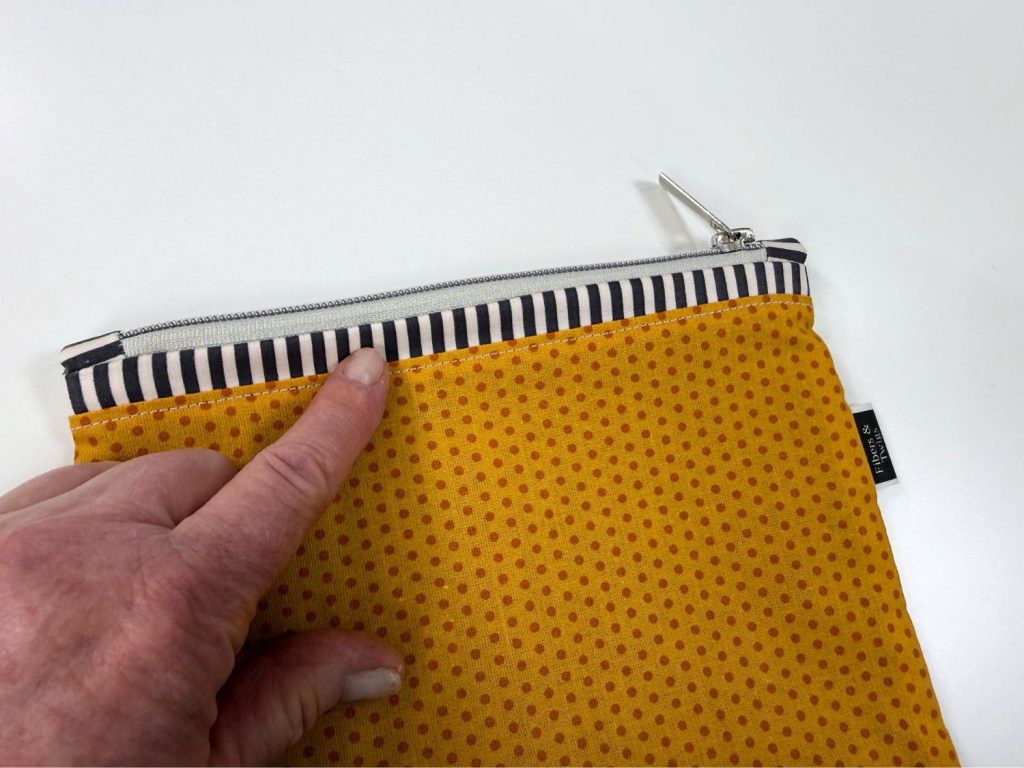
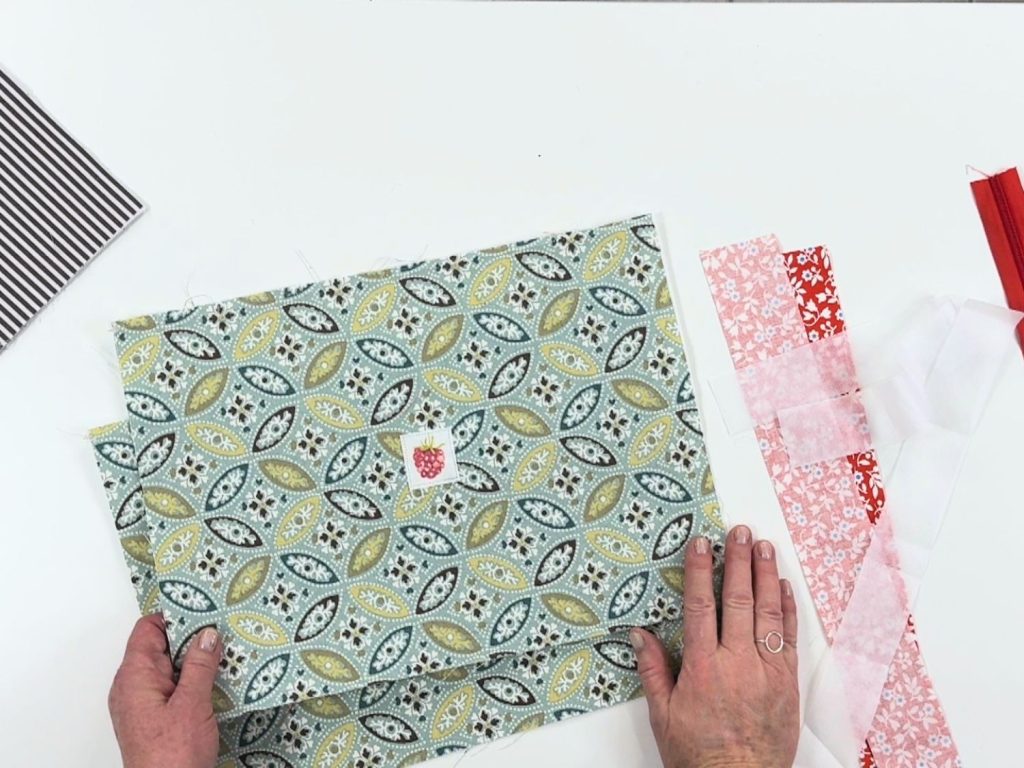
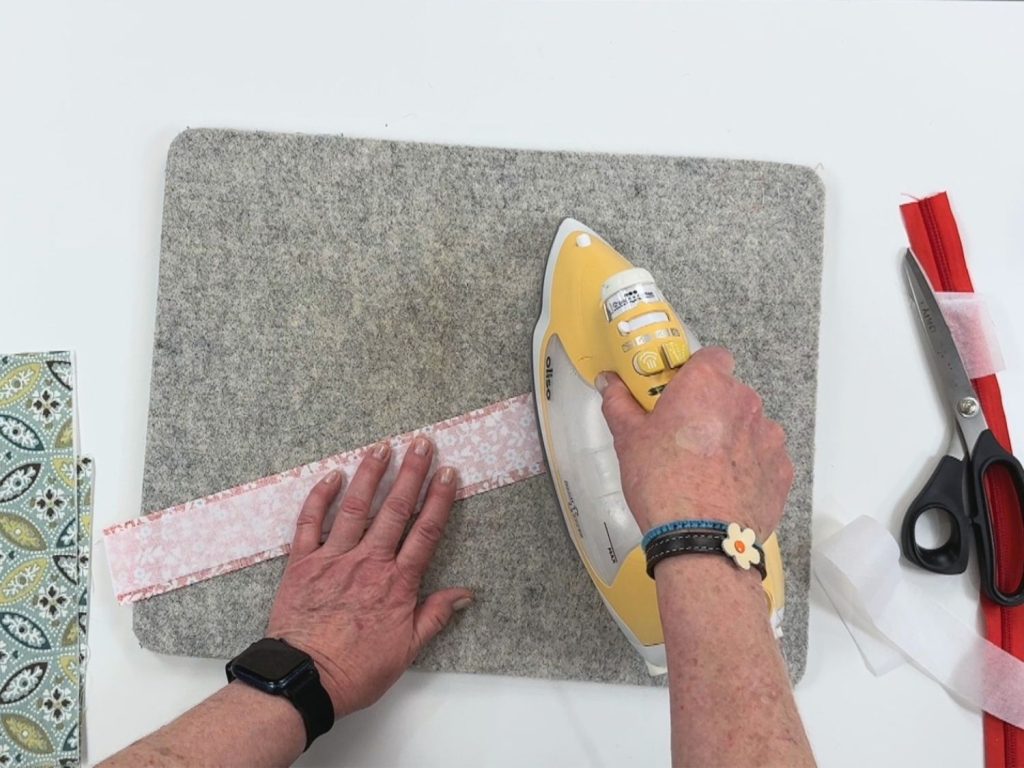
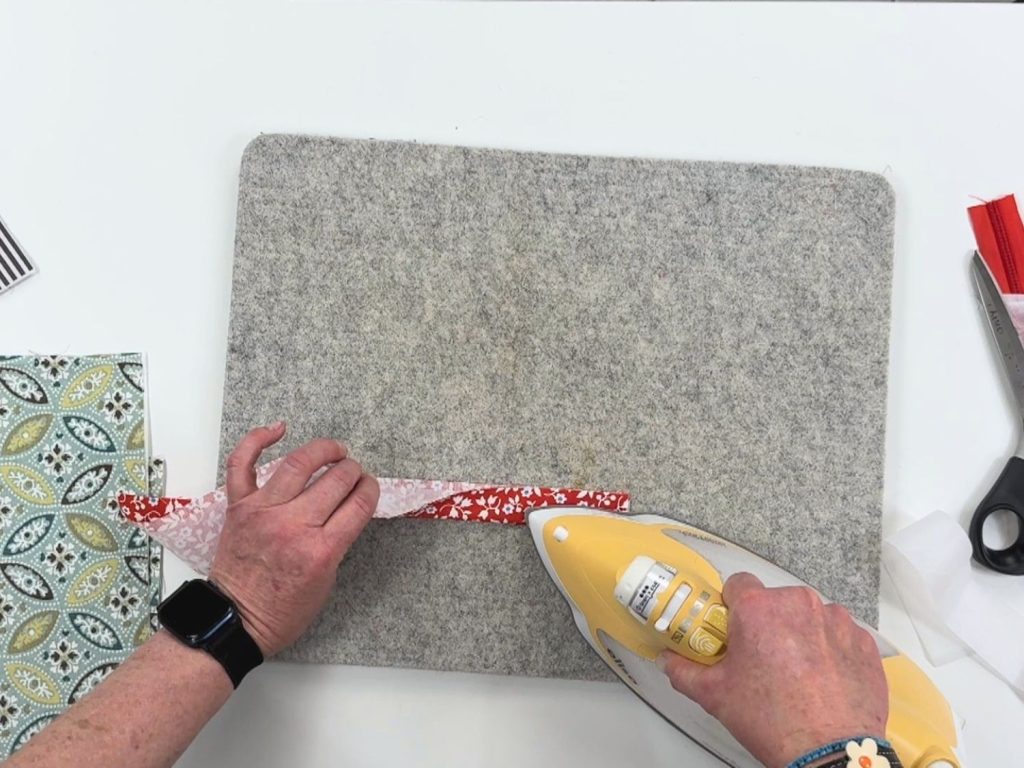
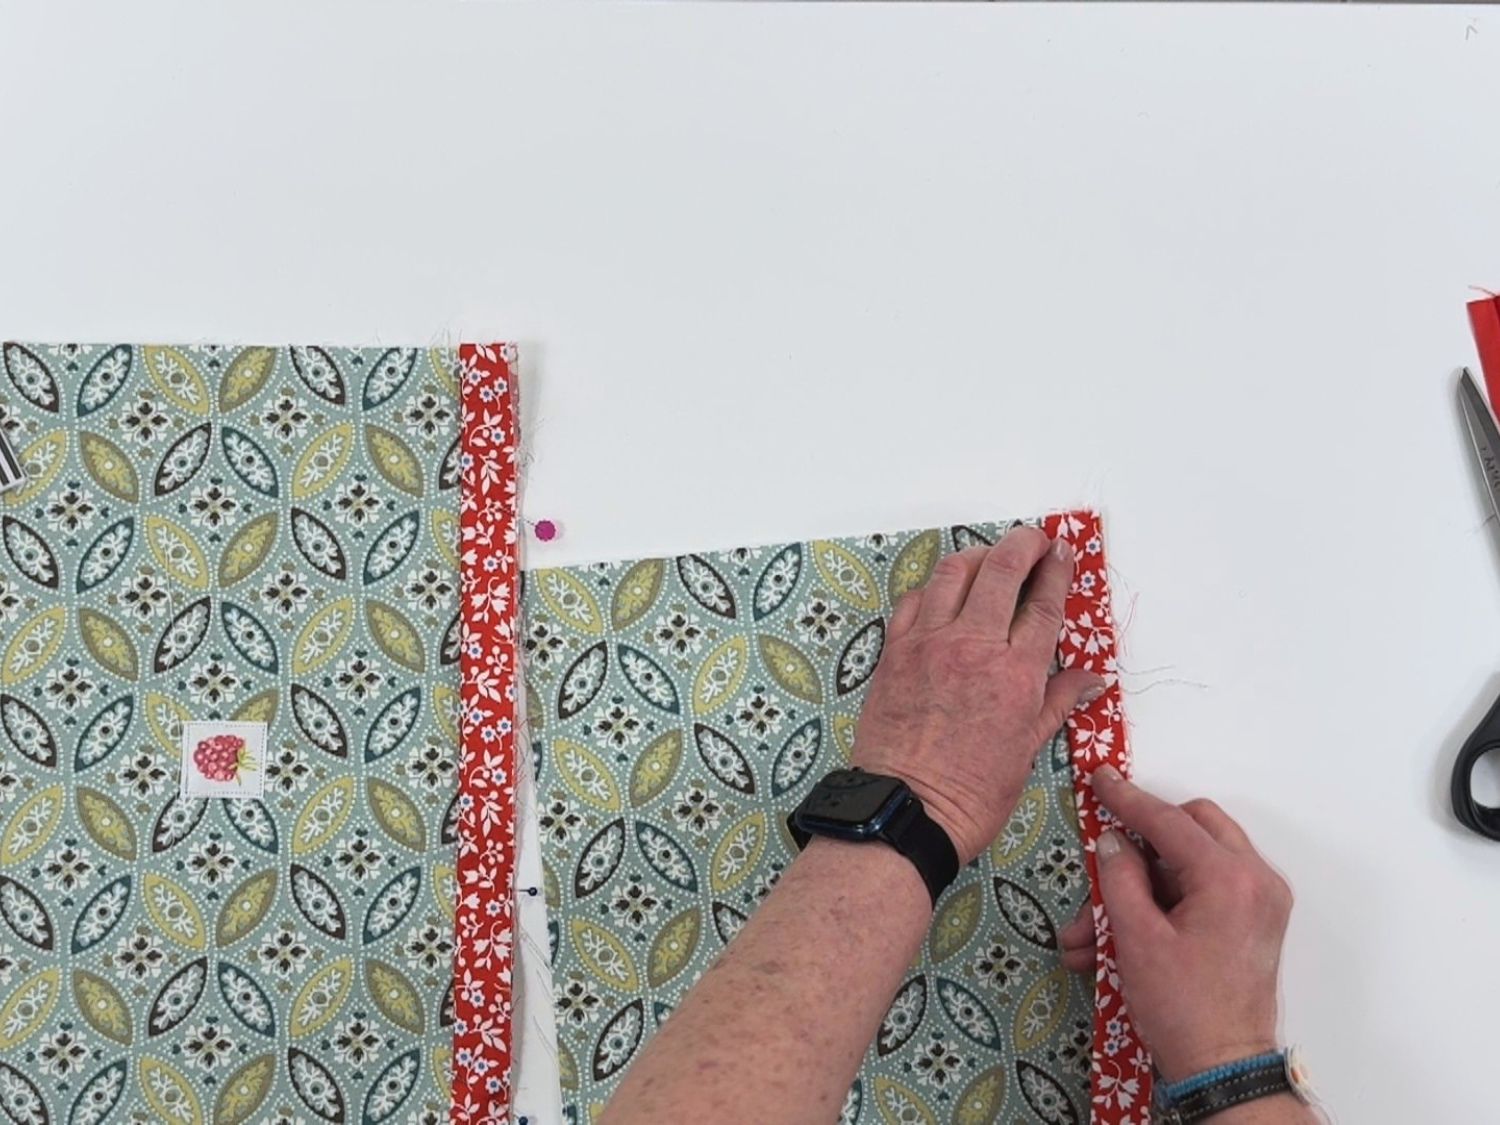
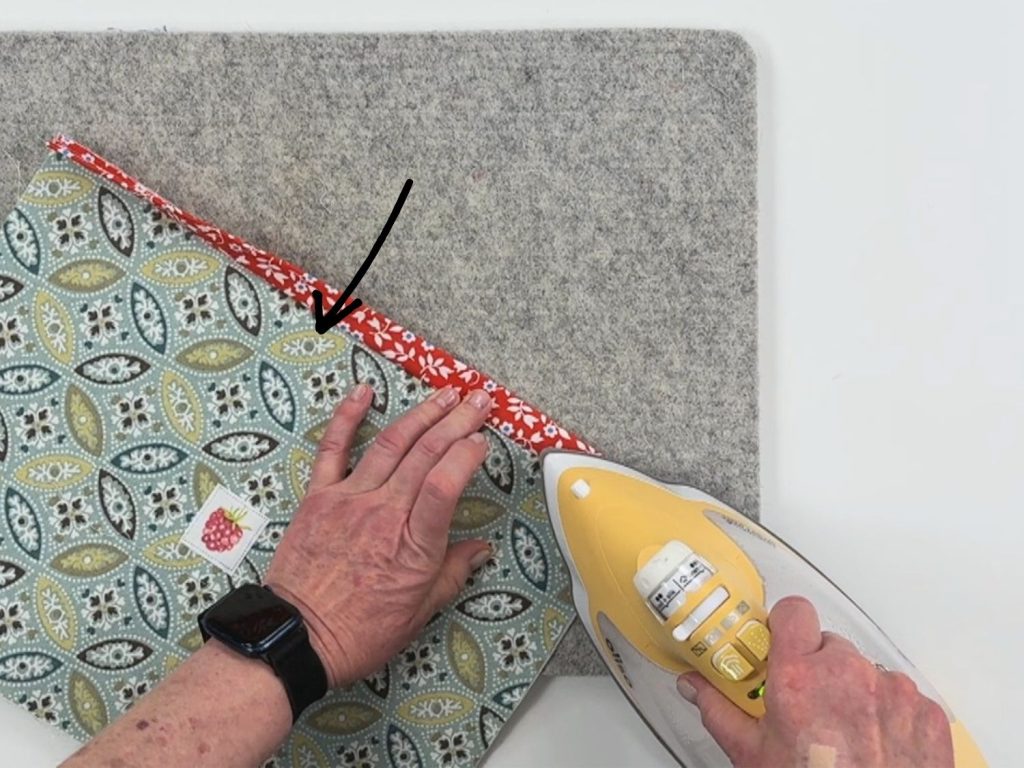
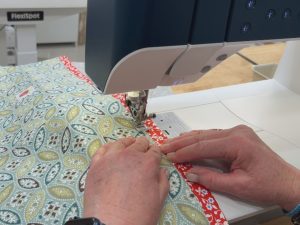 Topstitch approximately ⅛ inch from the seam.
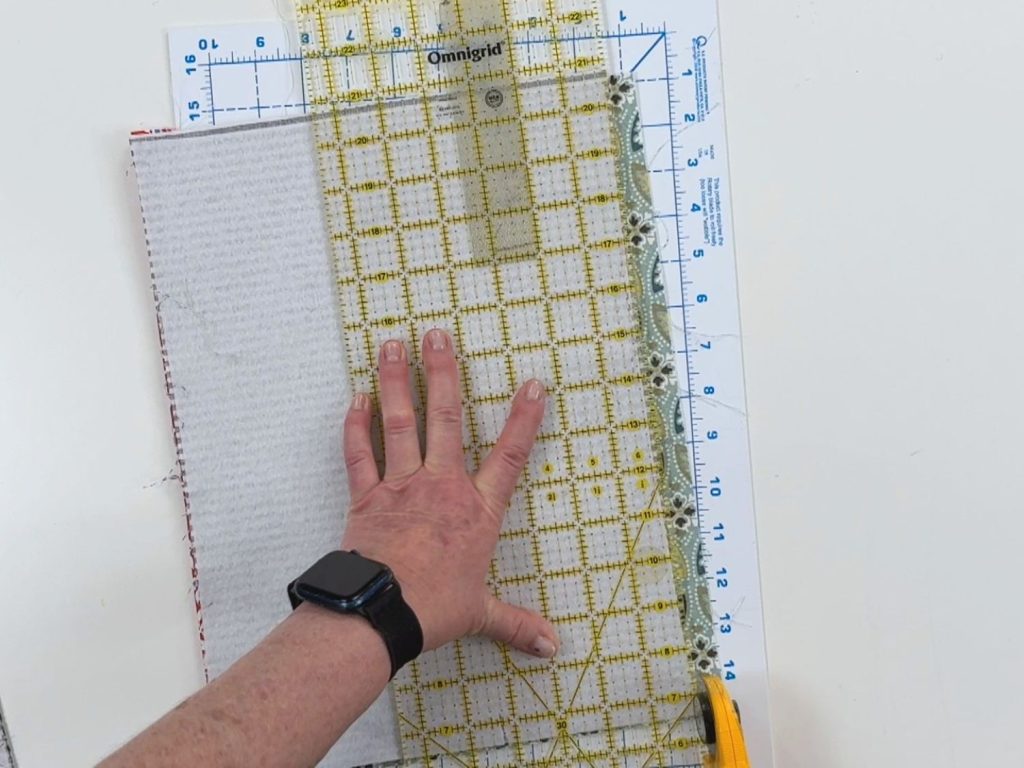
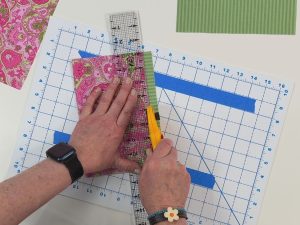 Trim the panels back to the correct size.
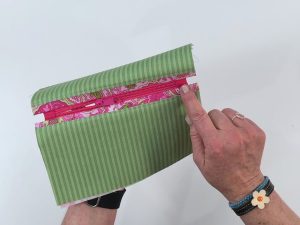 Next, prepare your zipper and add the zipper tabs as you normally would.

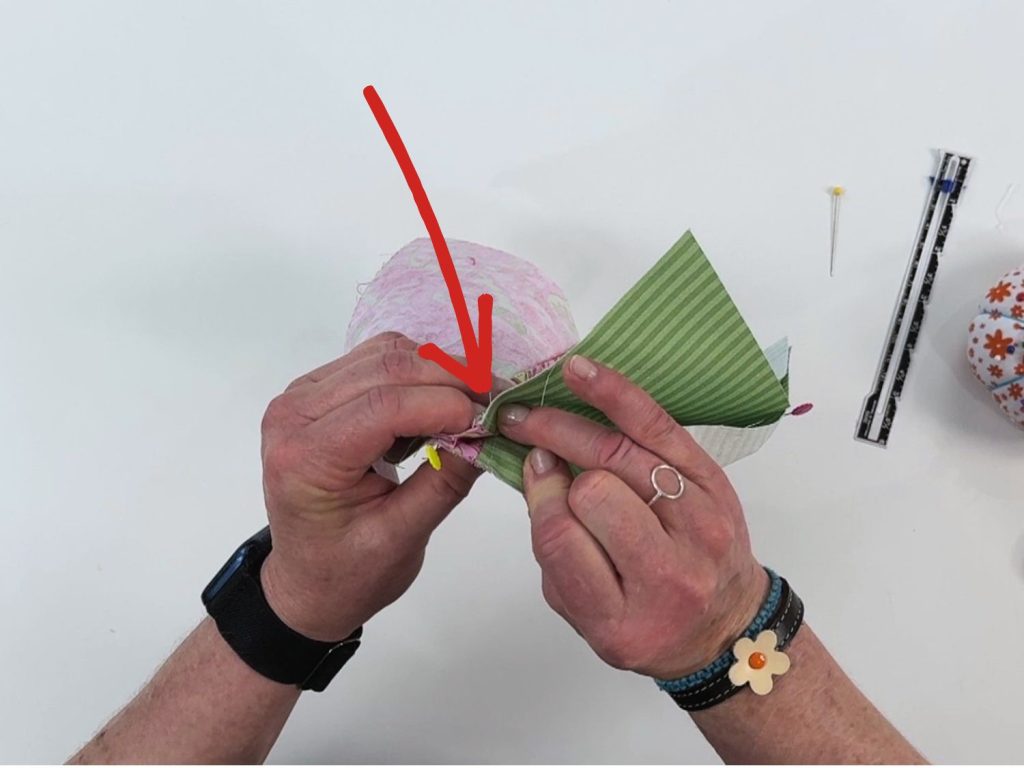
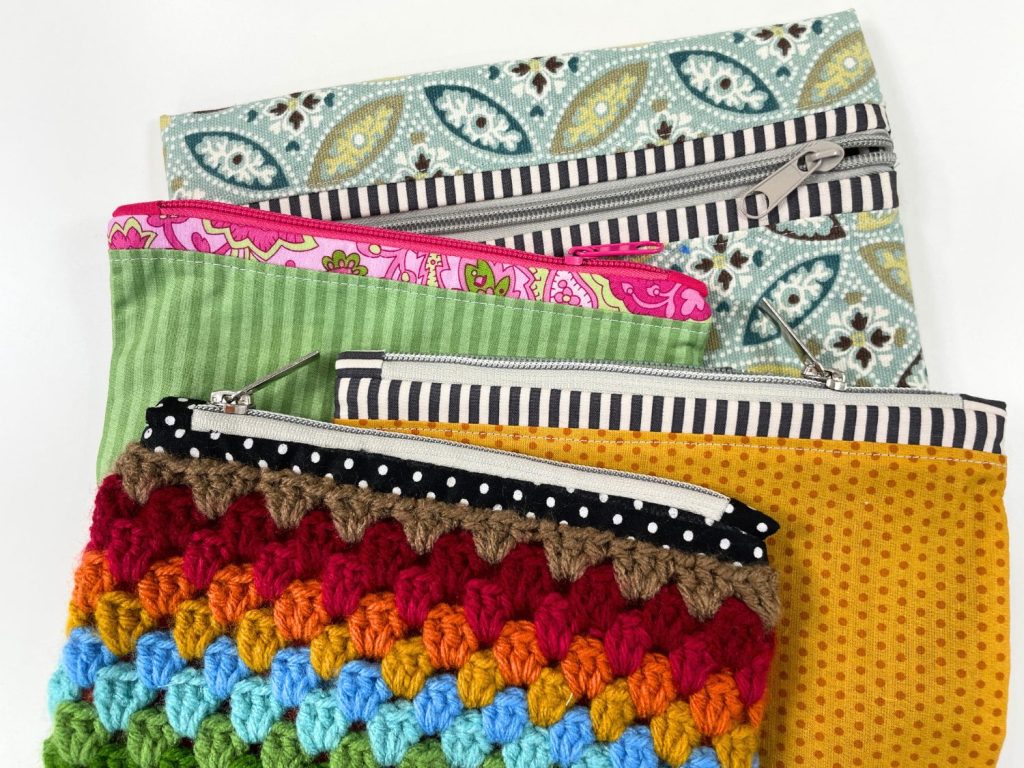
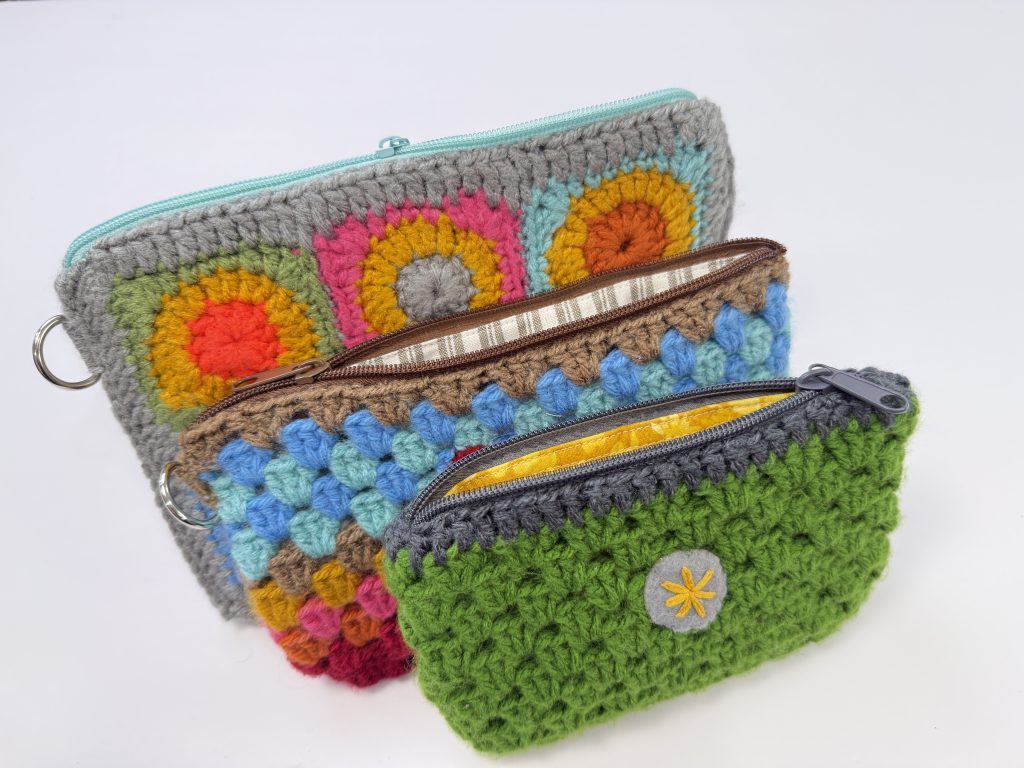
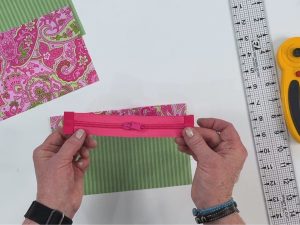 Mark your zipper placement points and sew the zipper into the pouch according to your pattern instructions.


 Ingredients
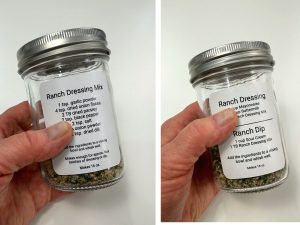
 Makes about 2 cups of ranch dressing.




 It’s made with a blend of essential oils that insects dislike, and unlike many DIY recipes you’ll find online, this one doesn’t rely on phototoxic citrus oils that can make your skin more sensitive to sunlight.


 Press the seam open.


 Then turn everything right side out by pulling the towel through the opening you left unsewn.


 It’s a small detail—but it makes a big difference.


 This keeps everything flat and prevents those seam allowances from shifting and causing problems while you sew.


 Repeat this process until all five outer pentagons are attached around the center.


 You won’t match point to point.
 Match the point of one pentagon to the valley seam of the other half.


 If there are rivets in the jeans, try cutting just below them and through the belt loop.
 Remove the remaining belt loops by using a seam ripper.


 Clip or pin the pocket fabric and jean fly down in place.

 Mark with a pin. (I find that measuring about 4 ½ to 5 inches is about average.

 (A serger works great, but if you don’t have one, just sew a wide zigzag stitch along the edge).

 Pin the stretchy waistband to the jeans, lining up center points.

 If you’re good to go, then use a zigzag stitch (5 width, 3-4 in length) all the way around.


 To finish off the cut zipper, so the zipper pull doesn’t fall off or gape open, you can whip-stitch the top of the zipper together using a double-threaded needle.

 This project is also a great way to repurpose:


 Most woven fabrics come 43–44 inches wide, which works perfectly for this project.


 Sew down the side and bottom, using a ¼ inch seam allowance. Backstitch at the beginning and end of the seam.


 Step 4 – Topstitch


 Lightly singe zipper ends with a lighter to stop fraying.
 To apply the zipper pull, use a zipper jig or guide it on by hand. Make sure the fabric edges are lined up.




 TIP: If your machine doesn’t include a second spool pin, you can stack a wound bobbin on top of your main thread spool and secure it with a thread cap.


 Make sure your stitch is set to straight stitch and center needle position.


 To Make A Gridded Texture
 Decorative Stitches


 With this method, you can:


 Color and texture: Grab a mix of textures and colors for variety. Some colors—especially yellow, orange, green, or patterned wool—can be hard to find. If you see one you love, grab it!

 The men’s section at the thrift store often has large or extra-large sweaters that give you more usable fabric for the same price.


 Essential Oils:


 🧵 Example: I’ve made cozy sweater slippers using the cuff for the ankle band and stocking hats using the bottom ribbed edge of sweaters — they look just like they were knitted!
 One of my favorite parts to save is the cuff — those stretchy, ribbed edges on sleeves and hems.


 ***You will need to finish the edges of sweaters that may fray, such as a cotton sweater.


 ❌ Avoid straight stitches when sewing on any stretchy fabrics — they’ll pop when the fabric stretches!


 Important: After sewing, wash your project before wearing or using, to dissolve the tape before stretching the fabric — otherwise, your stitches may pop.


 Topping (optional but delicious):


 Find a cover that suits your personality and style. (I like to change my planner cover every few years just for a change.)


 6. Trim corners and press seam open.


 Tip: Use an existing pouch or gather the items you plan to store in the bag.


 You’ll cut:


 Box Cut = 1/2 of the desired finished height minus 3/4 inch seam allowance.

 Tip: Always account for the seam allowance when marking your box corners!


 This is an excellent tip: when you’re making that box corner,


 (A great way to use up some yarn scraps.)


 Skip two stitches and continue making clusters of three until you get to the beginning of that row. (Making the last cluster in the previous stitch on that side.
 Slip stitch into the top of the first cluster stitch.

 Changing colors: On the last yarn-over of the final dc in a cluster, drop the old color, yarn-over with the new color, pull through, fasten tails snug, and crochet over them.


 Admire the seamless “where-did-it-end?” edge.


 1. Pour the tomatoes into a large bowl and crush them with your hands. (yep, this is the fun part)
 Add 1 cup of water to the empty can or bowl to get all the tomato juices. Set aside.
 2. Heat the olive oil over medium heat in a large skillet (not a deep pot).
 5. Place a basil sprig on top of the sauce. Let it wilt in as the sauce simmers.
 6. Cook until the sauce thickens and the oil turns a rich orange/red—about 15 minutes.


 Step 5: Topstitch Around the Zipper Box


 When we placed the quilt on the frame earlier, we made the backing fabric slightly larger than the top. So now we need to trim off that excess.


 I like using a simple 5 lb hand weight placed on the ruler. This adds stability, especially when using the longer ruler.


 Vinyl Version:


 Sew the Zipper:
 Topstitch:


 Making a quilt is a rewarding experience. There’s just something special about piecing colorful fabrics together, tying or quilting them, and connecting with others.
 If you missed
 I chose a striped cotton fabric for the top and a neutral-colored flannel for the backing.


 For the batting, I’m using pre-cut cotton batting that comes in a 45” x 60” package, which works well for crib-sized quilts, however, I’m going to cut it down for this small quilt.
 Mark the halfway points on your quilt top and backing fabric by folding each side in half and mark the center point using a pin or erasable fabric marker.
 This will help align everything evenly during setup.


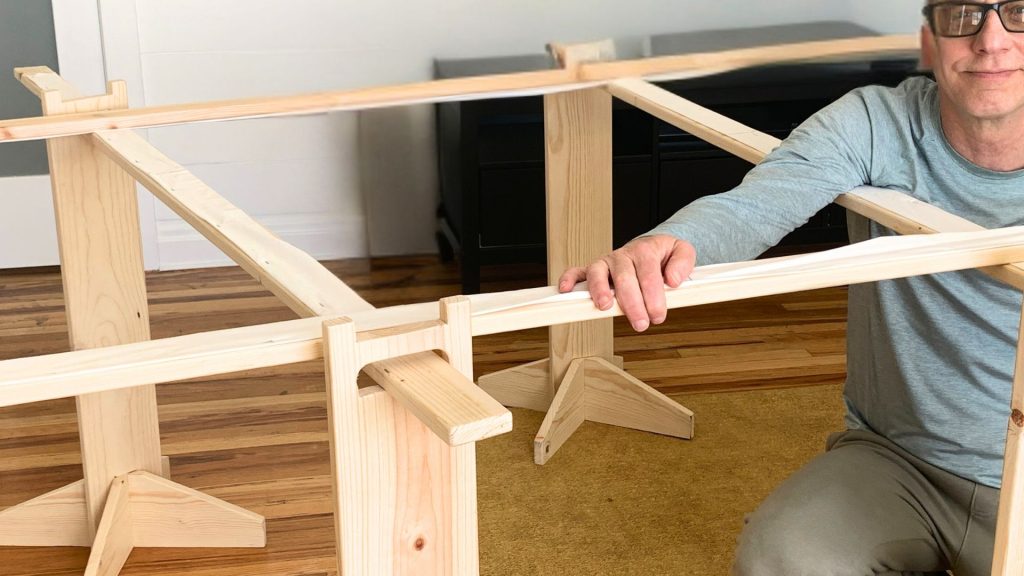
 Now, you can start to move the stands and boards further apart.
 6- Secure the frame with C-clamps. Adjust the crossing points of the boards so the fabric lays even and is squared, then tighten the C-clamps at each corner. (You should not see any pulling or stretching of the fabric).

 9- Adjust C Clamps. At this stage, go around to all the C clamps and loosen and tighten them to adjust the fabric so it is squared up and the quilt top is smooth but NOT PULLED TIGHT!


 Hand quilting was a tradition that brought people together, sharing stories, laughter, and creativity while making something beautiful and practical.




 As a child, I’d watch them sew quilts, clothing, and home décor, and I loved joining them on trips to the fabric store.


 I have been saving bright-colored fabrics, bright flannels, and, you know, things that I like.


 3- Organize by Category
 I love my repurposed glass cookie jar. It is “eye candy” and allows me to see what I have available.


 Bring the ball to the center of your foot in zone 1 and apply pressure on and off.


 Rosemary is a perennial evergreen shrub with little blue flowers.


 Add the bagged pecans to a coffee mug.


 Step 1: Cutting the Straws


 Step 4: Making a Loop for Hanging


 Kids love wearing an apron as well. The PDF pattern comes with a child size.


 They’re perfect for keeping things handy, like a cell phone, scissors, pens, or even garden tools.

 Utility aprons are perfect for holding nails, my measuring tape, and, of course, my cell phone while I work.
 Plus, they look pretty cute over jeans or a skirt—adding a bit of shabby chic style to your look.


 Wire Threaders:
 Hook Needle Threaders:


 They are available for


 A thread-pushing gadget I tried once broke on its second use and was more frustrating than helpful.


 I use this calendar to plan my menu and hang it on the fridge where everyone can see it.


 This calendar measures 6.75 inches (16.51) cm x 4.5 inches (11.43) cm.


 Once you reach the end, come back toward the center and then stitch toward the opposite end.
 Finish by returning to the center.

 Now stick the needle back through the center hole so the needle is now on the inside.


 Then fold the cover and inner pages in half like a book.


 Larger shirts, especially long-sleeve ones, provide a lot of yardage. I typically look for XXL shirts or bigger because the more fabric you get, the better!


 1- Remove Buttons: Snip off the buttons with scissors or a seam ripper.
 I love saving buttons! They come in handy for future sewing projects and add a bit of “eye candy” to your sewing room.
 2 – Cut Off the Hem: Use a rotary cutter or scissors to remove the hem at the bottom of the shirt.
 3 – Cut the Button and Buttonhole Panels: These panels don’t provide much fabric, so I toss them out.


 6 – Cut Off the Collar: Although there is very little fabric in a collar, I choose to just throw it away. You can disassemble if you choose and use the small scraps of fabric.


 8 – Press the Fabric: Before folding, press the fabric lightly to remove any major wrinkles.


 And for the really small scraps, I save in a cute little “upcycled” vintage jar.


 If you want to add a tag to the fabric blocks, this is a great time to do so. Baste the tag in place before sewing one of the side seams.


 Stuff the block with fiberfill, adding a jingle bell if you like. Continue stuffing until the block is firm but still soft and squishy.


 5- Stir one box of Sure-Jell for Less or No Sugar Needed Recipes Fruit Pectin into sugar.

 9- Fill containers with mixed strawberry jam, leaving ½ inch of space at the top for expansion.


 This keeps the presser foot level and allows the feed dogs to move the fabric through without getting it sucked down into the machine. (I’m sure you’ve experienced it). It is so frustrating.
 ***I keep many scrap pieces close to my machine in a little pouch on my sewing supply holder.


 To avoid this, adjust your stitch length from 2.5 to 3 and gently pull back the threads from the needle and bobbin when you begin stitching. Take a few stitches and let them go.


 At the end of a seam, sew to the end of the fabric, maybe one stitch off the fabric, then lift the presser foot, pull the fabric back slightly, flip it over, and align the edge with the needle before continuing to sew. Sew a few inches, then veer quickly off.


 1- Lay your t-shirt wrong side facing out on the ironing board
 3- Cut a small square of the interfacing about 1 x 1 inch
 6- Center and place the webbing on top of the hole
 9- Place the hot iron on the patch and press for 10 seconds (DON’T MOVE THE IRON AROUND).
 11- Gently take your fingernails and close the hole by pressing the edges of the hole together.


 The apron is handy for working in the garden, around the house, and even as a vendor’s apron.

 This method of cooking, especially if you’re just cooking for one or two people, will save you so much time.

 You’ll have a bouquet made up in no time at all.


 What I love about this eye pillow it that it has a removable slip cover that you can wash, and the dried lavender stays fragrant for years.


 It’s the perfect size that you can fold up and throw in your diaper bag.


 1- Fusible Fleece Application

 The cut edge of the tag will be along the raw edge of the fabric.
 The seam allowance is 3/8 inches, so take note of that when placing the tag in place.


 Make up a few and add some burp cloths and you have the perfect baby gift!


 If all is good, apply the 2nd screw into the bottom holes of the hardware.


 I found these
 ***The container that the pins come in is not great. I find that a re-purposed mint tin works great.
 Find the end of the ribbon and slide the pin into the ribbon and into the ribbon spool, and it will keep it in place.


 This is where I store my RIBBON SPOOL BOLTS. These little plastic bins are the BEST!


 Flip the right side facing up. Bring the ends towards the center. (You think you would just line up the lines straight across, right? But you don’t.
 Find the point on the left piece of fabric. That point needs to extend past the line underneath by ¼ inch.


 Press the seam open.


 Poke out the points and smooth the curves. (I like pressing the ¼-inch seam allowance so it’s easier to sew the heart closed).


 Attach it to a gift bag
 Hang on a bulletin board
 Displayed in a bowl or a basket


 Sew a


 If you can’t find an edge to pull, just crinkle the paper and it will usually tear, giving you something to pull.


 1- WET THE SPONGE WITH WATER AND WRING IT OUT


 Add a fleece neck warmer and you have a great Christmas gift.


 Label the bags or containers with the date of freezing to keep track of their freshness.


 And if you accidentally cut into that collar tab, there’s always Fray Check that works well.


 Take these

 Go through your closets and find a cute dress shirt you no longer love or are ready to part with.


 DON’T THROW AWAY THE JEAN LEGS! Please put them in a tote with all your other jeans scraps for OTHER FUN PROJECTS.


 Take your time around the corners, and then when you get to the other side, top stitch over that folded edge.


 Secure it in place and sew along the edges of the elastic using a big zigzag stitch. I like to go back and forth a few times to ensure it is secure.

 I love fresh herbs and this is a great opportunity to use fresh herbs from your garden if you have them available.


 I do have a tutorial that shows how to use certain presser feet and basic stitches to create an


 Needle threader (even a basic mechanical machine will have a little lever that you can push down, or there are fancy ones on some computerized machines that you push a button and it automatically threads the needle on its own).
 Needle position lever (Moving the needle to the left or right will come in handy when you want to sew closer or further away without having to adjust the seam allowance and for zipper application).


 You can sew on different fabrics and test different stitches.
 When you buy a new machine at a dealership, they will most likely offer free classes to help you get acquainted with it.


 Now, let’s talk a little about sergers. Sergers don’t last as long as sewing machines, so if you are considering buying a used serger, ask if they’ve used it a lot. If it’s ancient, this can be a little risky.

 I went into the shop that has been servicing my machine for many years and had a chat with Dave at Sewing Machine Exchange.

 DO NOT USE 3 IN 1 OIL! Make sure you are using the correct type of oil for your machine. It will most likely come with a little vial of oil.
 The place that you’ll want to oil the machine is just in your bobbin case, whether it’s a top loading or a front loading right on the hook.
 The manual for one of my machines states NOT to oil the machine.
 Get out the little duster that comes with your machine, or you can use a little paintbrush.


 I love to sew.


