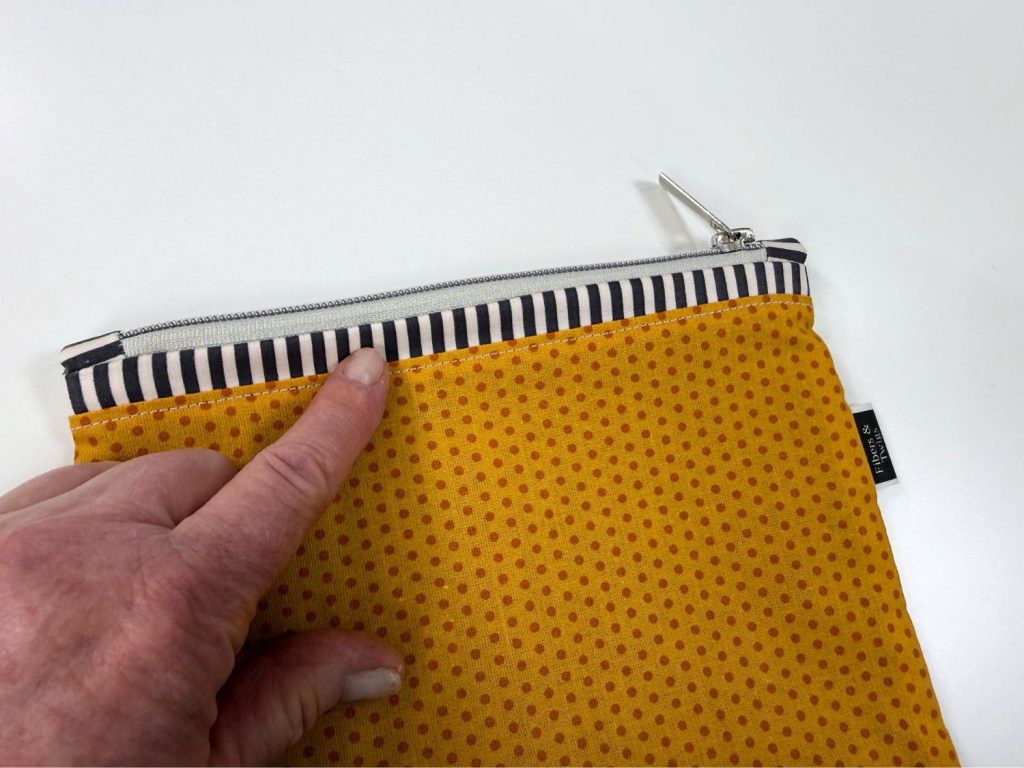
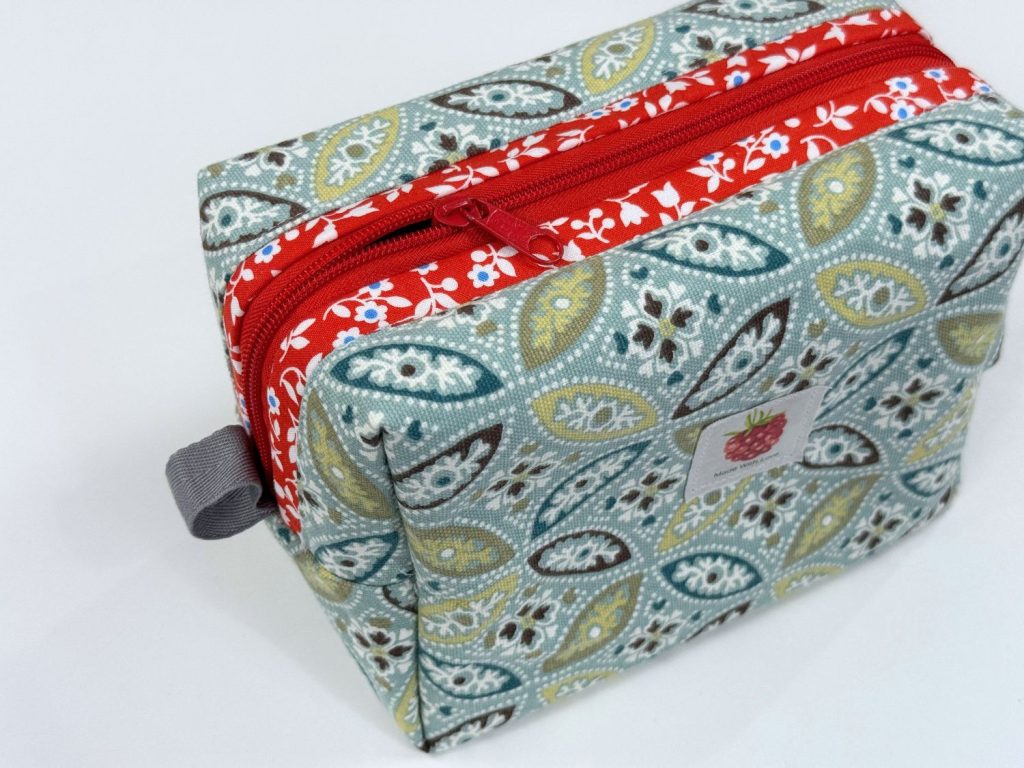
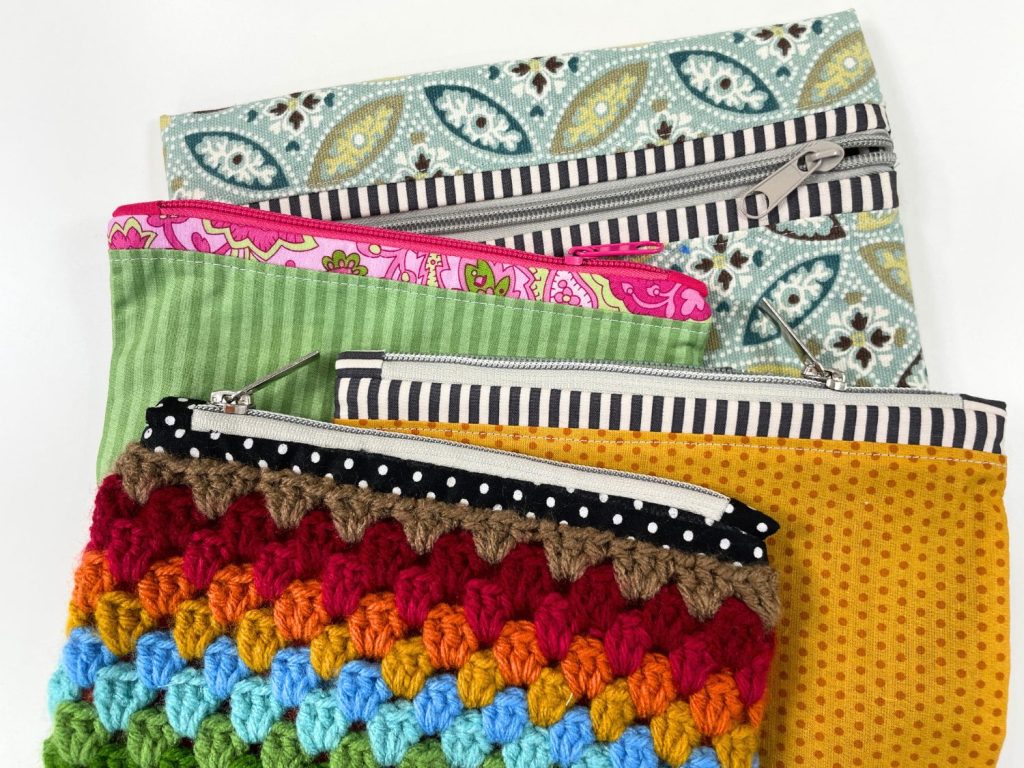
If you love making zipper pouches, here’s a simple way to take them up a notch by adding some contrasting fabric zipper trim.
It’s such a small detail, but look at the difference it makes!
Adding a strip of coordinating or contrasting fabric next to the zipper gives an ordinary zipper pouch a little extra character and a more finished, custom look. It’s also a great way to use some of those smaller fabric scraps you’ve been saving.
The best part? It’s really quite easy to do.
In this tutorial, I’ll show you how to add fabric zipper trim to a box zipper pouch without zipper tabs, as well as a zipper pouch that uses zipper tabs.
Once you understand the basic technique, you can use it on all kinds of zipper pouch patterns.
The best part? It’s really quite easy to do.
In this tutorial, I’ll show you how to add fabric zipper trim to a box zipper pouch without zipper tabs, as well as a zipper pouch that uses zipper tabs.
Once you understand the basic technique, you can use it on all kinds of zipper pouch patterns.
What Is Fabric Zipper Trim?
Fabric zipper trim is simply a narrow strip of fabric sewn between the zipper and the main zipper panel.
Instead of having the zipper sewn directly next to your main fabric, you get a little pop of contrasting fabric running alongside it.
You can make the trim subtle by using coordinating fabrics, or make it stand out with stripes, bright colors, or fun prints.
This is one of those little sewing details that can make a simple handmade bag look extra special.
Materials and Supplies
You’ll need:
Your zipper pouch fabric pieces
Contrasting or coordinating fabric
Sewing machine
Coordinating thread
Iron and ironing surface
Pins or sewing clips
Basic sewing supplies
For each zipper panel, cut:
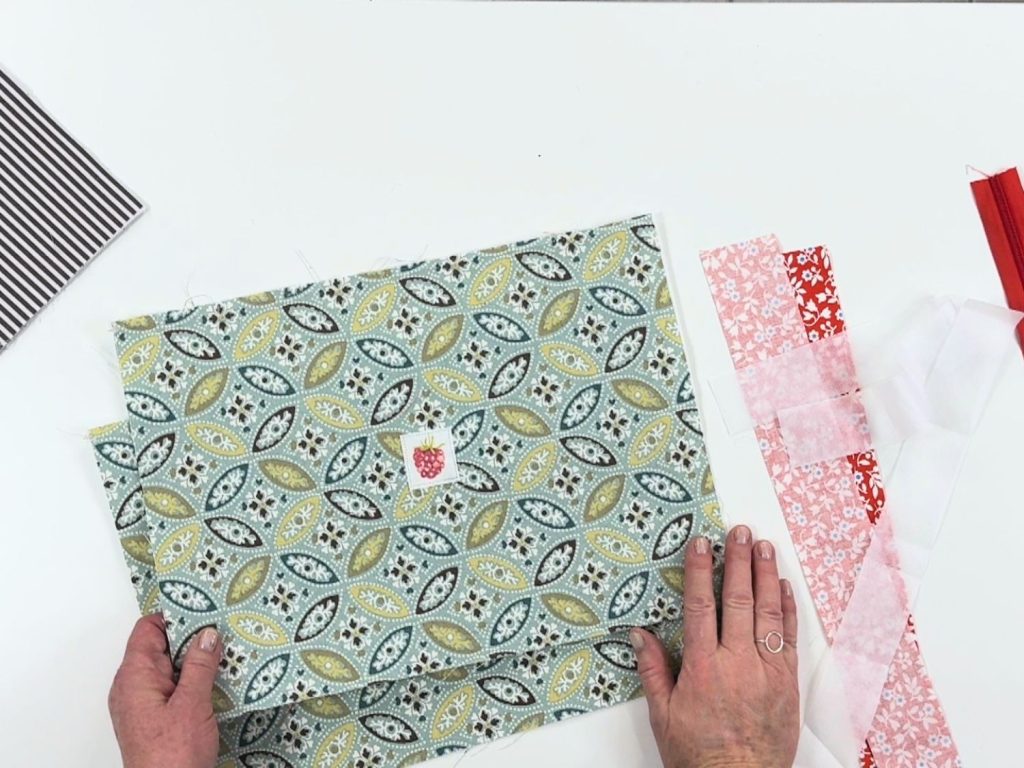
Fabric trim: 2 inches wide × the length of your outer zipper panel
Medium-weight fusible interfacing: 1½ inches wide × the length of the fabric trim
You’ll need one fabric trim piece for each side of the zipper.
Step 1: Apply the Interfacing
Place the fabric strip with the wrong side facing up.
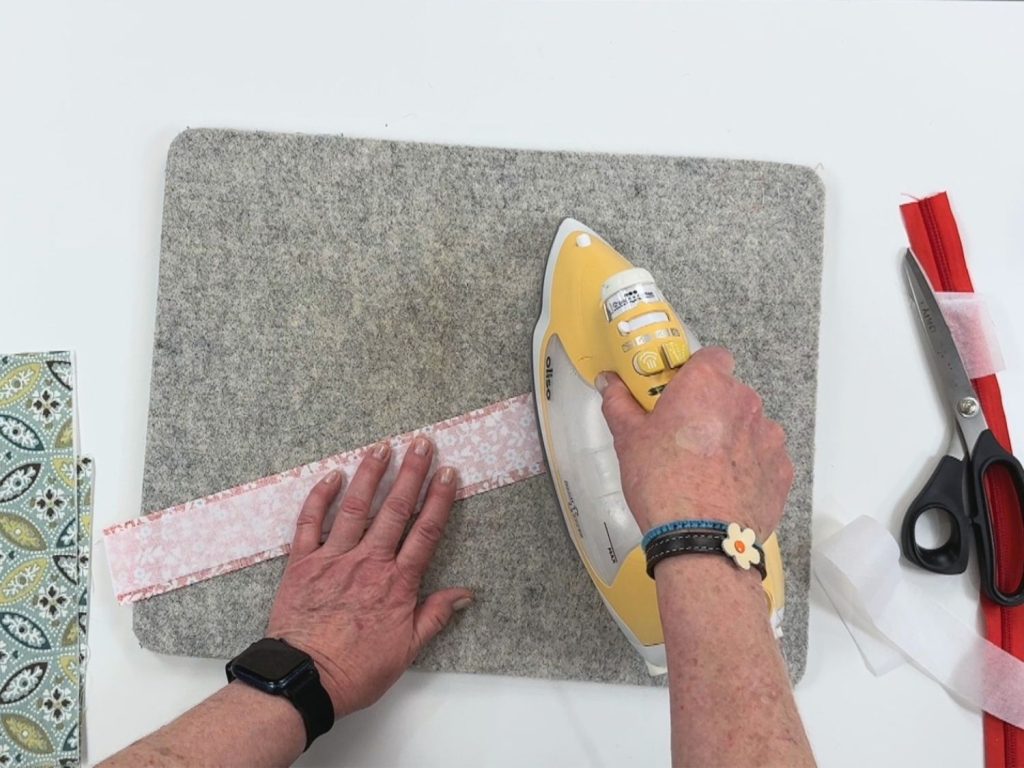
Position the fusible interfacing on the back of the fabric with the adhesive/bumpy side facing down.
Center the interfacing on the fabric strip and fuse it in place according to the manufacturer’s instructions.
The interfacing gives the trim a little extra stability and helps it keep a nice crisp shape.
Step 2: Press the Fabric Trim
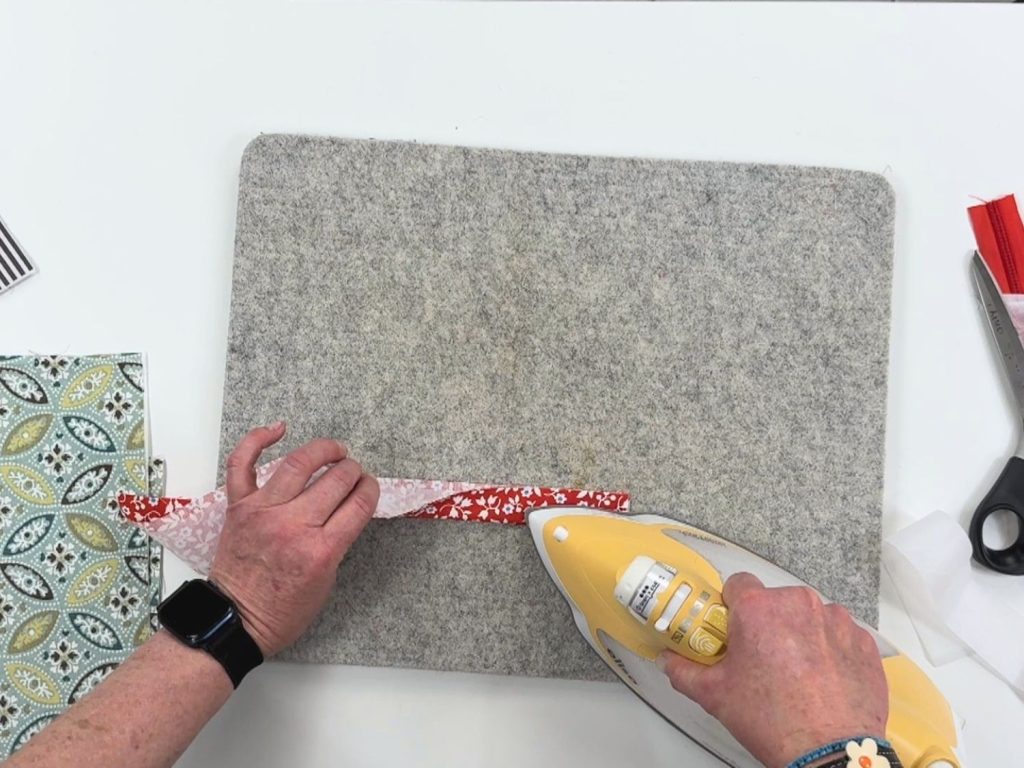
Fold the fabric strip in half lengthwise and press it well.
You’ll now have a folded strip about 1 inch wide.
Step 3: Sew the Trim to the Zipper Panel
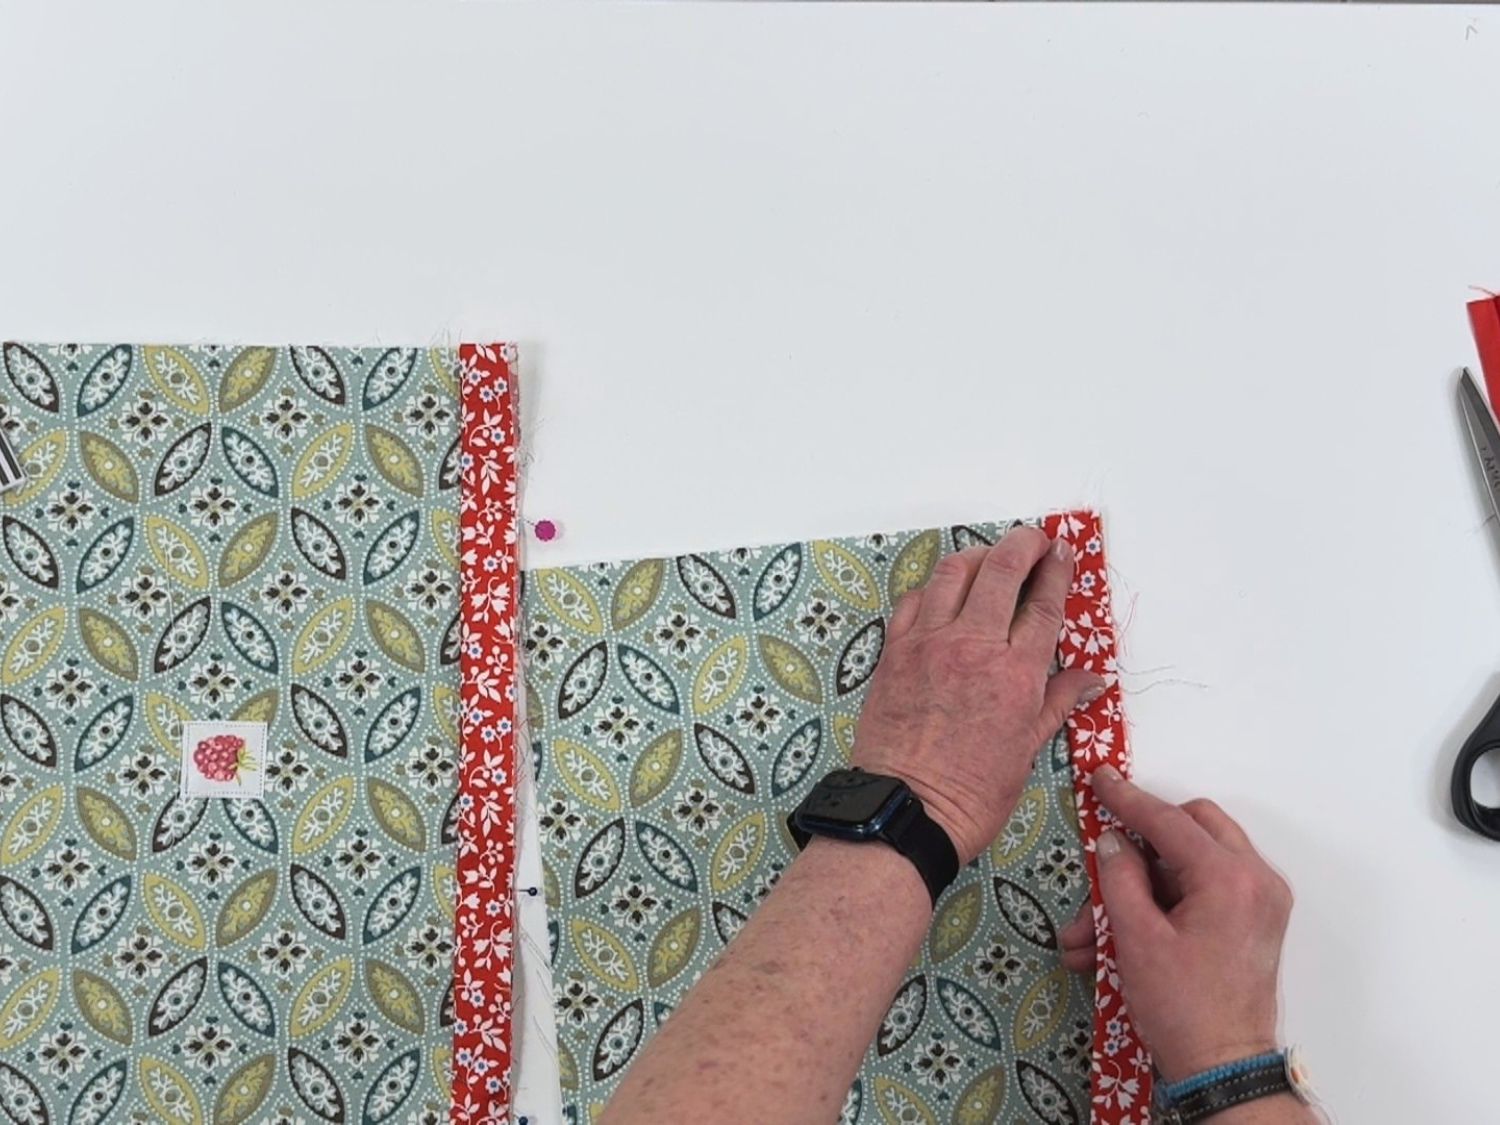
Locate the top edge of your outer zipper panel.
Place the raw edges of the folded trim along the panel’s top raw edge.
If you’re using directional fabric, pay attention to which direction your fabric needs to face once the zipper is installed.
Pin or clip the layers in place.
Set your sewing machine to a regular straight stitch with a stitch length of approximately 2.5.
Sew the trim to the panel using a ¼-inch seam allowance, backstitching at the beginning and end.
Step 4: Topstitch the Trim
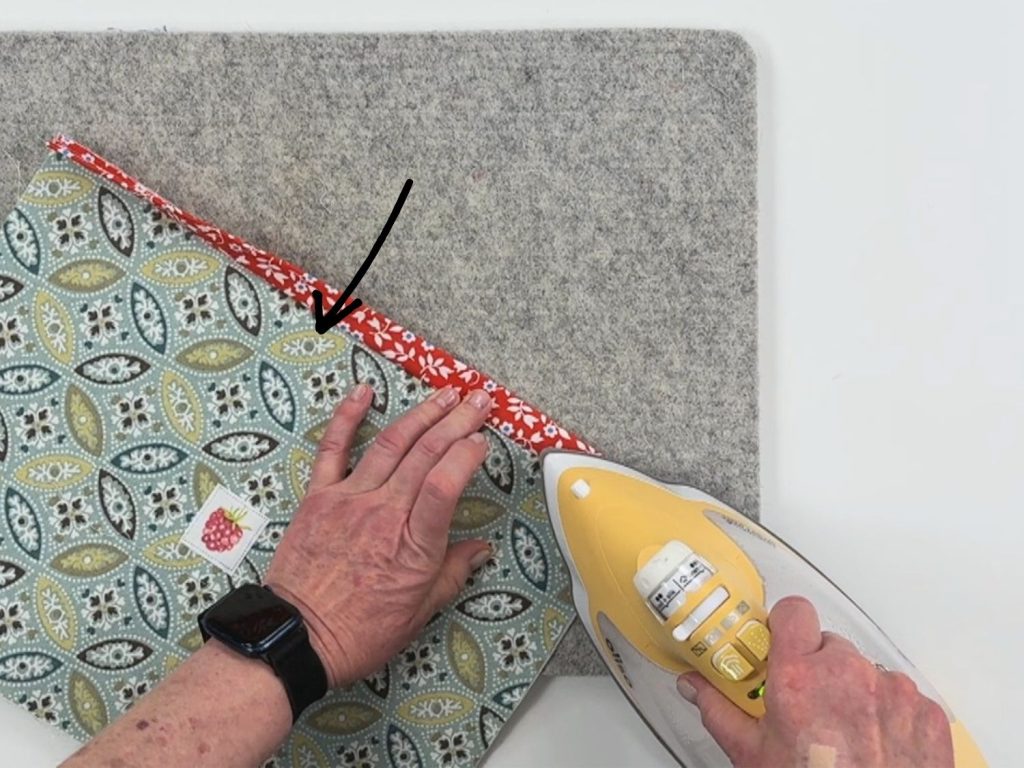
Fold the trim away from the main fabric and press it flat.
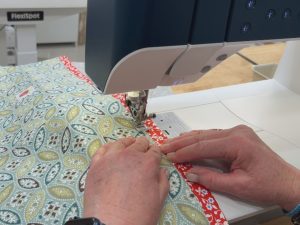
Topstitch approximately ⅛ inch from the seam.
I like to increase my stitch length to about 3.0 for topstitching. The slightly longer stitch gives the topstitching a nice finished look.
Repeat these steps for the other zipper panel.
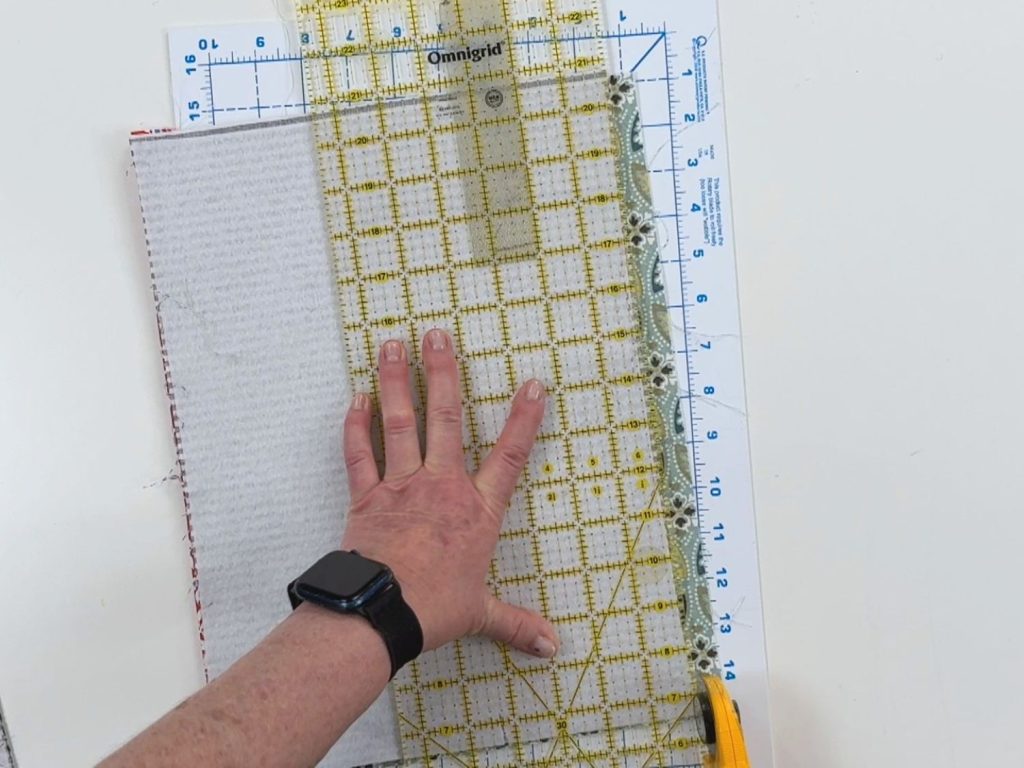
Step 5: Trim the Zipper Panels Back to Size
This step is important!
Adding the fabric trim increases the overall size of your zipper panels.
After you’ve sewn and topstitched the trim, place your outer zipper panel next to its corresponding lining piece.
Trim the outer panel so that it is exactly the same size as the lining piece.
Don’t worry if your finished trim width varies slightly. What’s important is that your outer and lining pieces are the same size before you continue assembling the pouch.
Adding Fabric Trim to a Box Zipper Pouch
If you’re making a box zipper pouch that doesn’t use zipper tabs, add the contrasting trim to your zipper panels using the steps above.
Once the trim is attached and the panels have been trimmed back to the correct size, continue sewing the pouch according to the regular pattern instructions.
The trim simply becomes part of your outer zipper panel.
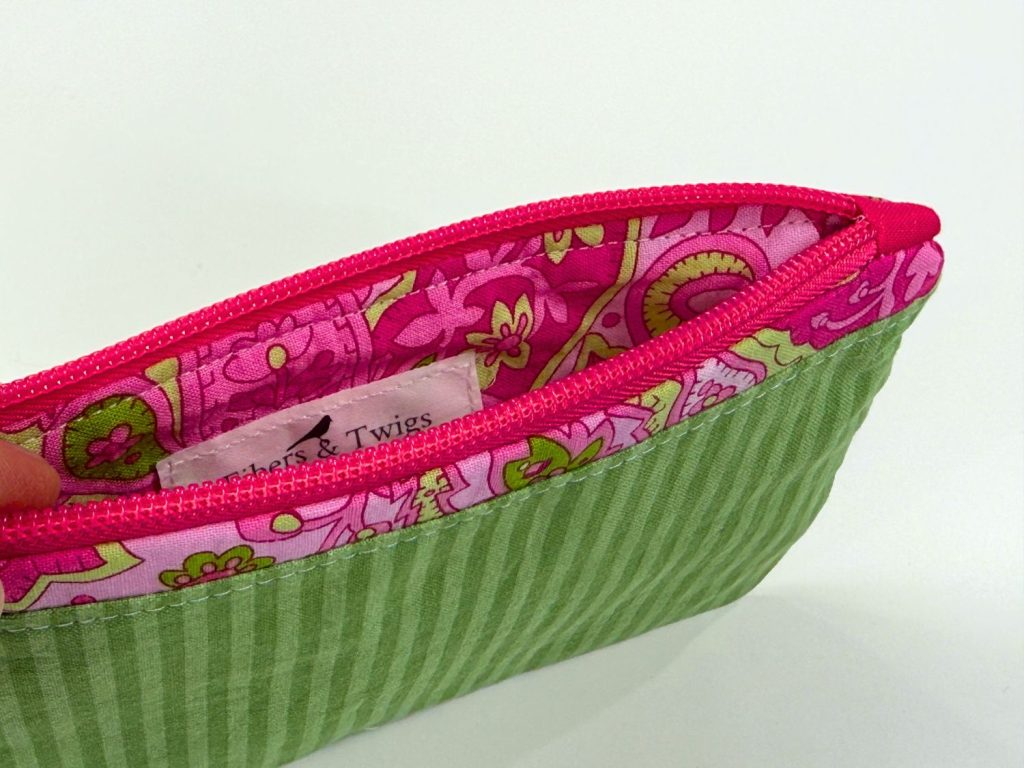
Adding Fabric Trim to a Zipper Pouch With Zipper Tabs
You can use the same technique on zipper pouches that have fabric zipper tabs at the ends of the zipper.
First, add and topstitch the contrasting trim to your zipper panels.
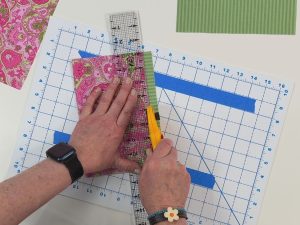
Trim the panels back to the correct size.
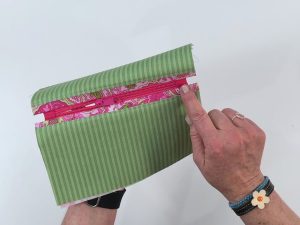
Next, prepare your zipper and add the zipper tabs as you normally would.
LEARN HOW TO MAKE A ZIPPER POUCH WITH ZIPPER TABS
When you’re ready to install the zipper, simply treat the zipper trim as if it’s part of your main fabric.
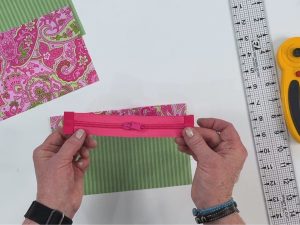
Mark your zipper placement points and sew the zipper into the pouch according to your pattern instructions.
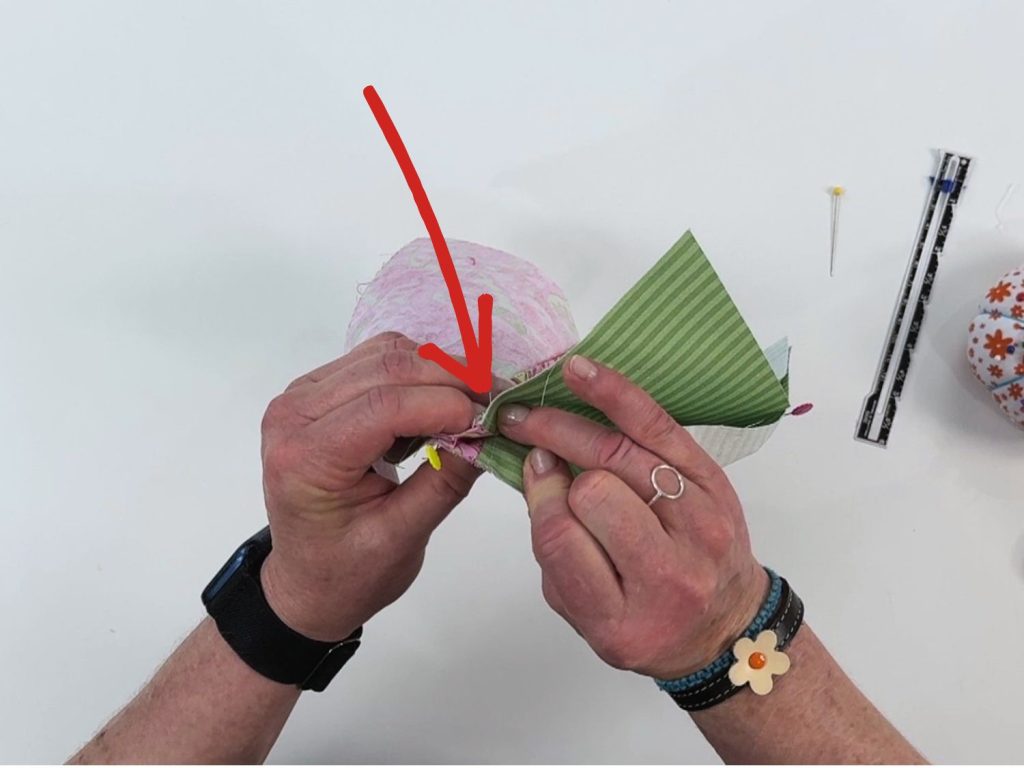
An Important Tip for Matching the Trim
Here’s one little detail that makes a BIG difference in how your finished pouch looks.
When you pin the pouch pieces together, make sure the edges of the contrasting zipper trim line up perfectly on both sides of the zipper.
I prefer using pins in this area instead of sewing clips because clips can sometimes allow the fabric layers to shift.
Take an extra minute to match those seams before sewing.
It’s worth it!
Try Different Fabric Combinations
This is where you can have some fun.
Try combining:
Stripes with florals
Solids with busy prints
Small scraps from another part of the bag
Bright colors with neutral fabrics
Contrasting zipper tabs and zipper trim
Coordinating fabrics from the same collection
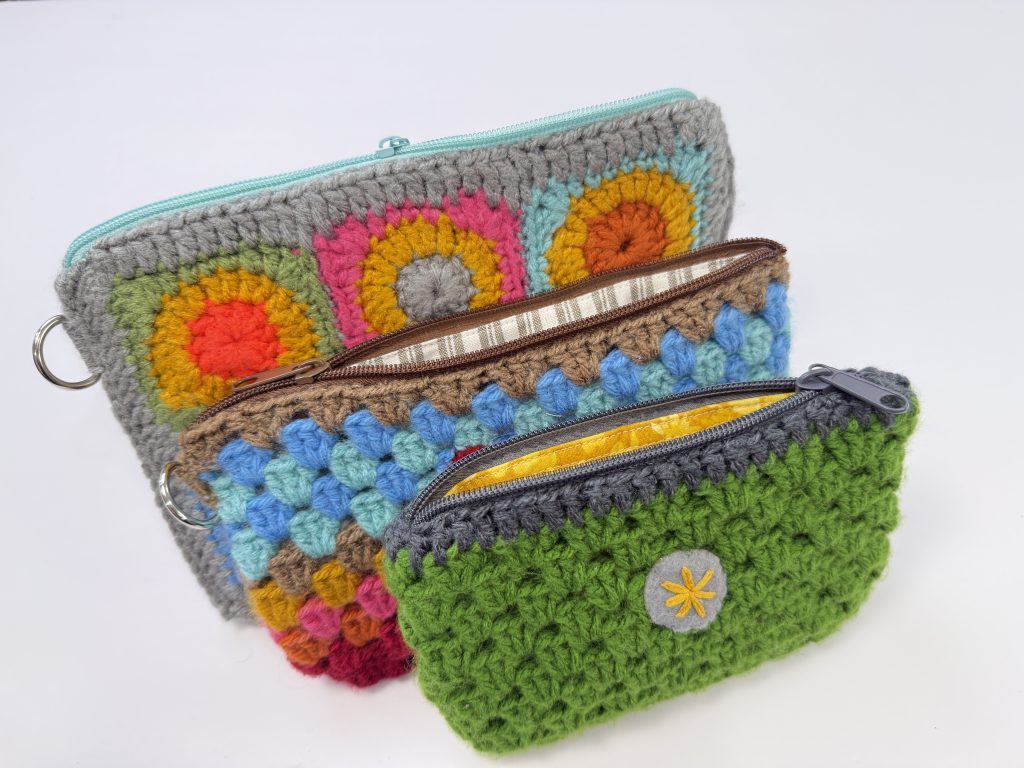
You can even use this technique when adding a zipper to a crochet bag. The little strip of fabric creates a nice transition between the crochet texture and the zipper.
A Simple Detail That Makes a Big Difference
I love sewing techniques like this because they don’t add a lot of extra work, but they can completely change the look of a project.
Once you know how to add contrasting fabric zipper trim, you can use the technique on all kinds of zipper pouches and bags.
And since the strips are small, it’s another great way to put those leftover fabric scraps to good use.
Have fun experimenting with different fabrics and color combinations. You may find yourself wanting to add zipper trim to every pouch you make!
Happy sewing!
Jan Howell
Share:
Connect:
Jan Howell
Whether it’s a new recipe, a fun craft, or some handy tips for your garden and home, I hope to empower and inspire you with skills that you can use to create joy, improved health, and to do it in a simple way.


I love recycling buttons. As you can see, I have more than a few and I have another jar as well. Used buttons are something good to have on hand.
Leave a loop of about 3 inches. Take the loop end and stick it from the front to the back of the zipper pull. Take the stack of zippers and thread it through the loop and pull it.
Insert the needle into the side of the fabric that won’t be showing. Start taking big stitches, big gathering stitches, about 1/4 inch away from the edge of the fabric.
I also have a tutorial on how to make some really cute cherry magnets and zipper pulls, using the same method.
Materials & Items Needed


To make a zipper pull you can use several beads or even one bead can be very cute.