
How to Sew A Zipper Pouch / Simple Front-Facing Zipper

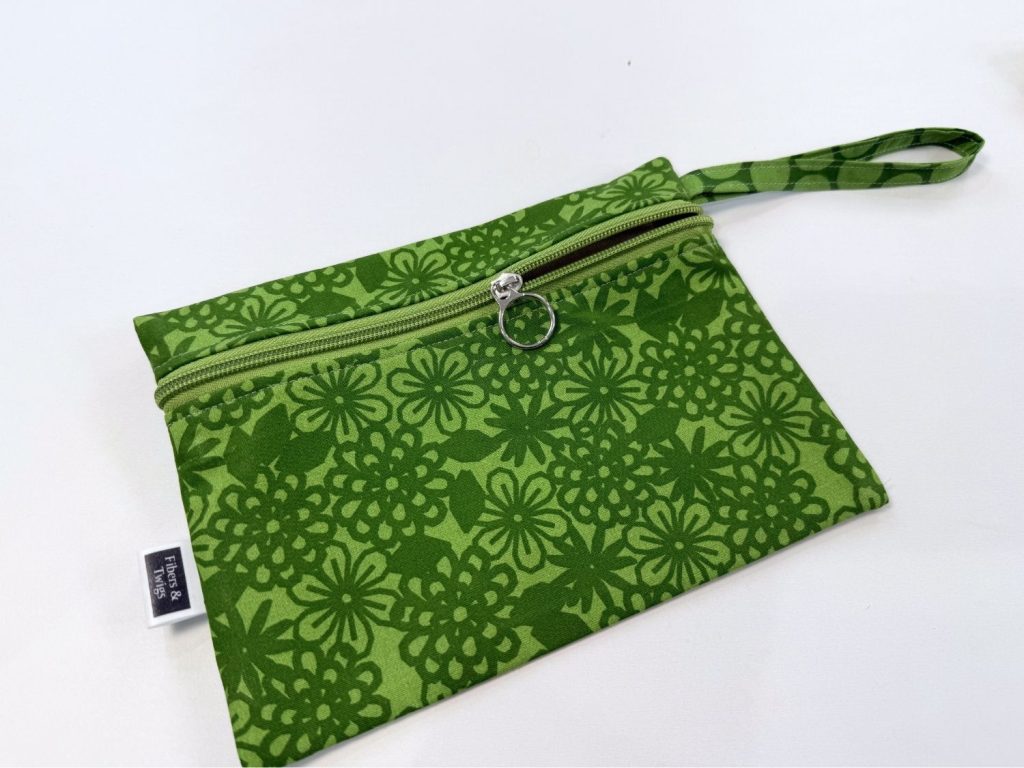
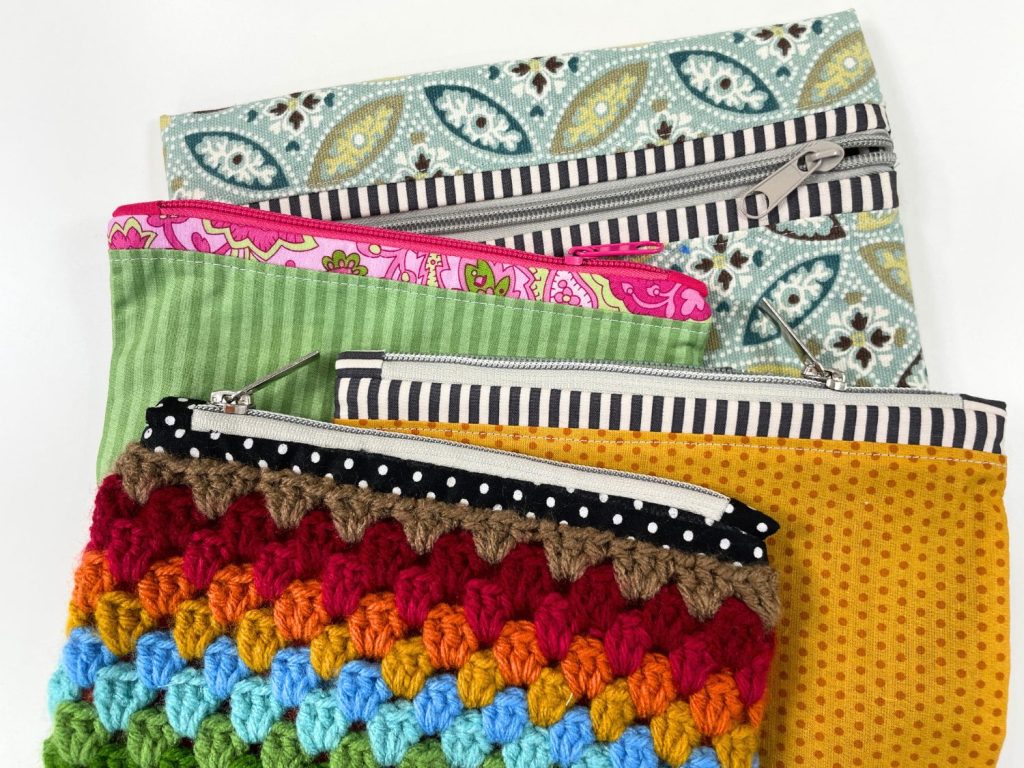
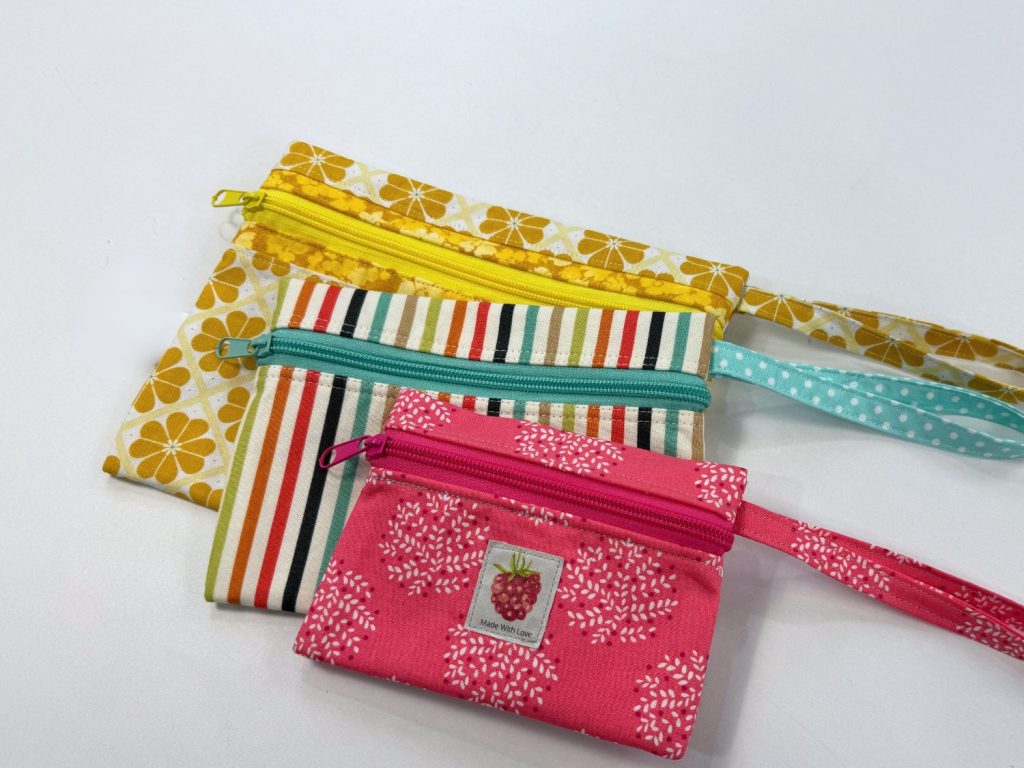
If you love making zipper pouches as much as I do, you’ll enjoy this simple variation! In this tutorial, I’ll show you how to sew a zipper pouch with the zipper on the front instead of along the top.
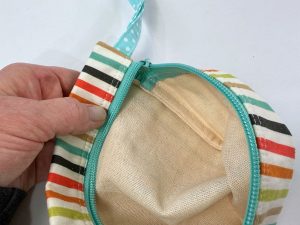 I’ll also show you how to use French seams to give your pouch a clean, finished interior without having to leave an opening in the lining and sew it closed afterward. That’s one less step, and I’m all for making things easier!
We’ll also add a cute little fabric handle and go over some of my favorite tips for working with zippers.
These little bags are so handy for organizing all kinds of things, and they make great handmade gifts.
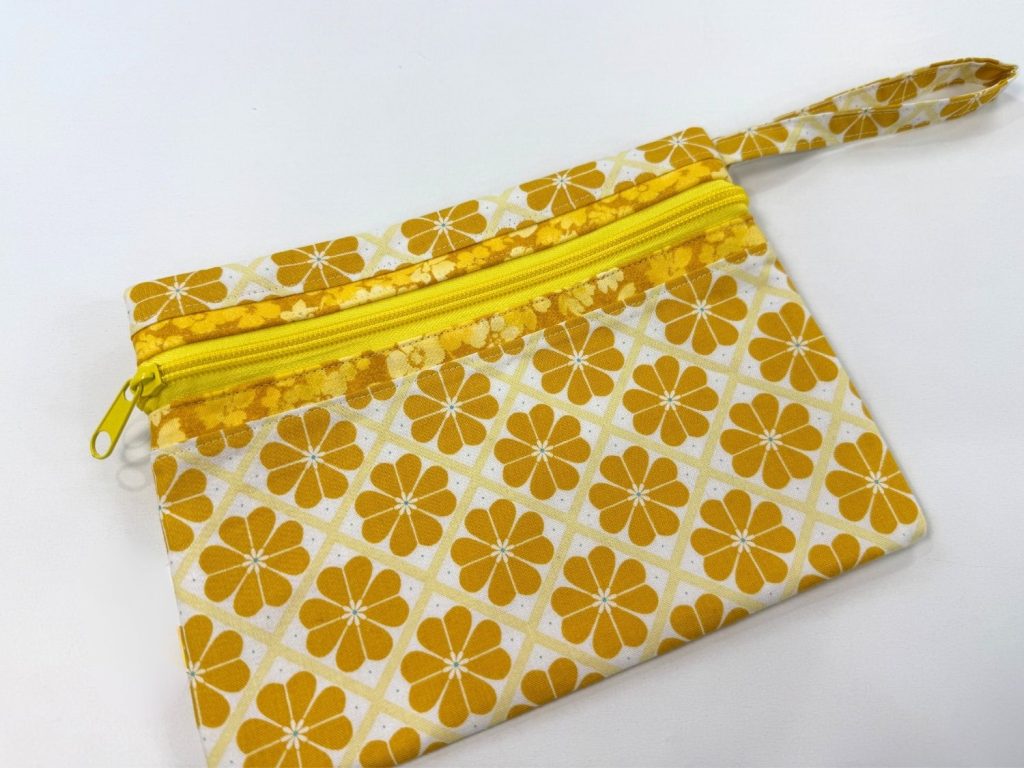


Here’s a quick overview of the process: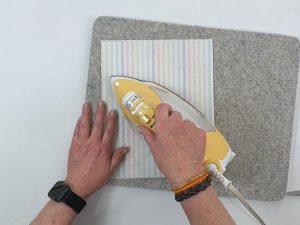
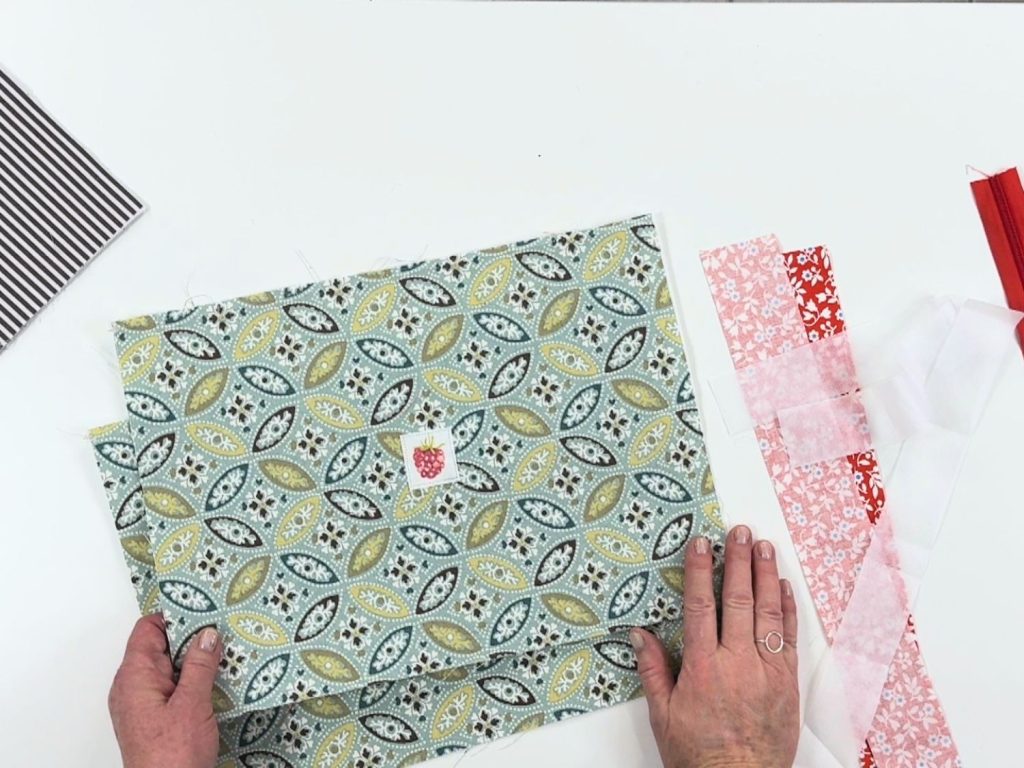
Prepare your fabric. Cut your outer fabric, lining, and interfacing, and fuse the interfacing in place.
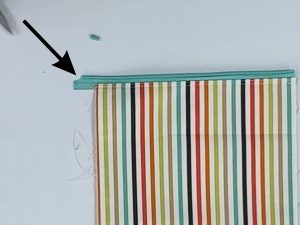
Install the zipper. I’ll show you how to position the zipper on the front of the pouch and add decorative topstitching.
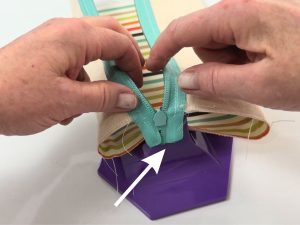
Add the zipper pull. Learn a simple trick that makes installing zipper pulls much easier.
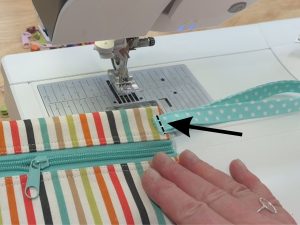
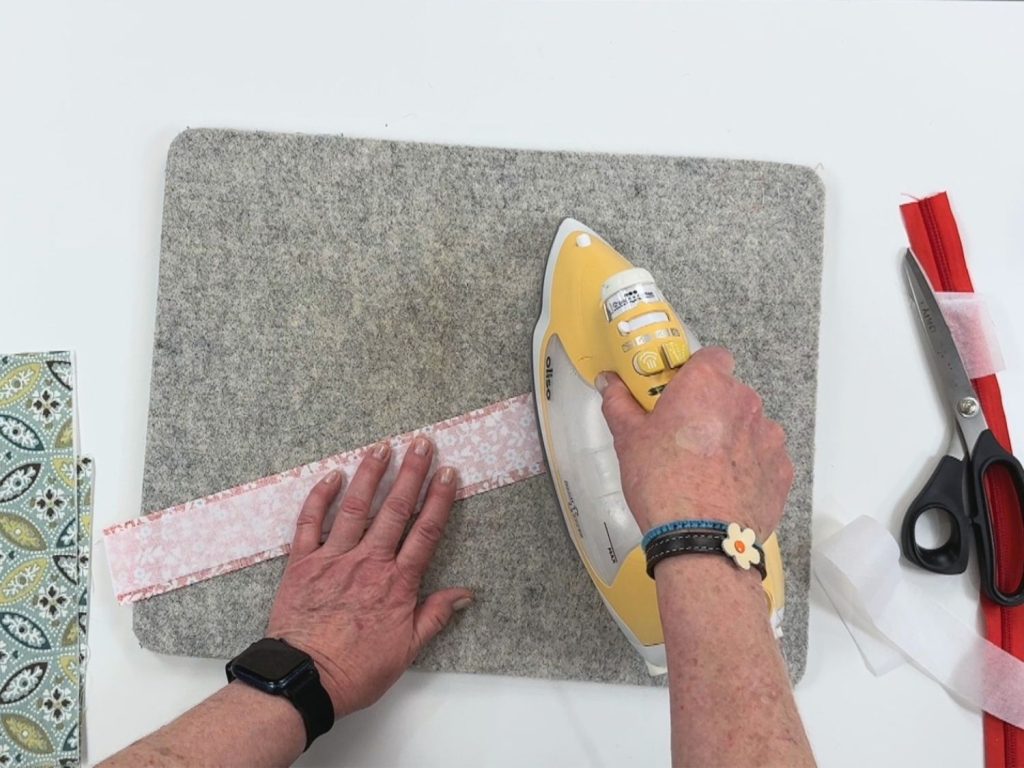
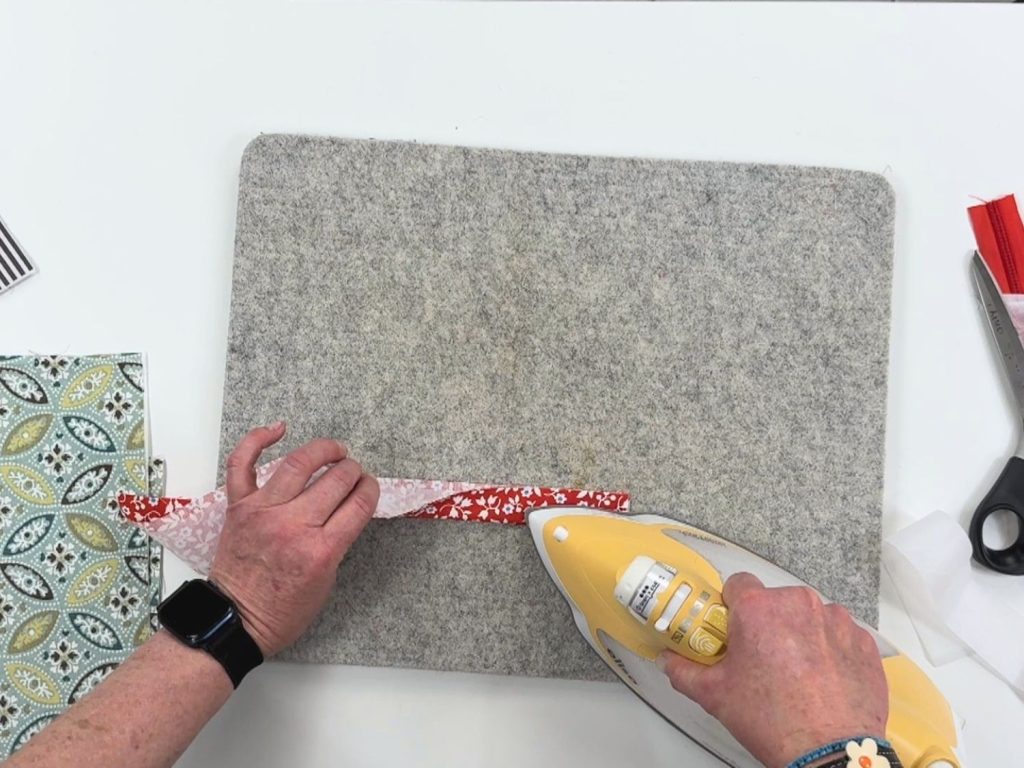
Make the fabric handle. This little addition gives the pouch a cute, practical finishing touch.
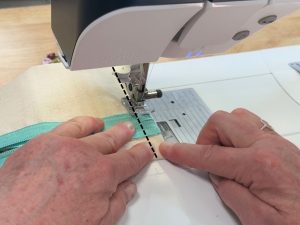
Sew the French seams. This is my favorite part! The French seams enclose the raw edges, giving the inside a clean finish without having to sew a lining opening closed.
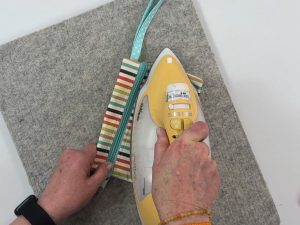
Turn and press. Finish the pouch, straighten the corners, and give it a final press.
Watch the Step-by-Step Video Tutorial
Follow along as I make the medium-sized zipper pouch and share some of my favorite sewing tips along the way.




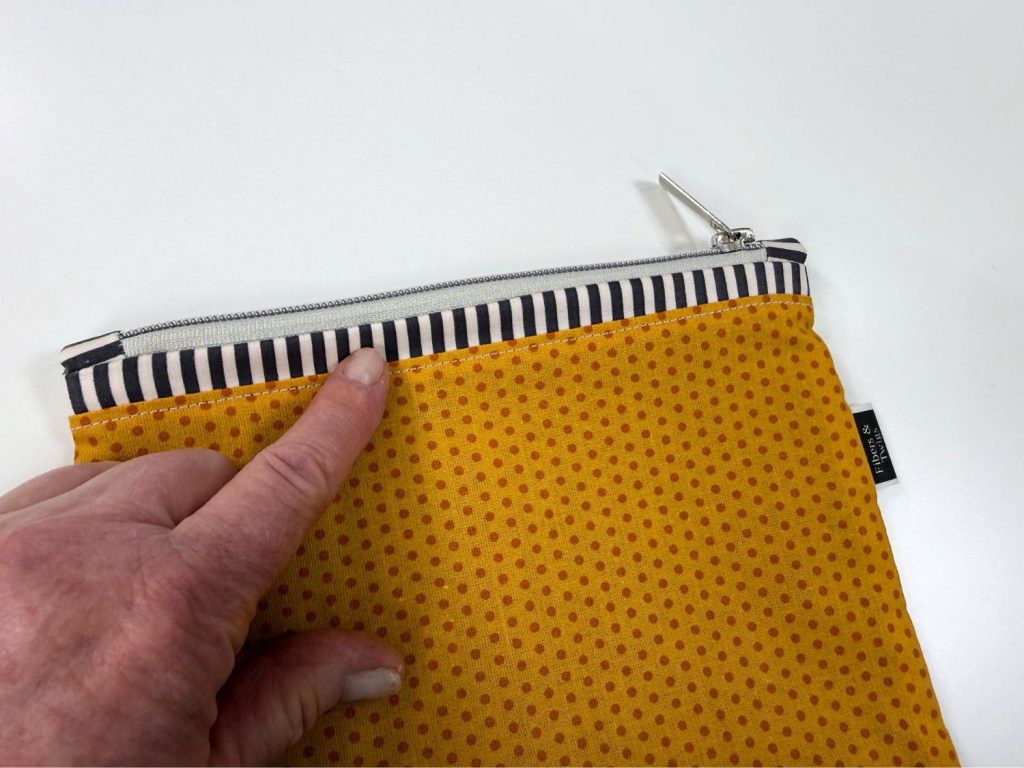
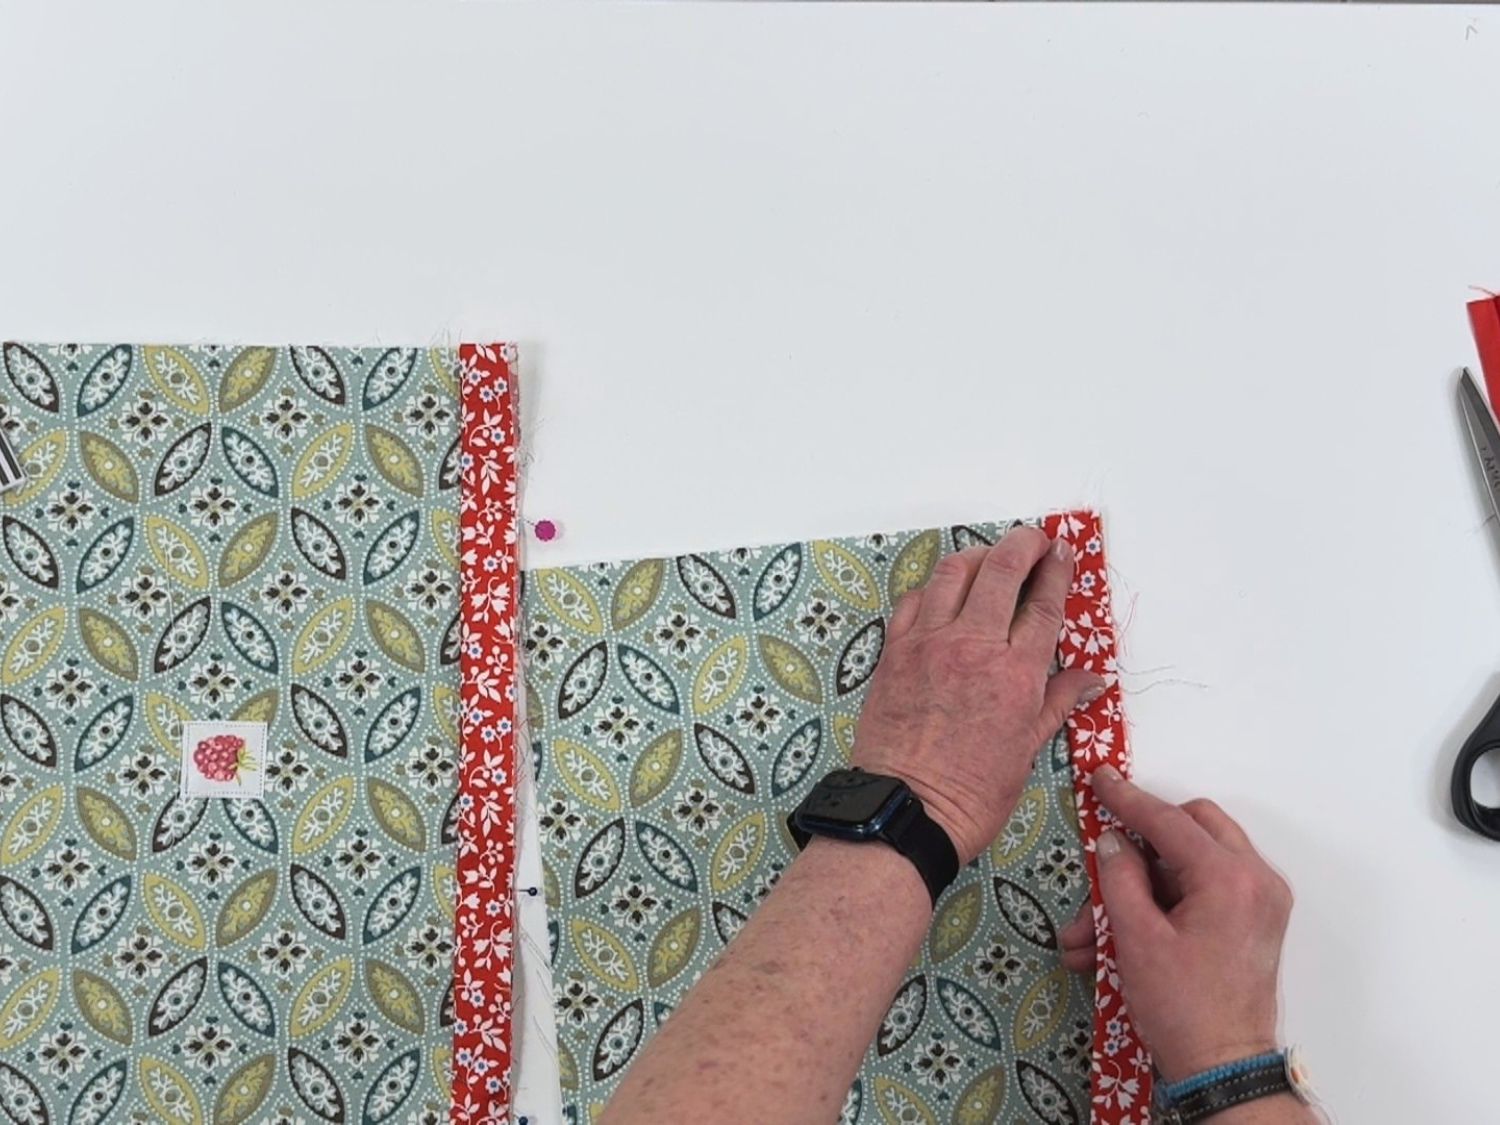
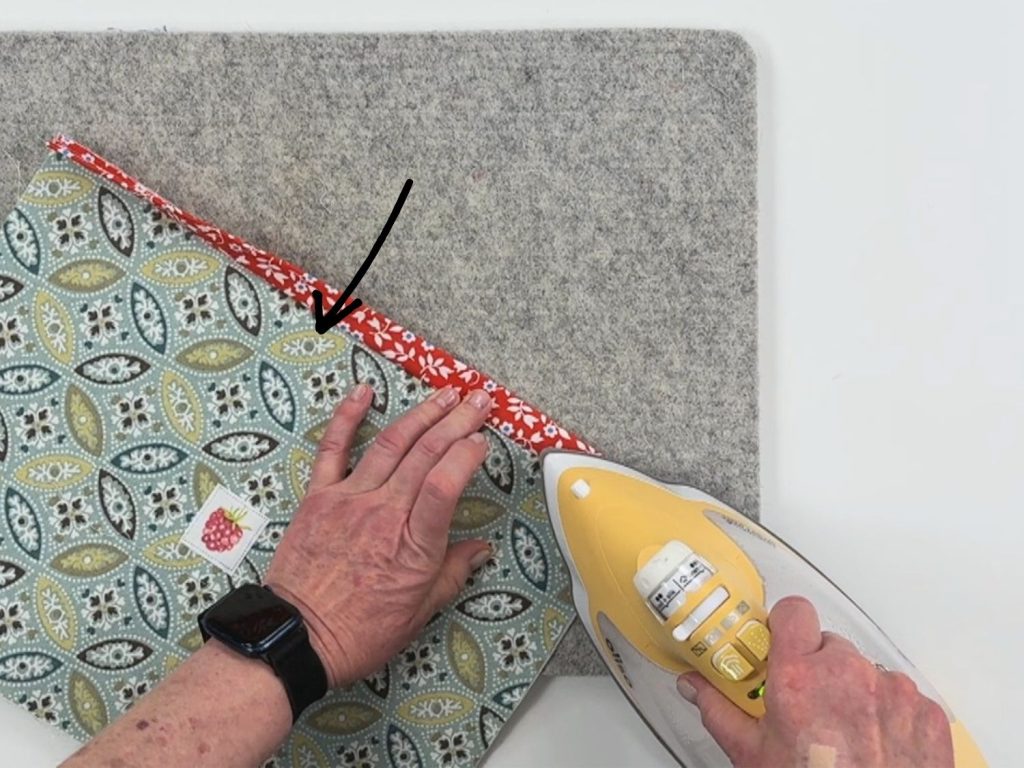
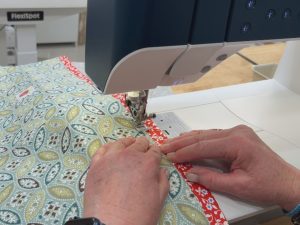 Topstitch approximately ⅛ inch from the seam.
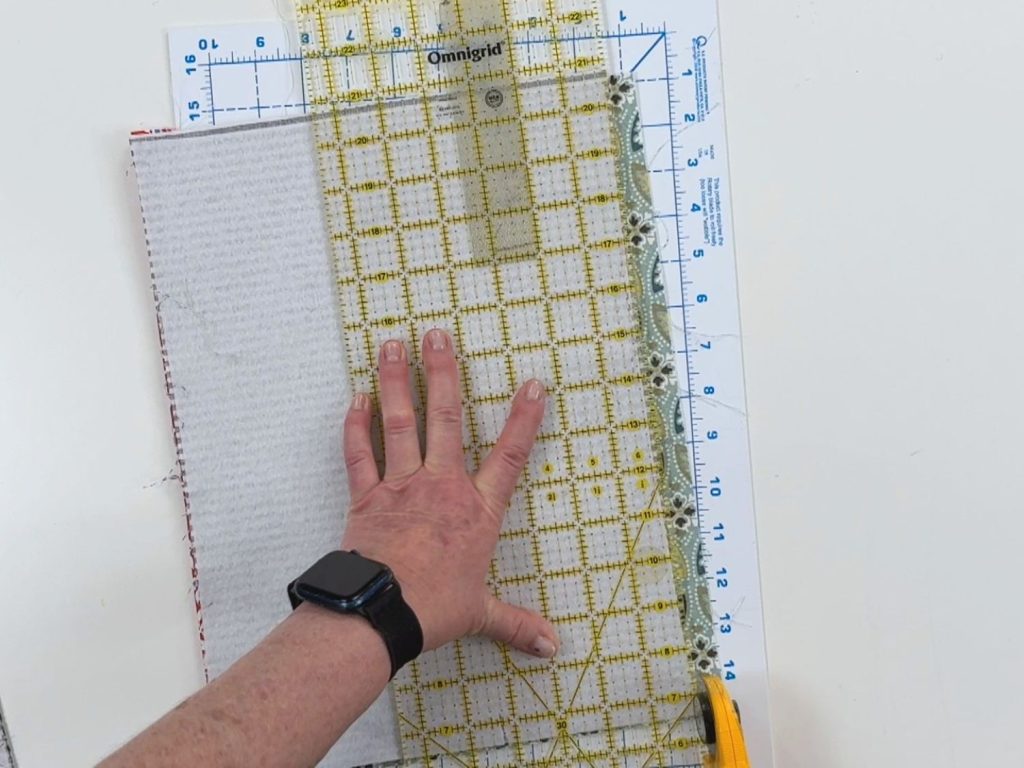
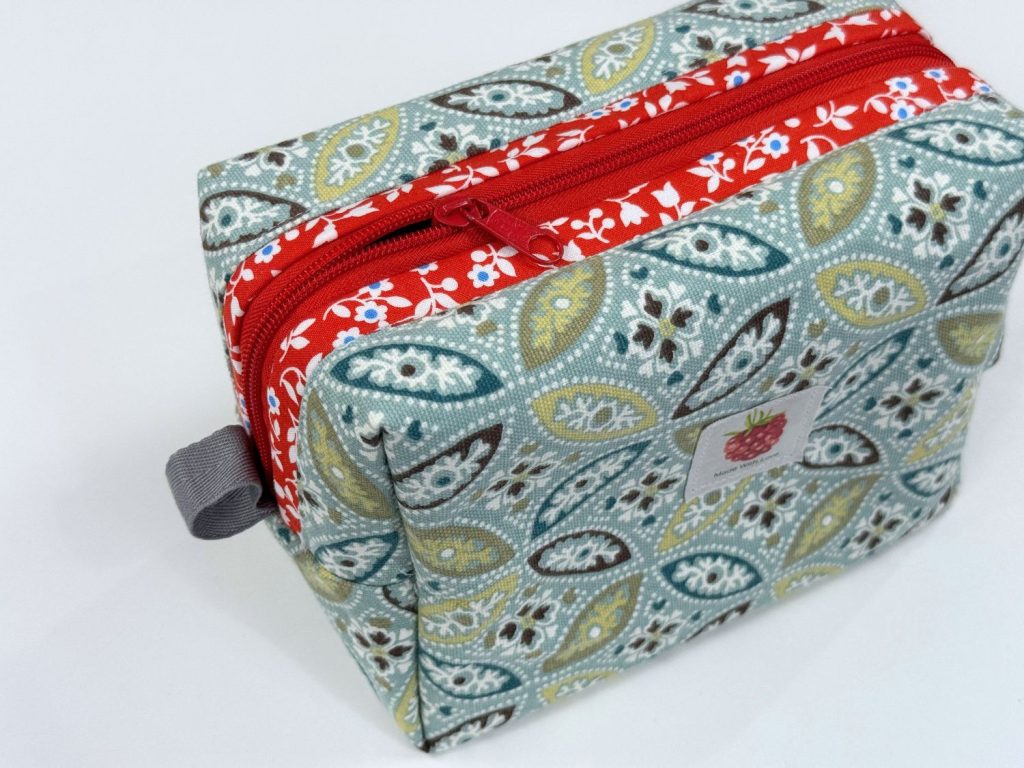
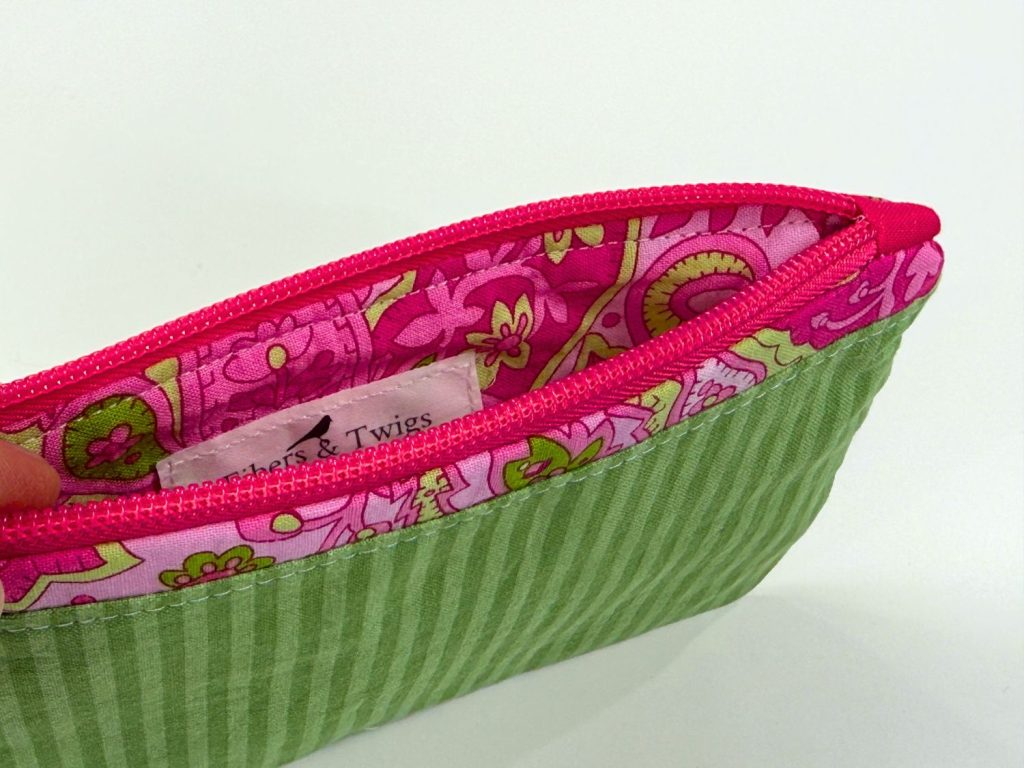
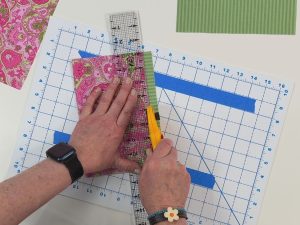 Trim the panels back to the correct size.
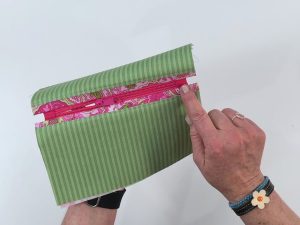 Next, prepare your zipper and add the zipper tabs as you normally would.

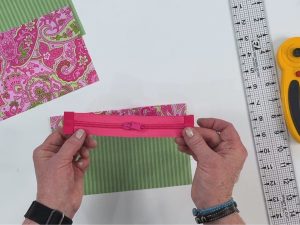 Mark your zipper placement points and sew the zipper into the pouch according to your pattern instructions.
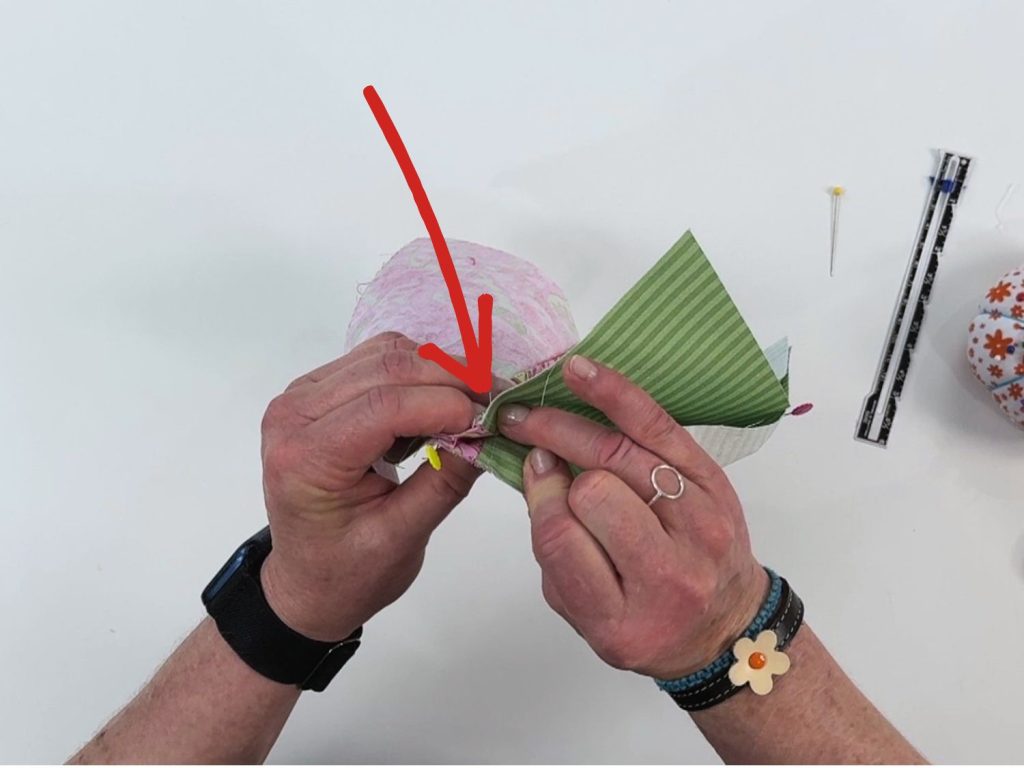


 This keeps everything flat and prevents those seam allowances from shifting and causing problems while you sew.


 Lightly singe zipper ends with a lighter to stop fraying.
 To apply the zipper pull, use a zipper jig or guide it on by hand. Make sure the fabric edges are lined up.




 Tip: Use an existing pouch or gather the items you plan to store in the bag.


 You’ll cut:


 Box Cut = 1/2 of the desired finished height minus 3/4 inch seam allowance.

 Tip: Always account for the seam allowance when marking your box corners!


 This is an excellent tip: when you’re making that box corner,


 Vinyl Version:


 Sew the Zipper:
 Topstitch:


