How To Make a Vinyl Zipper Pouch / Easy Sewing Project

diy Vinyl zipper pouch
DIY vinyl zipper pouch

Clear vinyl zipper pouches are one of those projects that once you make one… you’ll wonder how you lived without them.

They’re quick, practical, and ridiculously useful.

You can see exactly what’s inside (no more digging), they’re sturdy, and they work for everything from sewing notions and crochet hooks to travel art supplies and cosmetics.

In this tutorial, I’ll walk you through

  • How to sew a clear vinyl zipper pouch
  • Share vinyl‑sewing tips that make the process stress‑free
  • and show you how to add a flat (boxed) bottom so the bag stands up on its own.

Has sewing with vinyl ever intimidated you? No worries. With the right tricks, it’s actually fun to sew with.

Why You’ll Love These Vinyl Zipper Pouches

  • You can see what’s inside at a glance
  • Great for organizing sewing, crochet, or art supplies
  • Perfect travel pouches (TSA‑friendly 👀)
  • Beginner‑friendly with the right tips
  • Easily customizable with fabric, bias tape, and labels
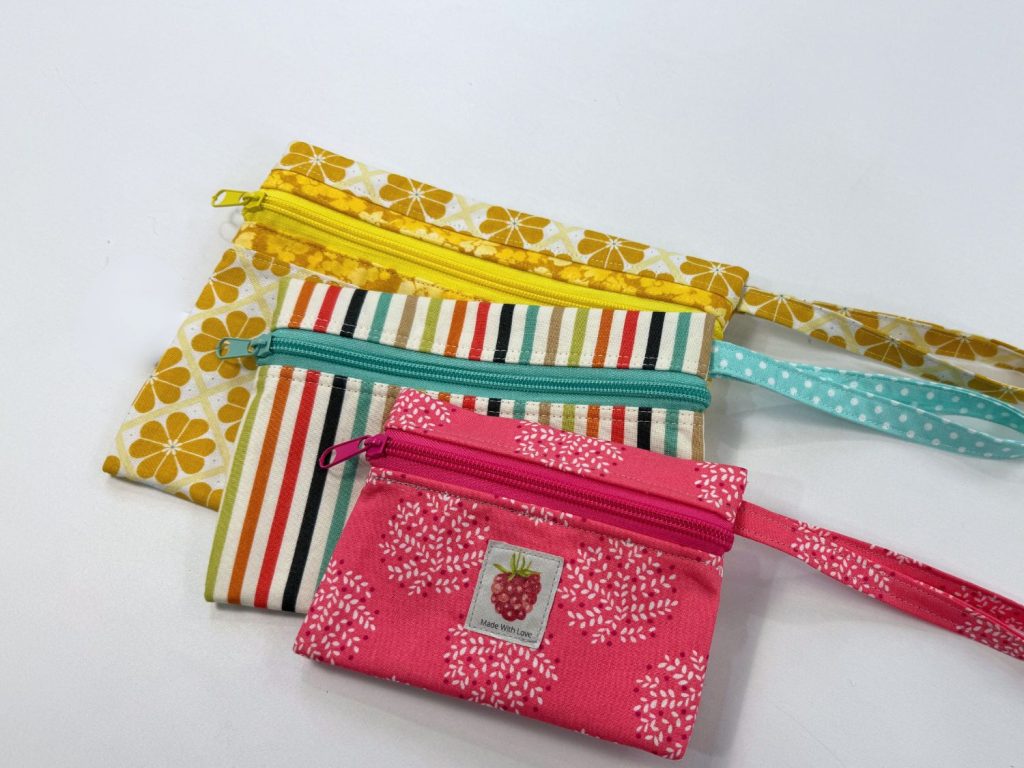
  • I’ll show you three popular sizes, plus a smaller version with a flat bottom.

Vinyl Zipper Pouch Finished Sizes

You can make these pouches in any size, but here are the most useful and popular ones:

  • Large pouch – 10 wide x 19 tall inches – great for bulkier supplies
  • Medium pouch – 7 ½ wide x 14 tall – perfect everyday organizer (demonstrated in this tutorial)
  • Small pouch – 9 ½ wide x 9 tall- ideal for cosmetics, notions, or travel items

Supplies You’ll Need

Helpful Extras (Optional but Handy)

1-Cutting & Prepping the Vinyl

Vinyl can be stiff and wrinkly—especially in cooler temperatures.
Quick tip: If your vinyl won’t lie flat, gently warm it with a hair dryer on low heat. Don’t overdo it—you want it relaxed, not melted.

Cut one piece of vinyl to the size specified in the size chart.

Medium-sized bag: 7.5 x 14 inches.

2-Preparing the Fabric Zipper Panels

  • Cut a fabric strip twice the width of the pouch and 5″ tall. (For the medium bag: 15″ x 5″)
  • Lightly spray with starch for crisp folds. (Optional)
  • Fold in half lengthwise and press
  • Fold raw edges into the center and press
  • Fold in half again and press
  • Cut the strip in half to create two zipper panels.

3-Attaching the Fabric Panels to the Vinyl

  • Slide the vinyl into the folded fabric panel
  • Clip in place with Wonder Clips *DO NOT USE PINS ON VINYL!
  • Topstitch ⅛” from the edge

Lengthen your stitch to 3.0–3.5 for a cleaner topstitch

Repeat for both ends.

4-Installing the Zippervinyl zipper pouch

  • Fold the pouch panel in half horizontally and mark the centers with a heat-erasable marker. Do this with the zipper as well.vinyl zipper pouch zipper
  • Apply double-sided sewing tape to the folded fabric edge
  • Align center marks and position the fabric zipper panel about ¼” from the teeth
  • Fingerpress in place—no pins needed.
  • Pull the zipper apart and repeat on the other side.

5-Sewing the Zipper

Use a zipper foot or move your needle position to the left or right, so the needle is about ¼ from the zipper teeth and the edge of your presser foot is against the zipper teeth.vinvyl zipper pouch

Topstitch 1/8 from the fabric edge.

Repeat for the other side

Tip: Heat the marked center points with the tip of your iron to erase marks before adding the zipper pull.

Optional Front Label

If you want to add a label to the front of the bag, now is the time.

When topstitching the label, place a piece of tissue paper under the vinyl as you sew.

6-Adding the Zipper Pull

Lightly singe zipper ends with a lighter to stop fraying.

vinyl zipper pouch zipper jigTo apply the zipper pull, use a zipper jig or guide it on by hand. Make sure the fabric edges are lined up.

DIY vinyl zipper pouch

7-Sewing the Side Seams

You can have the zipper at the top or the front of the bag.

  • Decide zipper placement (top or front).
  • Place right sides together, lining up vinyl edges.
  • Trim off excess fabric and zipper.
  • Clip in place.

***If you want to add a label to the SIDE OF THE BAG, insert it into the seam line at this point and clip it in place.

GET MY EDITABLE LABELS HERE.

vinvyl zipper pouch side seams

***Placing a strip of tissue paper under the vinyl when sewing will help keep the vinyl from sticking to the sewing plate. (Rip it off when finished sewing the seams.

  • Stitch side seams using a 3/8″ seam allowance. Use a long stitch length (3 – 3.5) for strength. Backstitch at the beginning and end of the seams.
teflon foot

Using a Teflon foot on your machine will keep the vinyl from sticking.

No Teflon Foot? No Problem.

Add clear tape to the bottom of your regular presser foot (leave the needle hole uncovered). It helps the foot glide smoothly over vinyl.

vinyl zipper pouch seams

8-Reinforcing & Finishing the Seams

  • Clip corners at an angle (don’t cut the seam!)
  • Zigzag the raw edges of the fabric and the zipper area.
  • Backstitch at the beginning and end of the seams.
  • Trim threads and remove tissue paper.

9-Turning the Pouch Right Side Out

  • Warm the vinyl gently with a hair dryer if stiff.
  • Push corners out using a blunt tool.
  • Zip closed and smooth seams.
  • Use a seam roller for crisp edges
vinyl zipper pouch pattern

That’s all there is to it!

boxed corner vinyl zipper pouch

10-How to Add a Flat (Boxed) Bottom

A flat bottom lets your pouch stand up on its own and allows more space.

  • Leave the pouch wrong-side out.
  • Pull the corner out into a triangle.
  • Open the seam allowance and flatten it out.

To determine the boxed cut measurement, simply divide the desired bottom measurement by 2.

boxed corner

For a 2″ flat bottom, measure 1″ down from the corner point.vinyl zipper pouch

  • Mark the stitch line using painter’s tape.
  • Stitch along the tape edge.
  • Backstitch at the beginning and end of the seam.
  • Trim the excess seam allowance, then repeat for the other corner.vinyl zipper pouch boxed corner
  • Turn right side out and poke out the corners using a round tip turning stick or the end of a paintbrush.

Viola! That’s all there is to it!

Fill with cosmetics, sewing/craft supplies, toiletries, etc. These make great gifts!


Have fun sewing!

jan3

Share:

Facebook
Twitter
Pinterest

Connect:

Picture of Jan Howell

Jan Howell

Whether it’s a new recipe, a fun craft, or some handy tips for your garden and home, I hope to empower and inspire you with skills that you can use to create joy, improved health, and to do it in a simple way.

Read More