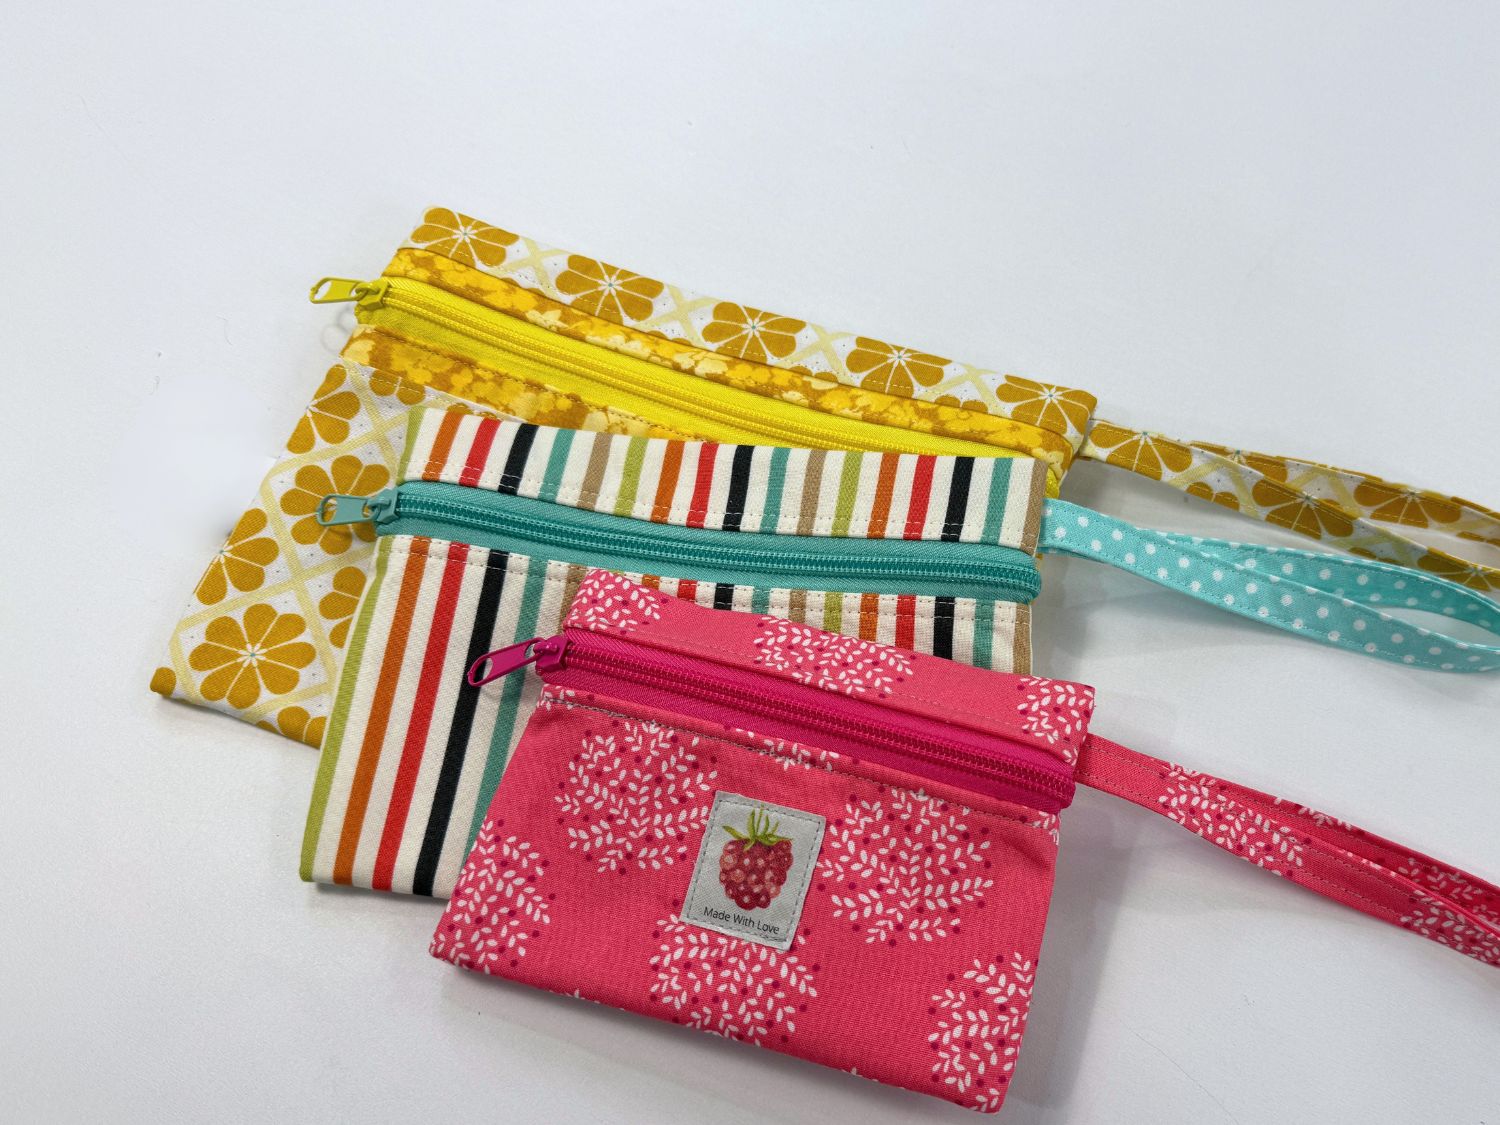
How to Sew a Zipper Pocket the Easy Way


Materials You’ll Need
- Pocket fabric with fusible fleece applied
- Bag lining piece with fusible fleece


- Zipper (cut to 8” from zipper-by-the-yard or use a pre-packaged 7” zipper)
- Zipper pull (if using zipper by the yard)
- Fabric glue (or glue stick)
- Basic sewing tools (scissors, pins, sewing machine, ruler)
- Rotary Cutter/Mat/Ruler (optional)
- Optional: Zipper template for marking
- Iron and pressing surface
Step 1: Mark the Zipper Box
- Fold your pocket piece and lining piece in half to find the center.
- Mark the center fold with a fabric pen or pencil.

- Measure down 1½” from the top edge of your pocket fabric and draw a horizontal line.
- Then, measure down another ½” and draw a second line.
- Draw a 7″ rectangle between the lines, centering it horizontally (3½” from the center mark on each side).
- Measure down 1/4 inch from the top of the rectangle and draw another horizontal line.
- Mark triangle marks at the ends for clipping.
Tip: You can use a zipper pocket template if you have one, or make your own.
I’ll show you how to do that in an upcoming tutorial!
Step 2: Sew the Zipper Pocket Box
- Place the pocket piece right sides together with the lining piece, aligning the center marks.

- Measure 2″ down from the top of the lining and pin the pocket in place.

- Sew around the rectangle, pivoting at each corner. Backstitch at the beginning and end of stitching.
Step 3: Cut the Zipper Opening


- Fold the pocket in half vertically along the center slit line and make a small clip with scissors to start the cut.
- Cut along the center line and out toward the triangle corners without cutting the stitching.


- Flip the pocket fabric through the opening to the back side and press it flat.
Step 4: Insert the Zipper
- If you’re using zipper-by-the-yard, attach the zipper pull now. (For a more detailed demo, check my other tutorials.)

- Apply a thin bead of fabric glue or use a glue stick around the inside edge of the box.

- Place the zipper on the right side up, centered on the opening.

- Flip the fabric over, adjust the zipper from the back, and press with an iron to secure.
 Step 5: Topstitch Around the Zipper Box
- Switch to a zipper foot and adjust your needle to the left or right if needed. You want to sew about 1/8 inch from the fabric edge of the box.
- Use a slightly longer stitch length (3.0mm) and topstitch around the zipper.

- Hold the thread tails for the first few stitches to prevent bunching.
Move the zipper pull out of the way as you sew.
Step 6: Finishing the Zipper Pocket

- Fold the bottom of the pocket piece in half, right sides together, lining up the top edge.
- Clip or pin the sides and top edge.
- Sew around the three edges with a ⅜” seam allowance using your regular presser foot and a 2.5mm stitch length. Do not sew the bottom fold.
Want to Learn More?
Be sure to subscribe to my YouTube channel so you don’t miss future tutorials.
Visit youmakeitsimple.com store for patterns and printables.

Happy sewing!


 Vinyl Version:


 Sew the Zipper:
 Topstitch:


 Cut the zipper out of the clothing. This makes the process so much easier! There is less bulk to work with and if you don’t feel like unpicking right then, you can save it in your zipper bin and unpick it later.
 Take the end of the zipper and pull the fabric away from the zipper to expose the stitches. Slide the tip of the seam ripper into one or more of the stitches and cut the threads. Pull the zipper tape away from the fabric to expose more stitches. (The first stitches are the hardest to navigate).
 Continue ripping threads and pulling all the way down the zipper. (Sometimes you can rip both sides of the zipper seam at the same time). Remove any cut threads that are lingering on the zipper and place the zipper in a bin or use the zipper straight away on a fun sewing project or craft.