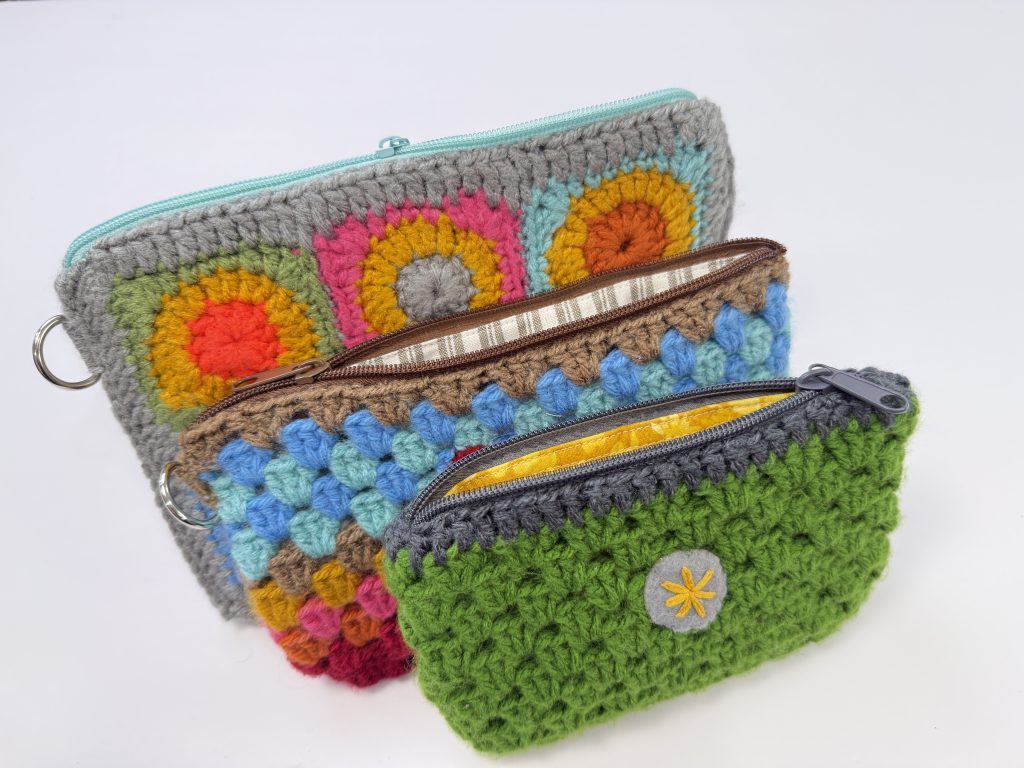
DIY Fabric Jar Opener – Easy 10-Minute Sewing Project

diy jar opener
diy fabric jar opener

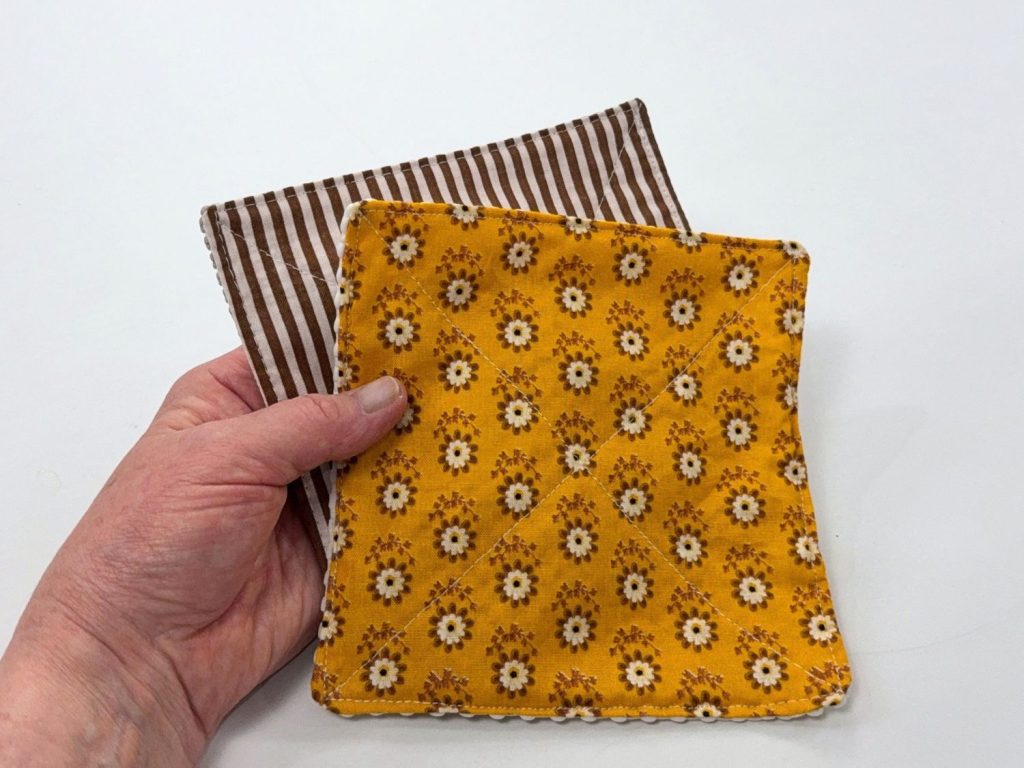
These DIY fabric jar openers are one of those simple little sewing projects that are surprisingly handy in the kitchen!

They’re quick and easy to make, require only a small piece of fabric, and are a great way to use up some of those fabric scraps you have tucked away.

The grippy shelf liner on one side helps you grip stubborn jar lids, while the fun cotton fabric on the other side makes them cute enough to leave in a kitchen drawer or give as a gift.

And the best part? You can make one in about 10 minutes!

These would be fun to make in coordinating fabrics as a set, tuck into a kitchen-themed gift basket, or make several at once for quick handmade gifts.

Why You’ll Love These DIY Jar Openers

  • Quick and beginner-friendly

  • Takes about 10 minutes to make

  • Great scrap fabric project

  • Uses inexpensive shelf liner

  • Washable and reusable

  • Handy for opening stubborn jars

  • Makes a practical handmade gift

  • Easy project to sew in batches

Materials and Supplies

You don’t need much to make these jar openers.

Fabric Cutting Measurements
Cut:

1 piece of cotton fabric: 6½ x 6½ inches (16.5 x 16.5 cm)

1 piece of non-slip shelf liner: 6½ x 6½ inches (16.5 x 16.5 cm)

This is a perfect project for digging through your fabric scraps and finding some fun prints!

diy fabric jar opener

How to Make a Fabric Jar Opener

1. Cut the Fabric and Shelf Liner

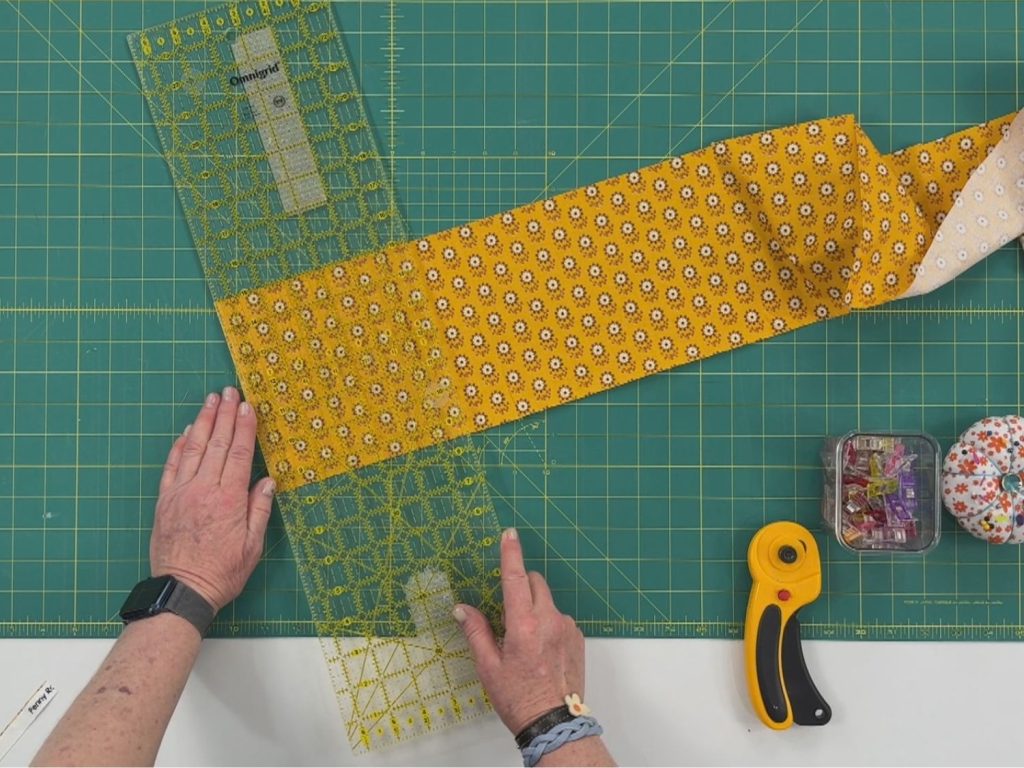
Cut one 6½-inch square from your cotton fabric and one 6½-inch square from your non-slip shelf liner.

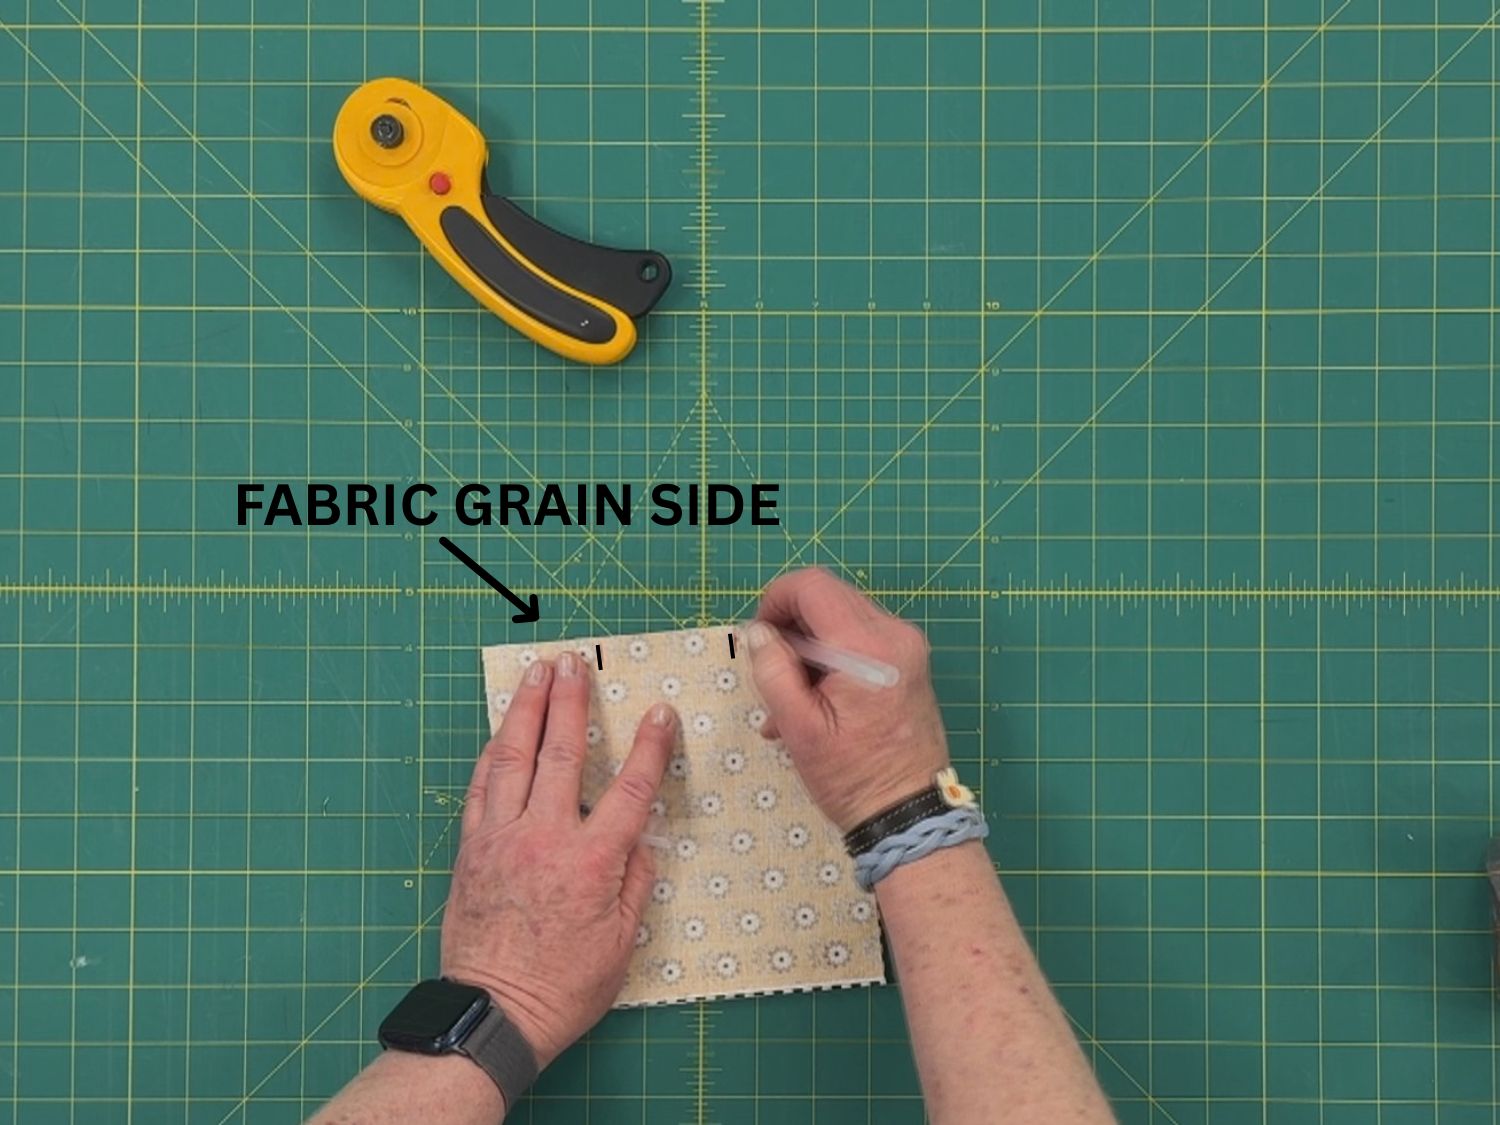
Before sewing, take a look at the shelf liner and determine which direction has the least amount of stretch.

Place the cotton fabric right side facing down onto the shelf liner.

Line up the edges.

2. Mark the Opening

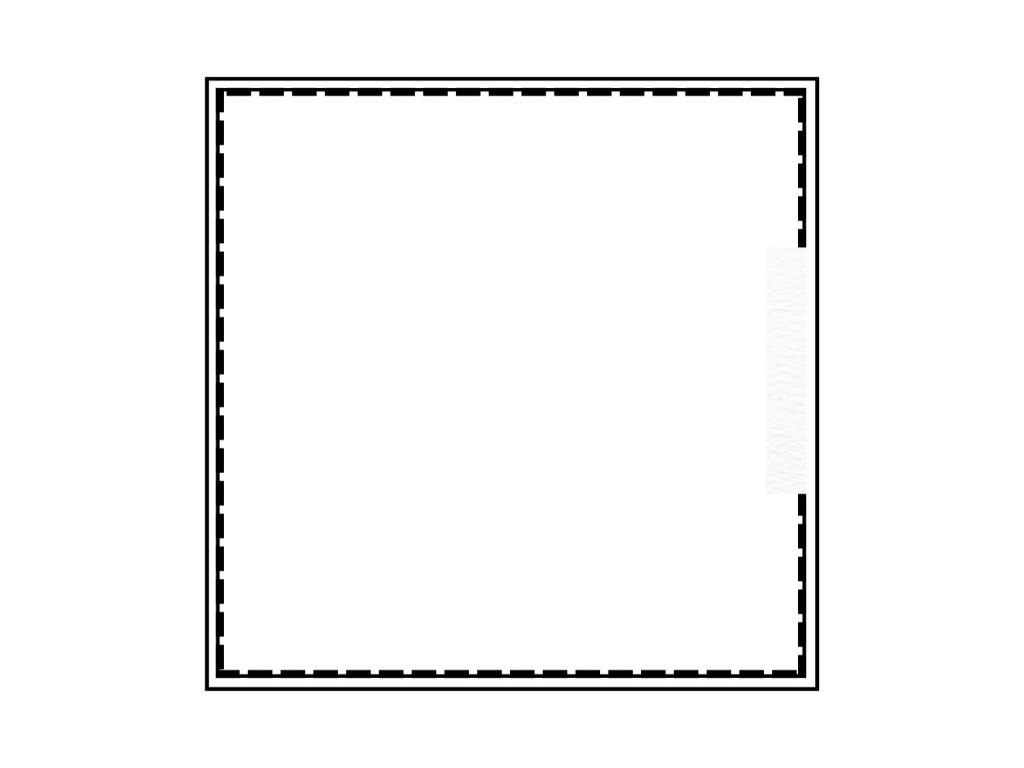
Along one of the “non-stretchy sides”, mark a 2½-inch opening.

You’ll leave this section unsewn so you can turn the jar opener right side out.

Pin the fabric and shelf liner together around the outside edges.

diy fabric jar opener

3. Sew Around the Edges

Using a ¼-inch seam allowance, sew around the outside edge.

Backstitch at the beginning.

When you reach a corner, stop approximately ¼ inch from the edge with the needle down, lift the presser foot, pivot the fabric, and continue sewing.

TIP: Sew a little slower than usual when sewing the shelf liner. It can have a tendency to grab or shift, so keep everything flat and gently guide it as you sew.

Continue around the square until you reach the other side of the opening you marked.

Backstitch to secure the seam.

diy fabric jar opener

4. Clip the Corners

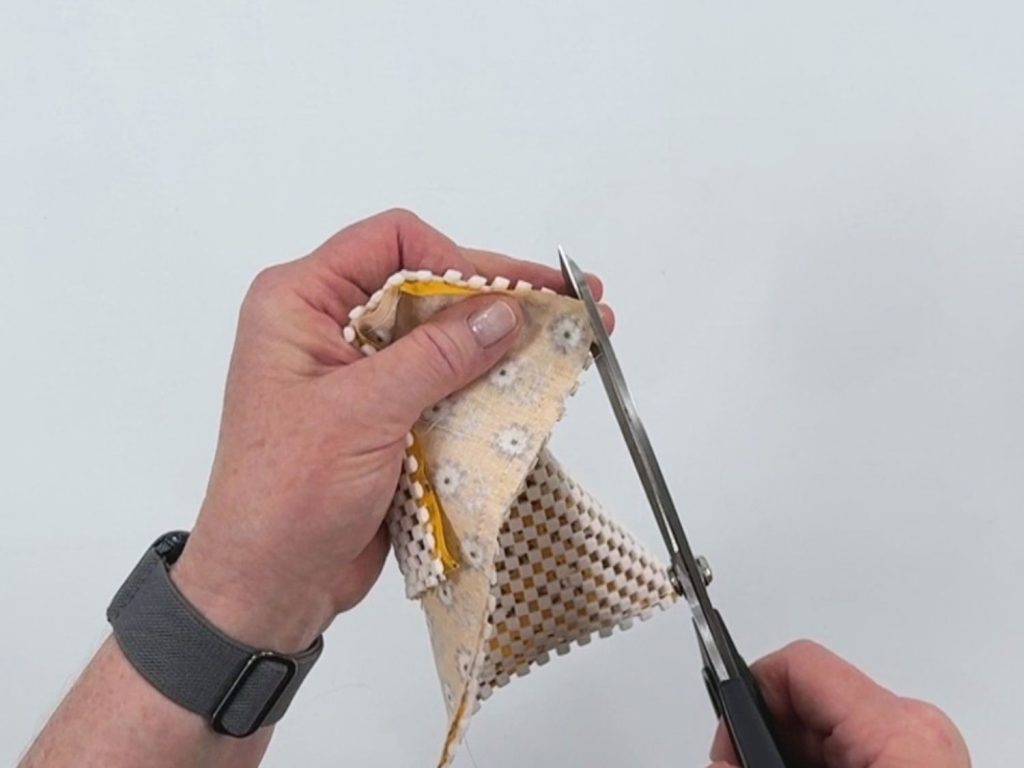
Clip diagonally across each corner to remove some of the bulk.

Be careful not to cut through your stitching.

diy fabric jar opener

5. Turn Right Side Out

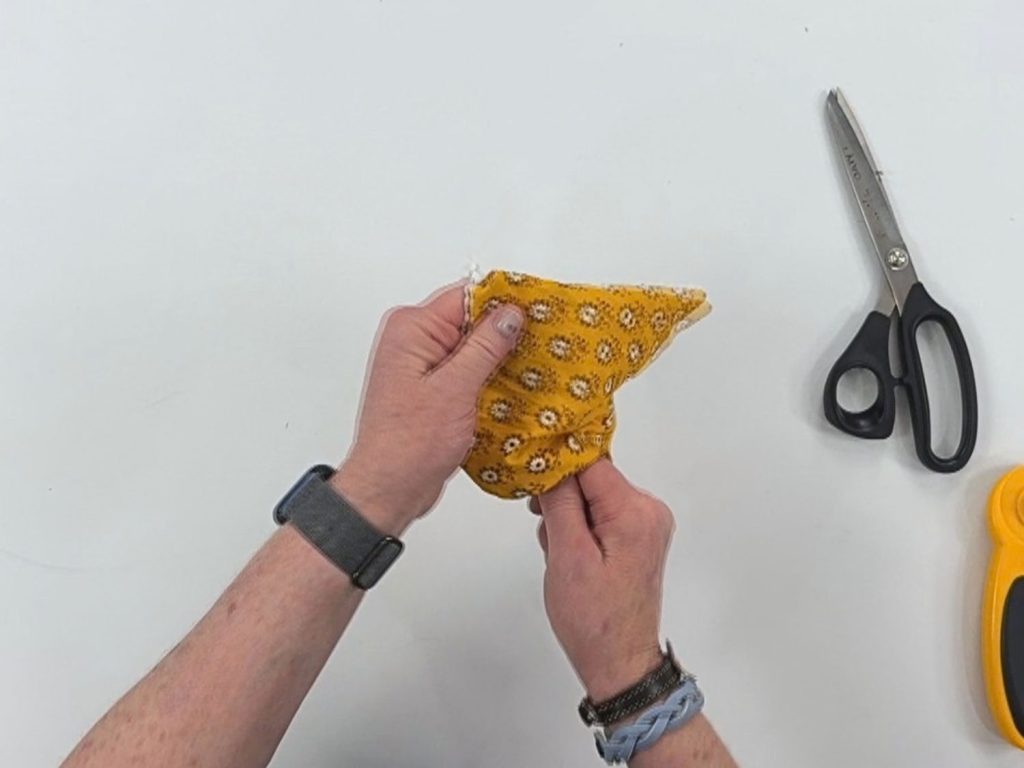
Turn the jar opener right side out through the opening.

Use a turning stick or point turner to gently push out the corners.

Roll the seams between your fingers if needed to help get the edges nice and flat.

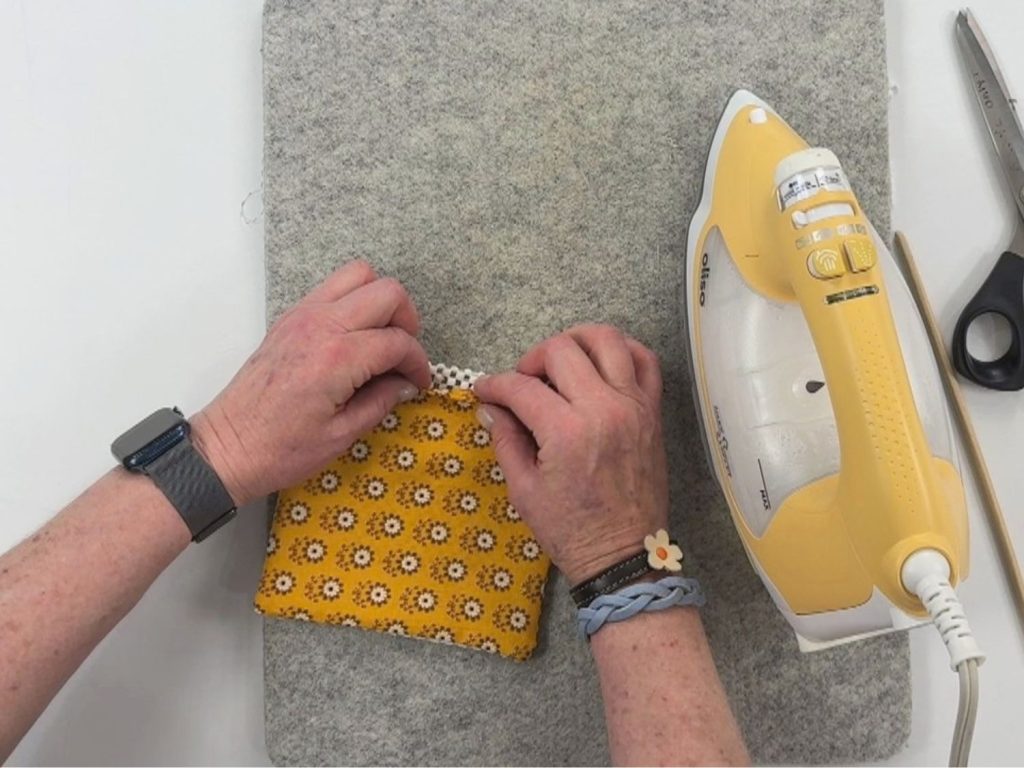
Give the fabric side a light press.

Be careful when ironing near the shelf liner. Some shelf liner materials may not tolerate high heat, so keep the iron on the fabric side and use an appropriate temperature.

diy fabric jar opener

6. Close the Opening

At the opening, tuck the seam allowance of both the fabric and shelf liner toward the inside so the edge lines up with the rest of the jar opener.

I like to use a pin here instead of a sewing clip because it keeps everything from shifting while I sew.

diy fabric jar opener

7. Mark the Diagonal Quilting Lines

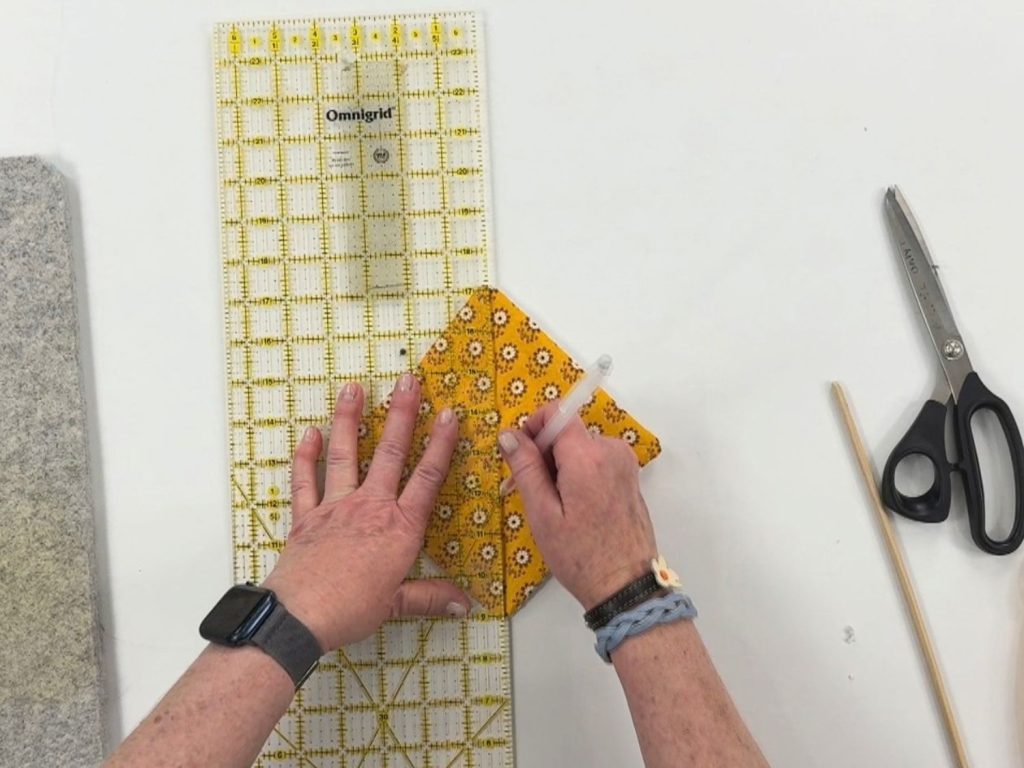
Using a removable fabric marking pen, draw a diagonal line from one corner to the opposite corner.

Repeat with the other two corners so you have a large X across the jar opener.

I like using a heat-erasable marking pen because the lines disappear when heat is applied.
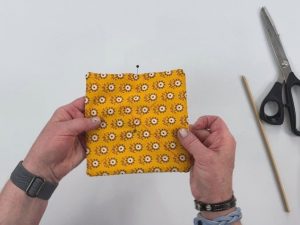
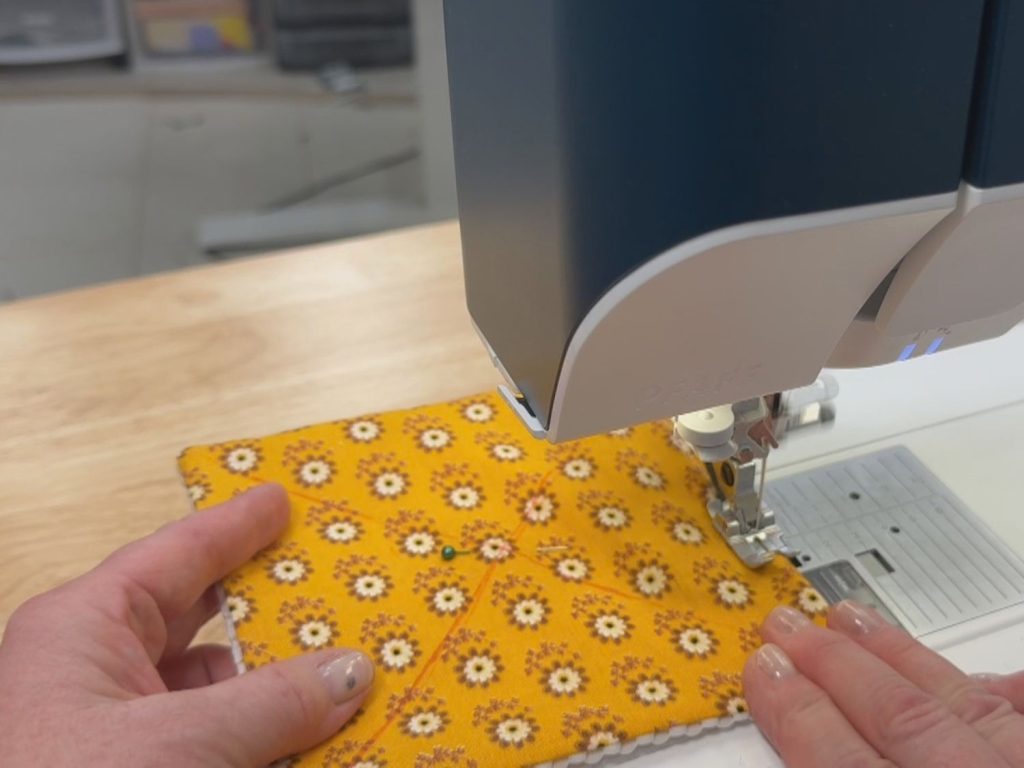
diy fabric jar openerPlace a pin in the center to keep the two layers from shifting while you sew.
diy fabric jar opener

8. Topstitch Around the Jar Opener

Topstitch around the outside edge using approximately a ⅛-inch seam allowance.

This topstitching will also close the opening you used for turning.

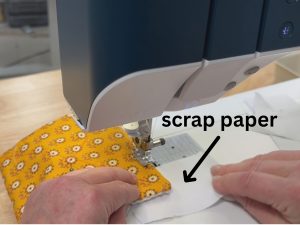
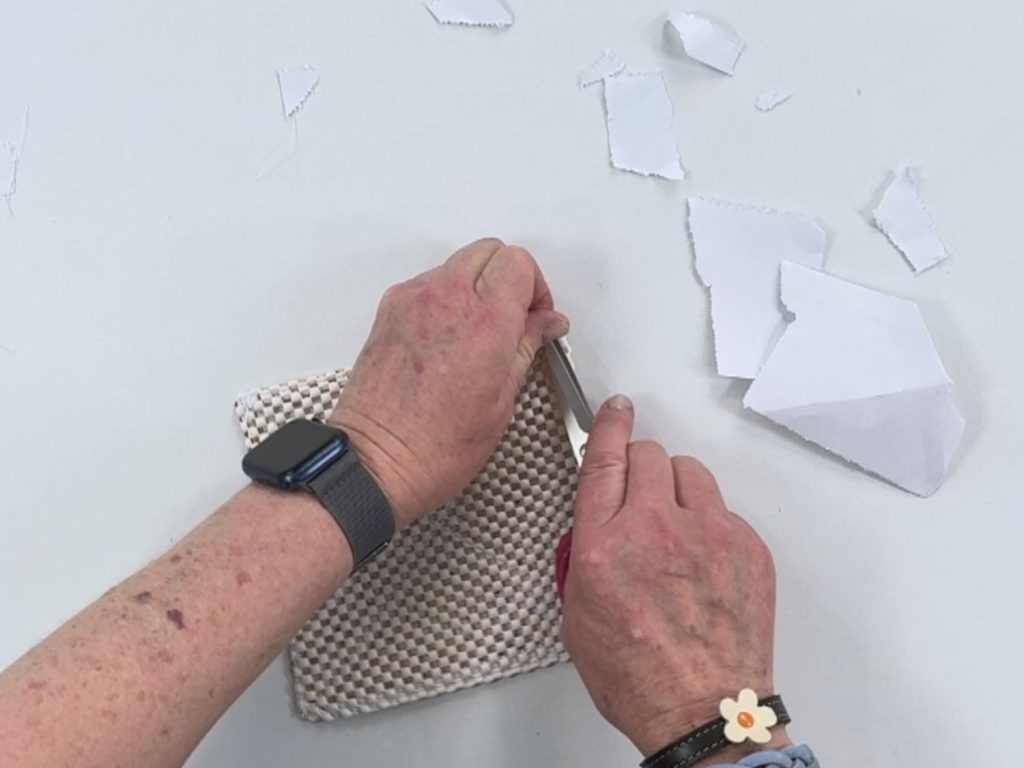
tipdiy fabric jar openerHere’s a little trick that makes sewing the shelf liner much easier:

Grab four small scraps of regular paper.

As you approach each corner, slide a little piece of paper underneath the corner of the jar opener.

The paper gives the feed dogs something to grab onto and helps keep the shelf liner moving smoothly through the sewing machine.

Another sewing tip: Hold onto the top thread for the first few stitches when you begin topstitching. This can help prevent those annoying tangled or “bird’s nest” stitches from forming underneath.

9. Sew the Diagonal Lines

Now stitch along the two diagonal lines you marked earlier.

Backstitch at the beginning and end of each line.

These stitches help keep the cotton fabric and shelf liner together and give the finished jar opener a nice quilted look.

diy fabric jar opener

Remove any remaining pieces of paper and trim loose threads.

Give the fabric side one final press if needed to remove your heat-erasable markings.

Your DIY jar opener is finished!

10. Sew the Diagonal Lines

Now stitch along the two diagonal lines you marked earlier.

Backstitch at the beginning and end of each line.

These stitches help keep the cotton fabric and shelf liner together and give the finished jar opener a nice quilted look.

Remove any remaining pieces of paper and trim loose threads.

Give the fabric side one final press if needed to remove your heat-erasable markings.

Your DIY jar opener is finished!

Click on the link below to download the FREE PDF Pattern Instructions.

Batch Sew Them

Once you have everything cut out, these are really easy to assembly-line sew.

Cut several fabric and shelf liner squares at once, sew all the outside seams, turn them, and then do all the topstitching.

Before you know it, you’ll have a whole stack!

They’re great to have on hand for:

  • Hostess gifts

  • Christmas gifts

  • Mother’s Day gifts

  • Housewarming gifts

  • Teacher or neighbor gifts

  • Craft fairs

  • Stocking stuffers

  • Kitchen gift baskets

Or just make a couple for yourself. Sometimes the simplest sewing projects end up being the things you use the most!

Watch the DIY Jar Opener Video Tutorial

If you’d rather see the process in action, be sure to watch my DIY Fabric Jar Opener video tutorial.

I’ll walk you through the entire project and show you my little paper trick for sewing over the shelf liner without it getting hung up at the corners.

Grab a fun piece of fabric from your scrap bin, get your sewing machine out, and make a few of these handy little jar openers.

Simple, useful, and finished in about 10 minutes — my kind of sewing project!


Have fun sewing!

jan3

Share:

Facebook
Twitter
Pinterest

Connect:

Picture of Jan Howell

Jan Howell

Whether it’s a new recipe, a fun craft, or some handy tips for your garden and home, I hope to empower and inspire you with skills that you can use to create joy, improved health, and to do it in a simple way.

Read More

How To Sew a Zipper Pouch With Contrasting Zipper Trim / Easy Sewing Tutorial

How to sew zipper trim to zipper pouches

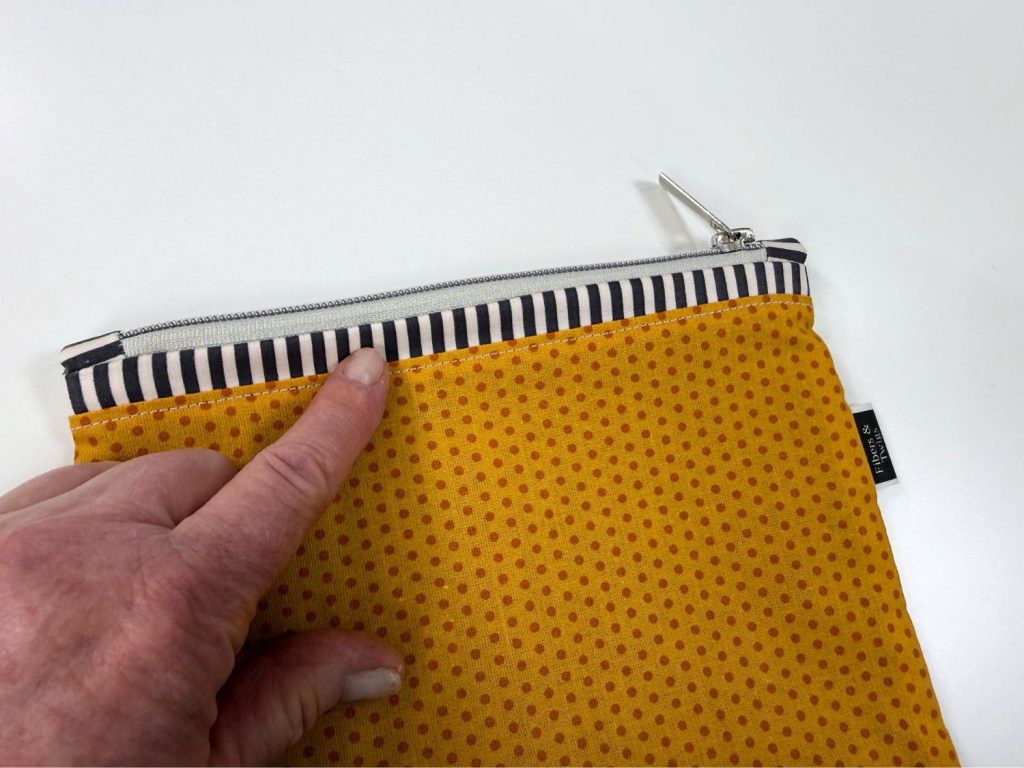
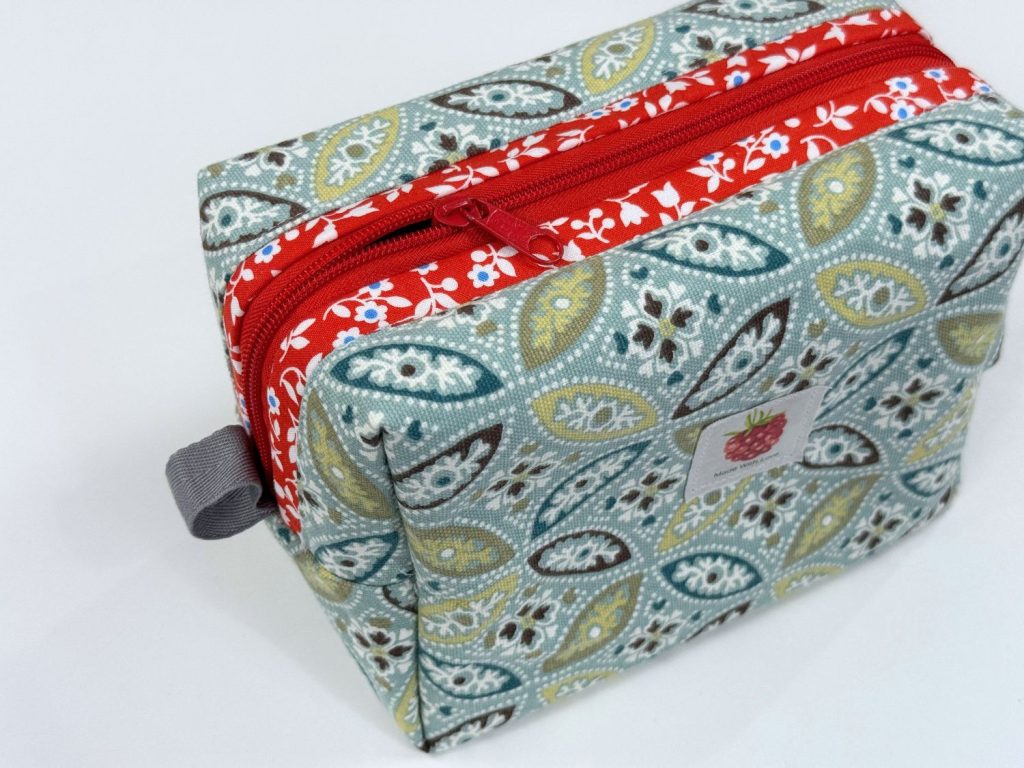
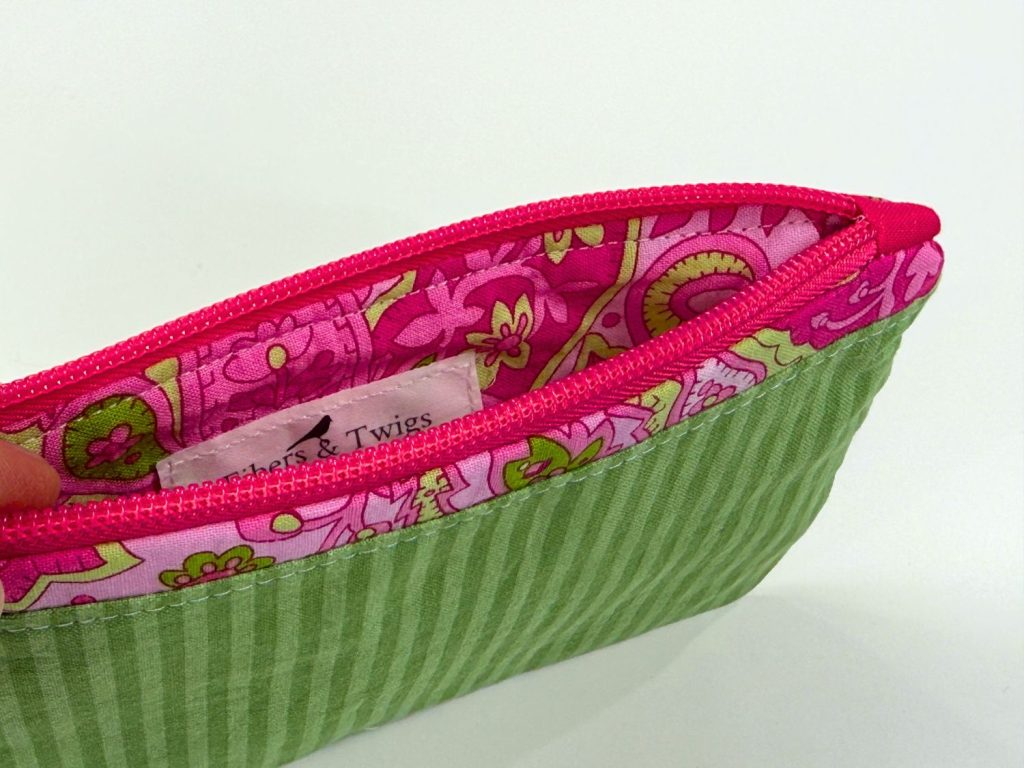
If you love making zipper pouches, here’s a simple way to take them up a notch by adding some contrasting fabric zipper trim.

It’s such a small detail, but look at the difference it makes!

Adding a strip of coordinating or contrasting fabric next to the zipper gives an ordinary zipper pouch a little extra character and a more finished, custom look. It’s also a great way to use some of those smaller fabric scraps you’ve been saving.

The best part? It’s really quite easy to do.

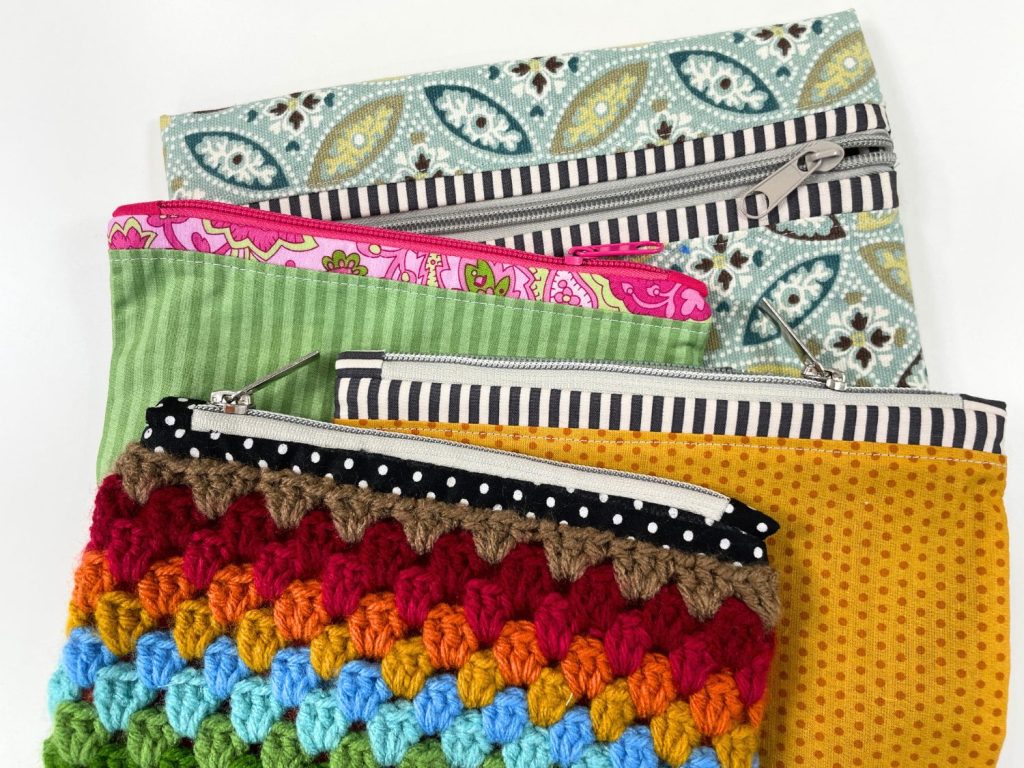
In this tutorial, I’ll show you how to add fabric zipper trim to a box zipper pouch without zipper tabs, as well as a zipper pouch that uses zipper tabs.

Once you understand the basic technique, you can use it on all kinds of zipper pouch patterns.

STRIPED ZIPPER TRIM ZIPPER POUCH

The best part? It’s really quite easy to do.

In this tutorial, I’ll show you how to add fabric zipper trim to a box zipper pouch without zipper tabs, as well as a zipper pouch that uses zipper tabs.

Once you understand the basic technique, you can use it on all kinds of zipper pouch patterns.

What Is Fabric Zipper Trim?

Fabric zipper trim is simply a narrow strip of fabric sewn between the zipper and the main zipper panel.

Instead of having the zipper sewn directly next to your main fabric, you get a little pop of contrasting fabric running alongside it.

You can make the trim subtle by using coordinating fabrics, or make it stand out with stripes, bright colors, or fun prints.

This is one of those little sewing details that can make a simple handmade bag look extra special.

Materials and Supplies

You’ll need:

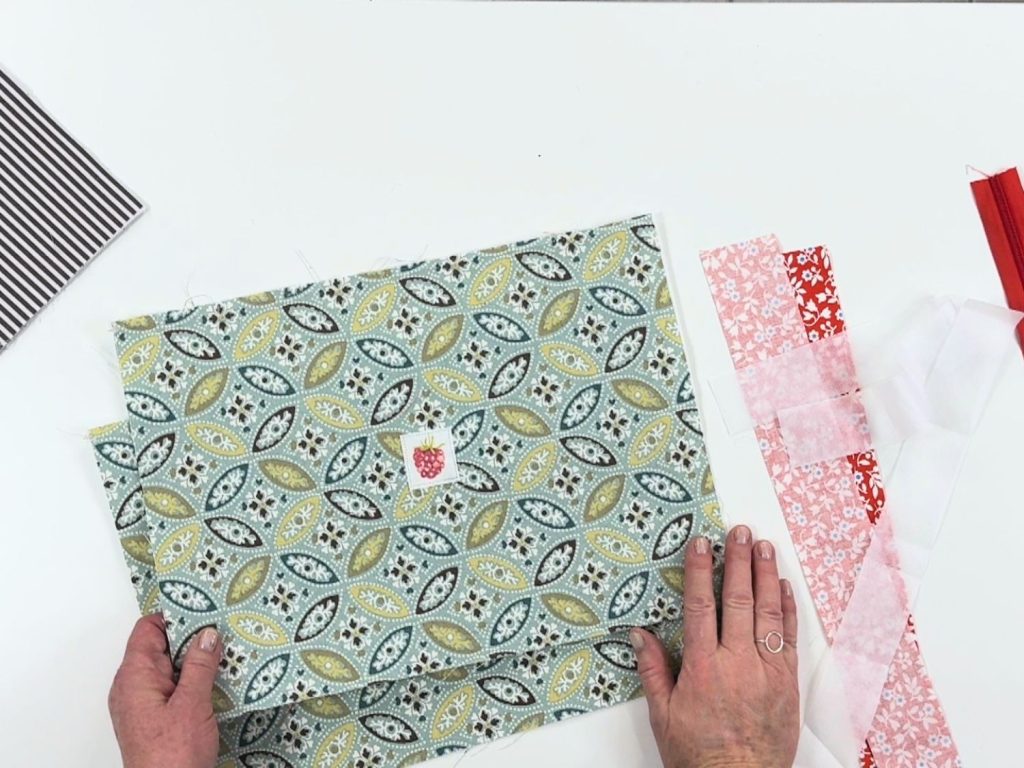
zipper trim pouch panels

For each zipper panel, cut:

Fabric trim: 2 inches wide × the length of your outer zipper panel

Medium-weight fusible interfacing: 1½ inches wide × the length of the fabric trim

You’ll need one fabric trim piece for each side of the zipper.

zipper trim

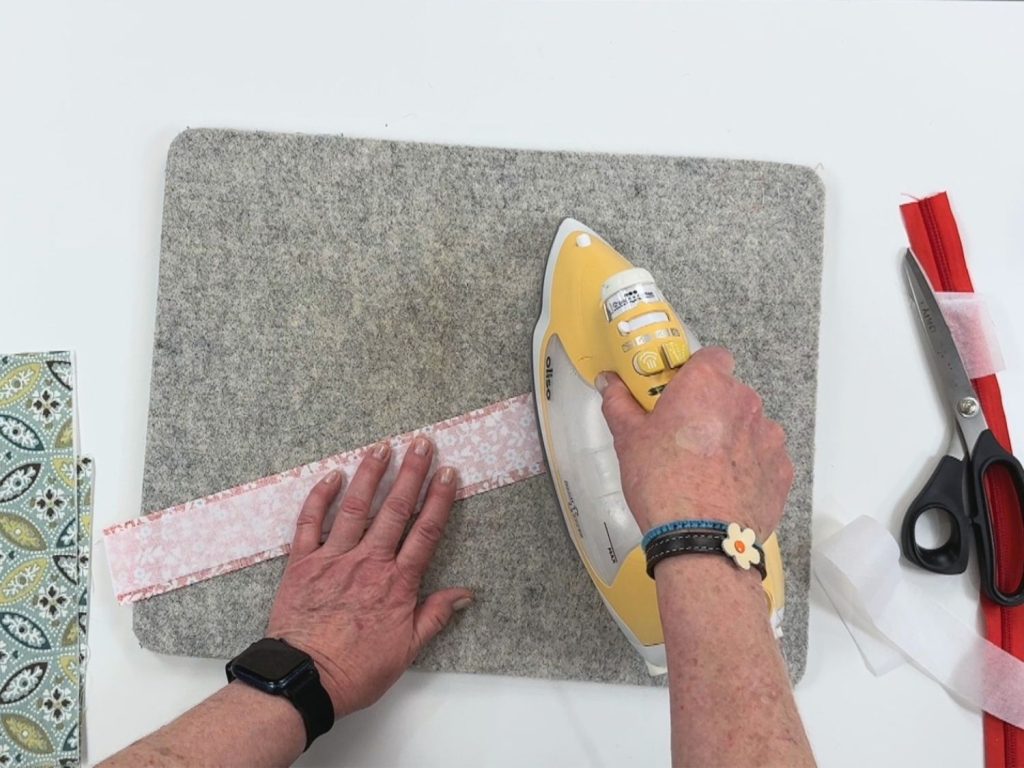
Step 1: Apply the Interfacing

Place the fabric strip with the wrong side facing up.

Position the fusible interfacing on the back of the fabric with the adhesive/bumpy side facing down.

Center the interfacing on the fabric strip and fuse it in place according to the manufacturer’s instructions.

The interfacing gives the trim a little extra stability and helps it keep a nice crisp shape.

zipper trim

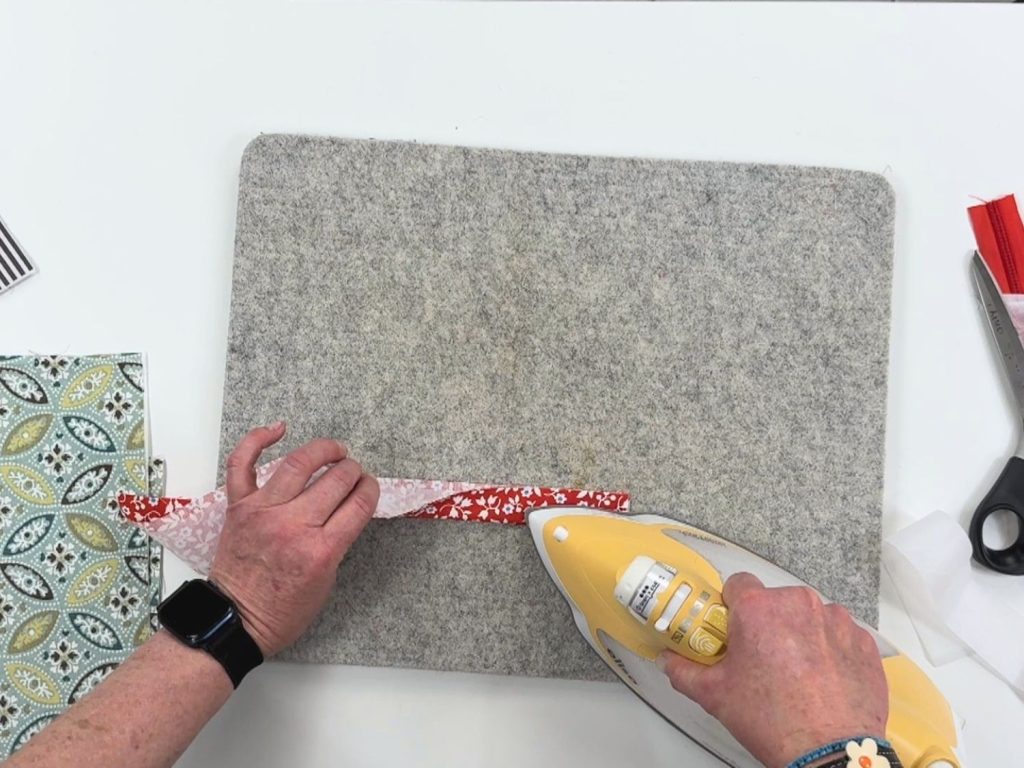
Step 2: Press the Fabric Trim

Fold the fabric strip in half lengthwise and press it well.

You’ll now have a folded strip about 1 inch wide.

Step 3: Sew the Trim to the Zipper Panel

Locate the top edge of your outer zipper panel.

Place the raw edges of the folded trim along the panel’s top raw edge.

If you’re using directional fabric, pay attention to which direction your fabric needs to face once the zipper is installed.

Pin or clip the layers in place.

Set your sewing machine to a regular straight stitch with a stitch length of approximately 2.5.

Sew the trim to the panel using a ¼-inch seam allowance, backstitching at the beginning and end.

zipper trim pressing

Step 4: Topstitch the Trim

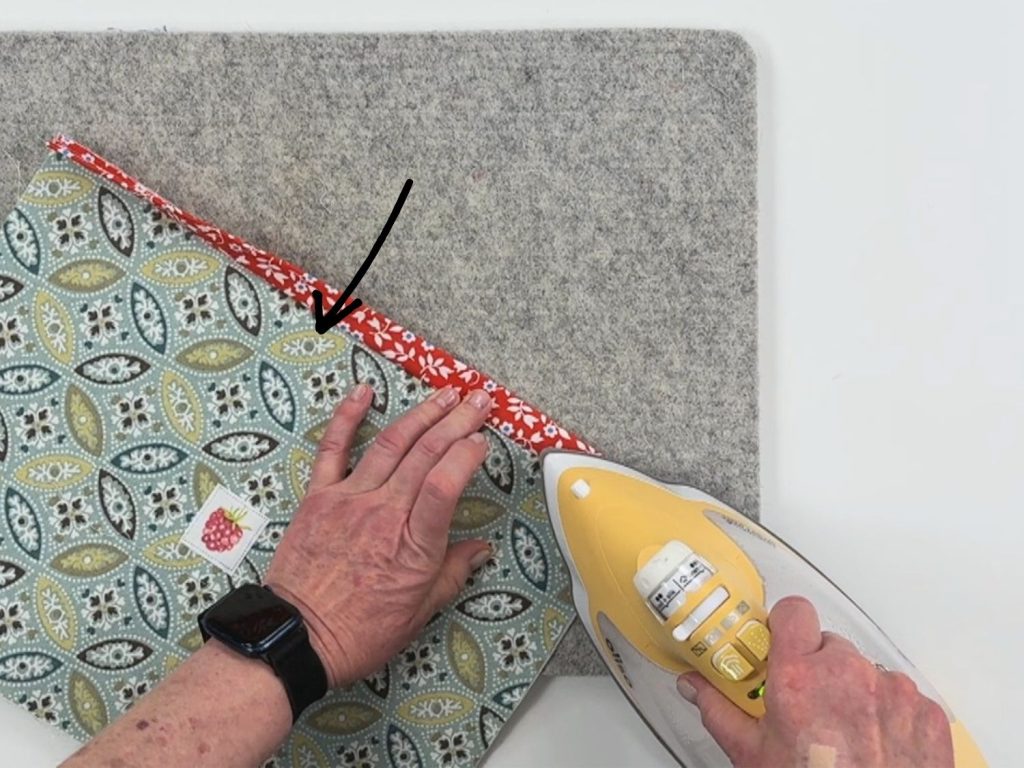
Fold the trim away from the main fabric and press it flat.

zipper trimTopstitch approximately ⅛ inch from the seam.
I like to increase my stitch length to about 3.0 for topstitching. The slightly longer stitch gives the topstitching a nice finished look.

Repeat these steps for the other zipper panel.

trimming zipper panel zipper trim

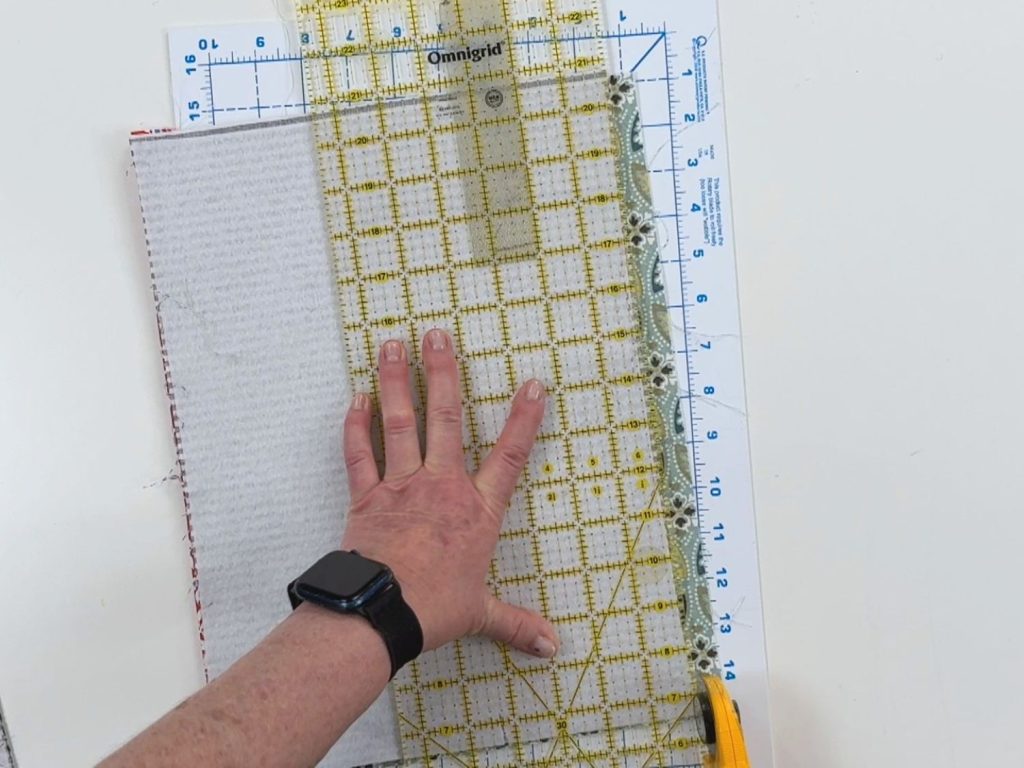
Step 5: Trim the Zipper Panels Back to Size

This step is important!

Adding the fabric trim increases the overall size of your zipper panels.

After you’ve sewn and topstitched the trim, place your outer zipper panel next to its corresponding lining piece.

Trim the outer panel so that it is exactly the same size as the lining piece.

Don’t worry if your finished trim width varies slightly. What’s important is that your outer and lining pieces are the same size before you continue assembling the pouch.

boxed zipper pouch with zipper trim

Adding Fabric Trim to a Box Zipper Pouch

If you’re making a box zipper pouch that doesn’t use zipper tabs, add the contrasting trim to your zipper panels using the steps above.

Once the trim is attached and the panels have been trimmed back to the correct size, continue sewing the pouch according to the regular pattern instructions.

The trim simply becomes part of your outer zipper panel.

LEARN HOW TO MAKE A BOXED ZIPPER POUCH HERE

zipper pouch with tabs and zipper trim

Adding Fabric Trim to a Zipper Pouch With Zipper Tabs

You can use the same technique on zipper pouches that have fabric zipper tabs at the ends of the zipper.

First, add and topstitch the contrasting trim to your zipper panels.

zipper trim panelTrim the panels back to the correct size.
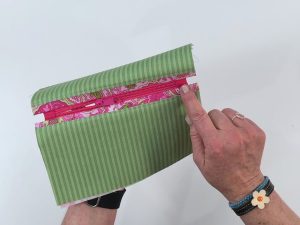
zipper pouch tabs with zipper trim Next, prepare your zipper and add the zipper tabs as you normally would.

diy ZIPPER TABSLEARN HOW TO MAKE A ZIPPER POUCH WITH ZIPPER TABS

When you’re ready to install the zipper, simply treat the zipper trim as if it’s part of your main fabric.

ZIPPER TRIM Mark your zipper placement points and sew the zipper into the pouch according to your pattern instructions.
zipper trim pinning tip

An Important Tip for Matching the Trim

Here’s one little detail that makes a BIG difference in how your finished pouch looks.

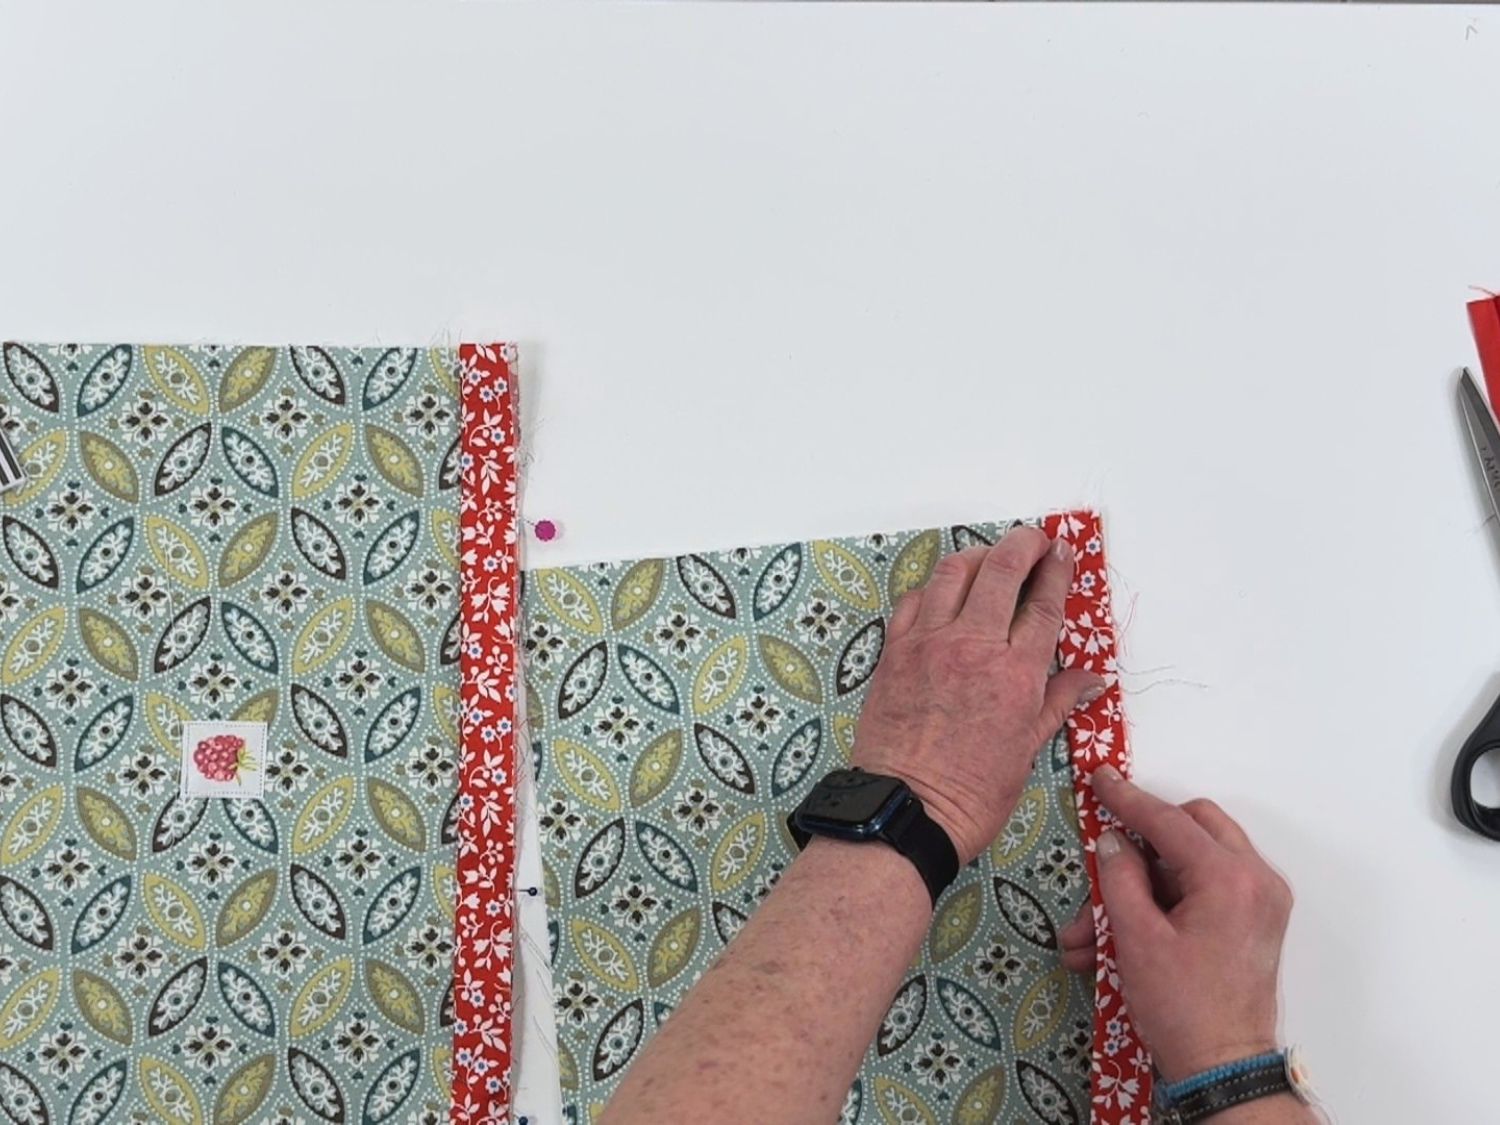
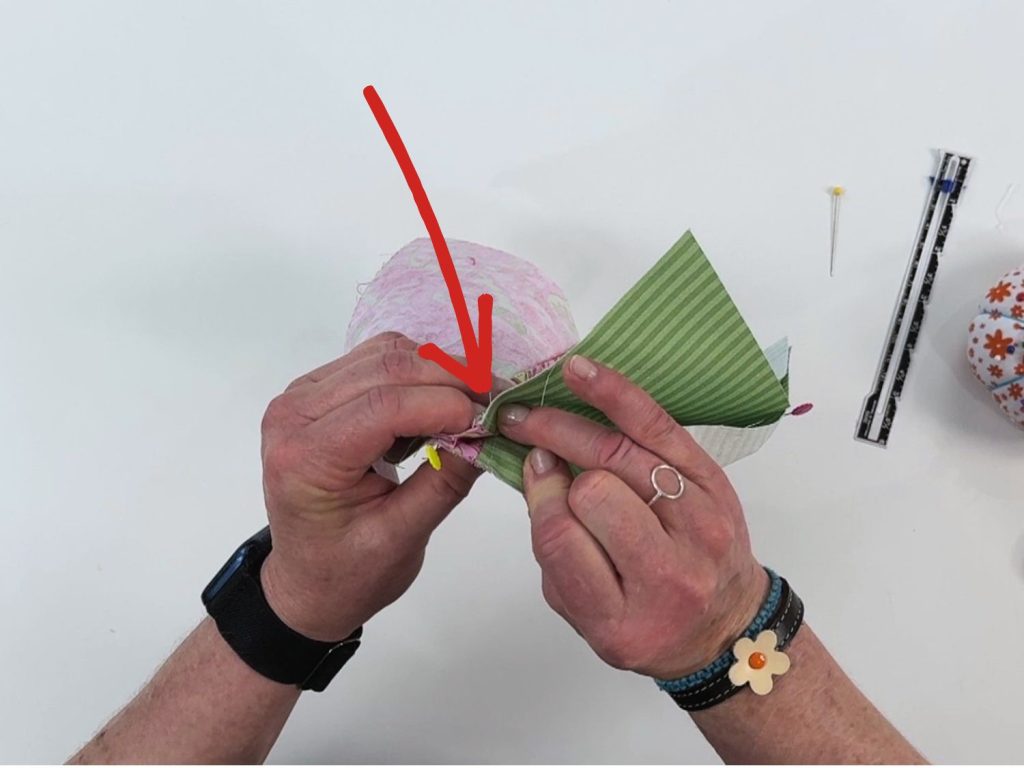
When you pin the pouch pieces together, make sure the edges of the contrasting zipper trim line up perfectly on both sides of the zipper.

I prefer using pins in this area instead of sewing clips because clips can sometimes allow the fabric layers to shift.

Take an extra minute to match those seams before sewing.

It’s worth it!

zipper pouch zipper trim

Try Different Fabric Combinations

This is where you can have some fun.

Try combining:

  • Stripes with florals

  • Solids with busy prints

  • Small scraps from another part of the bag

  • Bright colors with neutral fabrics

  • Contrasting zipper tabs and zipper trim

  • Coordinating fabrics from the same collection

CROCHET ZIPPER POUCH

You can even use this technique when adding a zipper to a crochet bag. The little strip of fabric creates a nice transition between the crochet texture and the zipper.

LEARN HOW TO ADD A ZIPPER TO A CROCHET ZIPPER POUCH

A Simple Detail That Makes a Big Difference

I love sewing techniques like this because they don’t add a lot of extra work, but they can completely change the look of a project.

Once you know how to add contrasting fabric zipper trim, you can use the technique on all kinds of zipper pouches and bags.

And since the strips are small, it’s another great way to put those leftover fabric scraps to good use.

Have fun experimenting with different fabrics and color combinations. You may find yourself wanting to add zipper trim to every pouch you make!

Happy sewing!


Have fun sewing!

jan3

Share:

Facebook
Twitter
Pinterest

Connect:

Picture of Jan Howell

Jan Howell

Whether it’s a new recipe, a fun craft, or some handy tips for your garden and home, I hope to empower and inspire you with skills that you can use to create joy, improved health, and to do it in a simple way.

Read More