Printable Calendars for 2027 – 4 Simple Ways to Stay Organized

printable calendars

Every year, I create a new set of printable calendars, and even with all the digital calendars and planning apps available, I still love using a good old-fashioned paper calendar.

There’s just something about having a calendar right in front of me where I can see the whole month at a glance, jot down appointments, and keep track of important dates.

printable calendars

I’ve been designing and using my own printable calendars for years, and I’ve come up with four different styles that I really enjoy. They’re simple, practical, and easy to print right at home.

Whether you prefer a full-size calendar for your binder, a compact planner, a tiny pocket calendar you can take anywhere, or a simple monthly calendar displayed on a clipboard, I’ve got you covered!

In this post, I’ll show you my four 2027 printable calendar designs, explain the benefits of each one, and share a few helpful printing tips.

Why I Love Printable Calendars

I know there are plenty of digital calendars available, but I still prefer having a paper calendar for certain things.

I like being able to quickly glance at the month, write things down, and see what’s coming up without having to open an app or turn on my computer.

And one of the best things about printable calendars is that you can print them whenever you need them.

  • Convenient: Download the PDF file and print your calendar at home.

  • Budget-friendly: No need to purchase another physical calendar every time you need an extra copy.

  • Flexible: Print additional copies for different purposes.

  • Simple: No complicated apps or technology required.

  • Practical: Keep your calendar somewhere you’ll actually see and use it.

I’ve found that having a calendar that’s easy to access makes planning and staying organized a little less overwhelming.

printable calendars

4 Printable Calendar Styles to Choose From

I’ve created four different printable monthly calendars, each with its own features and uses.

Let’s take a look at each one.

1. Printable Clipboard Calendar – Simple and Easy to Display

This printable clipboard calendar is a great option if you like keeping your monthly schedule somewhere you can easily see.

Print the calendar pages and display the current month on a clipboard. When a new month rolls around, switch out the page.

I love how simple this is, and you can use a clipboard that coordinates with your home or office decor.

Great places to use a clipboard calendar:

  • Kitchen or family command center 

  • Home office or workspace

  • Sewing or craft room

  • Desk or countertop

  • Home organization area

You can hang the clipboard on a wall or simply prop it up where it’s easy to see.

MAGNET CLIP CALENDARI LOVE these little magnetic clips. They allow you to hang your calendar on a fridge or magnetic surface.

chalkboard and magnetic board after I have a magnetic board in my kitchen, and this is where I hang my MENU CALENDAR. 

This is a great option if you want a calendar that’s functional without taking up a lot of space.

GET THE PRINTABLE CLIPBOARD CALENDAR FROM MY WEBSITE STORE OR FROM MY ETSY SHOP.

2. Printable Planner Calendar – Compact and Portable

If you like having a calendar you can take with you, this printable planner calendar is a handy option.

The calendar pages are printed, cut, and folded to create a compact monthly planner that you can keep in a notebook or planner.

It’s a great way to keep track of appointments, birthdays, upcoming events, and other important dates when you’re away from home.

I love having a calendar that’s easy to grab and take with me.

Easy Printing and Folding Instructions Included

Don’t let the printing and folding process intimidate you!

Your printable planner calendar download includes detailed written instructions to help you print and assemble your calendar.

I’ve also created a step-by-step YouTube video tutorial that walks you through the printing and folding process.

You’ll find a QR code right on the downloadable instruction sheet. Simply scan the code with your phone or tablet, and it will take you directly to the video.

This makes it easy to follow along as you put your calendar together.

GET THE PRINTABLE PLANNER CALENDAR FROM MY WEBSITE STORE OR FROM MY ETSY SHOP.

3. Printable Pocket Calendar – A Mini Calendar You Can Take Anywhere

Sometimes you just need a tiny calendar that you can tuck into your purse, pocket, wallet, or notebook.

2027 printable calendar pocketThat’s where my 2027 printable pocket calendar comes in handy!

This miniature monthly calendar is perfect for keeping important dates and appointments close by without carrying a full-size planner.

2027 pocket calendarI especially like how compact and convenient this little calendar is. It’s a great option when you want something simple that doesn’t take up much room.

A few ways to use a pocket calendar:

  • Keep one in your purse or handbag.

  • Tuck one into a small notebook or journal.

  • Carry one with you to appointments.

  • Keep a spare calendar in your car or travel bag.

  • Make an extra copy for a friend or family member.

Print and Assemble Your Pocket Calendar at Home

Your pocket calendar comes as a downloadable PDF file that you can print at home.

The pages are arranged so that, when printed and assembled correctly, they create a miniature calendar booklet.

You can put the pages together in a couple of different ways, depending on how you want to use your calendar.

For example, you can create a small booklet with a stitched center or prepare the pages for use in a small binder.

I’ve also created a step-by-step YouTube video tutorial that walks you through the printing and folding process.

You’ll find a QR code right on the downloadable instruction sheet. Simply scan the code with your phone or tablet, and it will take you directly to the video.

This is such a fun little paper project, and once you’ve made one, you’ll see how handy these mini calendars can be.

GET THE PRINTABLE PLANNER CALENDAR FROM MY WEBSITE STORE OR FROM MY ETSY SHOP.

4. Printable Binder Calendar – Full-Size Monthly Planning

Sometimes it’s nice to have a larger calendar where you can see the whole month at a glance.

That’s where my full-size printable binder calendar comes in handy.

This calendar is designed to be printed and kept in a binder, making it easy to flip through the months and keep everything organized in one place.

The monthly layouts spread across facing pages, giving you plenty of room to write down appointments, reminders, and other important information.

I especially like using binders because you can add extra pages for notes, lists, or other planning information.

A few ways you can use a binder calendar:

  • Family schedules and appointments

  • Meal planning

  • Gardening and seasonal projects

  • Sewing and craft project planning

  • Birthdays and special occasions

  • Household tasks and reminders

You can even create a separate binder for a specific area of your life.

Helpful Printing Video Included

Like my planner calendar, the binder calendar includes written printing instructions.

I’ve also included a QR code linking to a video tutorial where I show you how to print and put the calendar together.

Simply scan the code on your downloaded instruction sheet to watch the video.

disc plannerI use disc planner components to bind my business planning calendar. This simple disc punch makes adding paper to my planner a breeze. 

And I like this simple 3-hole punch for my 3-ring binders. 

GET THE PRINTABLE PLANNER CALENDAR FROM MY WEBSITE STORE OR FROM MY ETSY SHOP.

printable calendar cutting

How to Print Your Calendars at Home

One of the things I love most about printable calendars is that you don’t need any fancy equipment to make them.

A home printer, some paper, and a few basic supplies are usually all you need.

Here are a few tips to help you get good results.

1. Download and save your PDF file.

After purchasing your calendar, download the files and save them somewhere on your computer where you can easily find them again.

(Please note: if you create an account on my site, you will always have access to all your purchased digital files forever and can print them out as many times as desired.).

2. Read the included printing instructions.

Each calendar style has its own printing requirements, so be sure to check the instructions before you begin.

3. Check your printer settings.

Make sure you’ve selected the correct paper size, orientation, and printing options.

Some calendar styles require printing on both sides of the paper in a specific order. Follow the included instructions carefully to ensure the pages line up correctly.

4. Choose your paper.

Regular printer paper works well for many printable calendars. You can also experiment with slightly heavier paper if you prefer a sturdier feel.

5. Print a test page first.

This is especially helpful if you’re using a new printer or printing one of the calendars for the first time.

And remember, both the planner and big binder calendars include QR codes linking to helpful video tutorials if you need a little extra guidance.

Which Printable Calendar Is Right for You?

Not sure which style to choose?

Here’s a quick comparison to help you decide.

Calendar Style

Best For

Clipboard Calendar

Keeping your monthly schedule visible at home or work

Planner Calendar

Having a compact monthly calendar for a notebook or planner

Pocket Calendar

Carrying a tiny calendar in your purse, pocket, or small notebook

Big Binder Calendar

Full-size monthly planning with plenty of writing space

You may even find that you like using more than one style.

I enjoy having different calendars for different purposes, and that’s one of the reasons I’ve continued making these designs year after year.

printable calendars

Where to Get My 2027 Printable Calendars

All four of my printable calendar designs are available in my Etsy shop, jHowellDESIGNS, or in my Website Shop.

These are digital PDF downloads, so no physical calendar will be shipped to you.

After purchasing, you can download your calendar, follow the included instructions, and print it at home.

Each calendar includes printing instructions, and the planner and big binder calendars also include QR codes that take you directly to my helpful video tutorials.

Whether you’re looking for a large monthly calendar, a portable planner, or a tiny pocket-sized booklet, I hope you’ll find a style that works for you.


I hope these calendars help make your planning and organizing a little easier.

There’s something satisfying about starting a new year with a fresh calendar, and I always enjoy putting mine together.

Happy planning!

Share:

Facebook
Twitter
Pinterest

Connect:

Picture of Jan Howell

Jan Howell

Whether it’s a new recipe, a fun craft, or some handy tips for your garden and home, I hope to empower and inspire you with skills that you can use to create joy, improved health, and to do it in a simple way.

Read More

How to Sew A Zipper Pouch / Simple Front-Facing Zipper

DIY front zipper pouch
front facing zipper pouch

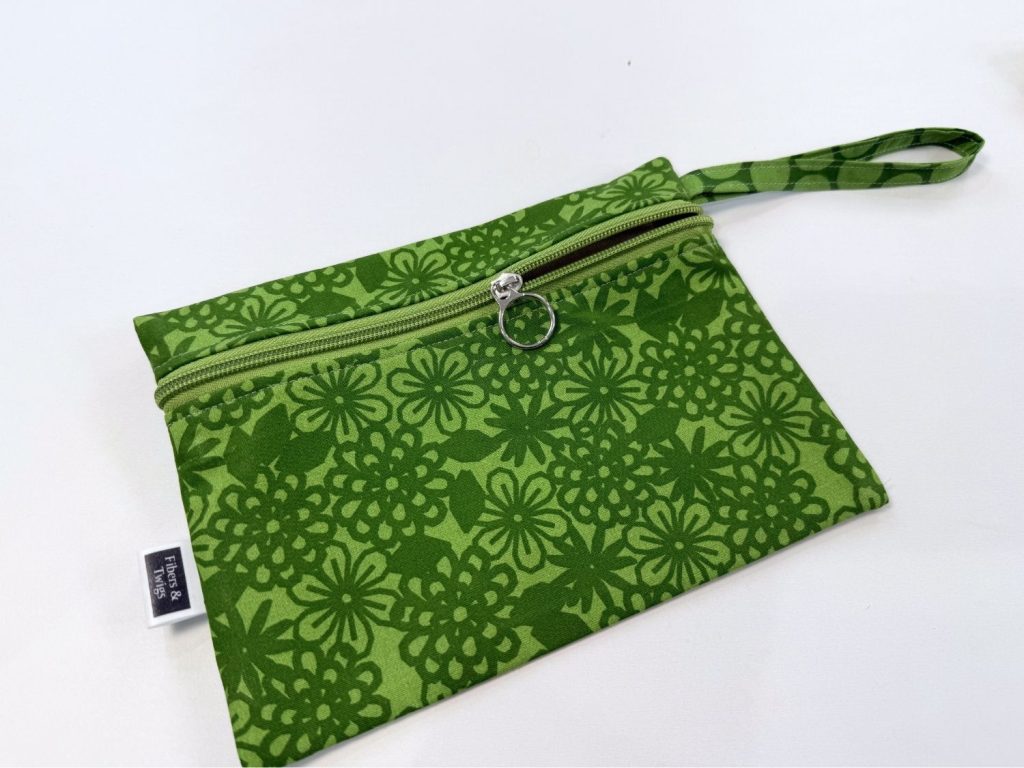
If you love making zipper pouches as much as I do, you’ll enjoy this simple variation! In this tutorial, I’ll show you how to sew a zipper pouch with the zipper on the front instead of along the top.

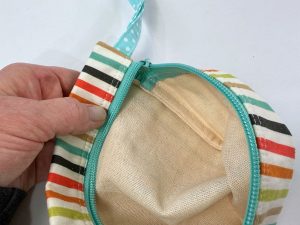
French seam zipper pouchI’ll also show you how to use French seams to give your pouch a clean, finished interior without having to leave an opening in the lining and sew it closed afterward. That’s one less step, and I’m all for making things easier!
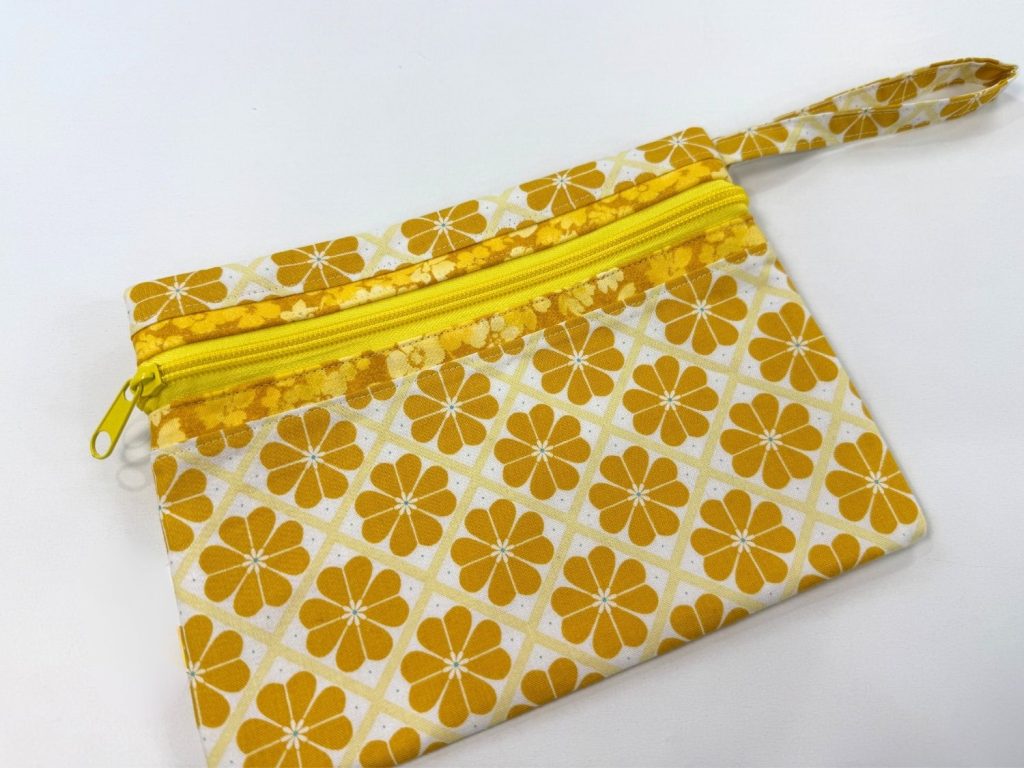
We’ll also add a cute little fabric handle and go over some of my favorite tips for working with zippers.

These little bags are so handy for organizing all kinds of things, and they make great handmade gifts.

front facing zipper pouch

What Makes This Zipper Pouch Different?

If you’ve made one of my other zipper pouch projects, you may be familiar with installing the zipper along the top of the bag.

For this project, we’re doing things a little differently.

Here are a few things I love about this design:

  • Front-facing zipper: Gives the pouch a different look and allows you to adjust where the zipper sits.

  • French seams: Enclose the raw edges inside the pouch for a neat, finished interior.

  • No lining opening to close: There’s no need to turn the pouch through a lining opening and stitch it closed afterward.

  • Fabric handle: Adds a cute, practical finishing touch.

  • Customizable sizes: Make a small, medium, or large pouch depending on what you want to use it for.

You can also play around with different fabric combinations, zipper colors, and even add contrasting zipper trim for a little extra detail.

Supplies You’ll Need

You don’t need a lot of supplies to make these zipper pouches, and you may already have most of them in your sewing room.

Fabric and Materials

Sewing Tools

A little tip: I love using 1/4-inch-wide double-sided fabric tape when installing zippers. It helps keep everything in place without having to worry about pins shifting while I sew.

What Type of Fabric Works Best?

For this tutorial, I’m using regular quilting cotton for the outer fabric and a plain cotton fabric for the lining.

Quilting cotton is easy to work with and comes in so many fun colors and prints.

If you’re using a lighter-weight cotton, I recommend adding fusible interfacing to give the pouch a little more structure.

You can also use heavier fabrics such as:

  • Denim

  • Duck cloth

  • Corduroy

  • Other medium-weight woven fabrics

Depending on the thickness of your fabric, you may not need interfacing.

Here’s a quick overview of the process:front facing zipper pouch

  1. Prepare your fabric. Cut your outer fabric, lining, and interfacing, and fuse the interfacing in place.

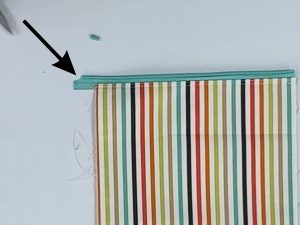
  2. Install the zipper. I’ll show you how to position the zipper on the front of the pouch and add decorative topstitching.

  3. Add the zipper pull. Learn a simple trick that makes installing zipper pulls much easier.

  4. Make the fabric handle. This little addition gives the pouch a cute, practical finishing touch.

  5. Sew the French seams. This is my favorite part! The French seams enclose the raw edges, giving the inside a clean finish without having to sew a lining opening closed.front facing zipper pouch

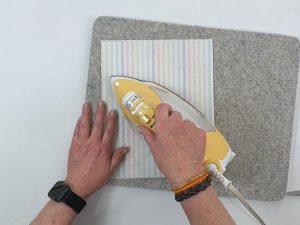
  6. Turn and press. Finish the pouch, straighten the corners, and give it a final press.

Watch the Step-by-Step Video Tutorial

Follow along as I make the medium-sized zipper pouch and share some of my favorite sewing tips along the way.

Get the Printable Zipper Pouch Pattern

Want to make more than one size?

I’ve created a printable PDF sewing pattern that includes three different pouch sizes, along with cutting measurements, printable pattern pieces, and detailed sewing instructions.

It’s especially handy if you want to make several pouches for gifts or prefer having printed instructions right beside your sewing machine.

Share:

Facebook
Twitter
Pinterest

Connect:

Picture of Jan Howell

Jan Howell

Whether it’s a new recipe, a fun craft, or some handy tips for your garden and home, I hope to empower and inspire you with skills that you can use to create joy, improved health, and to do it in a simple way.

Read More