
How to Make DIY Quilting Frames: A Simple Guide to Hand Quilting


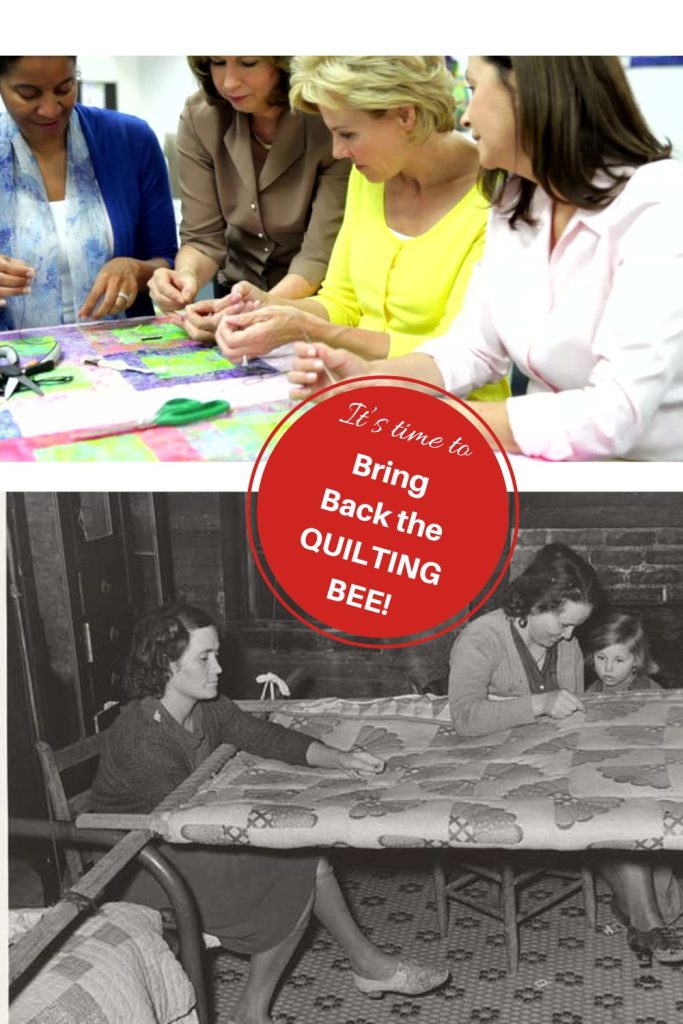


Quilting frames have been used for centuries before high-tech machines and elaborate setups.
 Hand quilting was a tradition that brought people together, sharing stories, laughter, and creativity while making something beautiful and practical.


Why Use Quilting Frames?
I fondly remember playing under a quilt as a child while it was stitched. It felt like a colorful tent, full of warmth and creativity.
Quilting frames are a great way to enjoy this traditional craft, and they’re simple to set up and store.


With these frames, you can:
- Tie or hand-stitch a quilt with ease.
- Store small quilts out of the way by leaning them against a wall.
- Avoid the hassle of having your quilting project take over the entire living room!
- Avoid thumbtacks
 I am so surprised that so many crafters today have never seen this technique before, and I want to bring it back.
Once you try quilting with these frames, you’ll be hooked!


Instructions
1. Preparing the Fabric Strips
- Cut four fabric strips to match the length of your boards minus 5 inches.
Fold each strip in half and press well. - Fold it again to measure about 2 inches wide, with raw edges folded in.
- Staple or tack the strips along the edge of each board, leaving a small gap along the folded edge.

2. Selecting and Preparing the Boards
You may have to look through several boards to find some good ones.


- Choose straight boards without large knots.
- Sand all edges smoothly to prevent splinters.
Use a 80-110 grit sandpaper on the first pass and 220 grit paper for the final pass. - Wipe the boards with a damp cloth to remove dust.


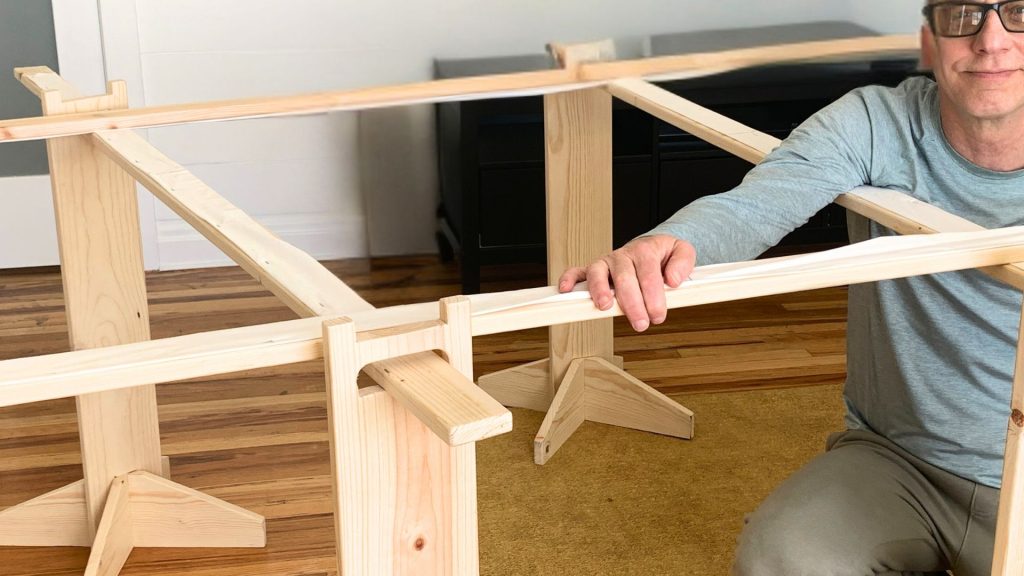
I hope this tutorial inspires you to try hand quilting using a simple, affordable setup.
If you enjoyed this guide, share it with your friends and family.
Stay tuned for the next post in this DIY quilting series!
Happy quilting!




16 Comments
Sweet! Thank you this series, as I was hoping to make my own set of quilt boards this spring. I love the idea of the fabric strips. Thank you for all the great pointers!
You are so welcome.
Where is the tutorial series where your husband shows how he built the stands?
He is still working on the video editing. We were hoping to put it up this weekend, but we do have the PDF plans ready. I’m sorry abou the delay. Thanks for your interest.
I’m wondering if you have tried magnets instead of pinning?
I have not. Have you? I would like to learn more.
Where would I find the instruction for the legs of the quilting frame? You mention in video your husband would show us but I don’t find the link in your videos. Thanks! Great videos!
Here is a link to my quilting series videos.
https://www.youtube.com/playlist?list=PL0S7E5ioHUemhzU02TpoVx63nvkdupFCv
Nevermind, I searched YouTube a couple more ways and wha-lah, found your husband’s stand instruction.
Wonderful
Please share the link. I can’t find the instructions either
Which link are you referring to? The video tutorial or the Instructions for the quilting stands?
Here is the link to the video: https://youtu.be/sg47dbEXuW8?si=QAJcUWu3sfd-QWw2
And the link to the quilting stand pattern and instructions: https://youmakeitsimple.com/product/quilt-frame-stands-drawing-plans-pdf/
Thank you so much for posting this. I have access to this type of quilt frame that has been handed down to me. How do you mount the “sandwiched” quilt to ensure all layers are taught? I’m hoping you may have a tutorial on this process as well.
Hi Dianna,
Here is the link to the tutorial showing how to mount the quilting fabric to the frame. Let me know if you have any furthers questions. https://youtu.be/fOkl6pbBz7I?si=Gv80aJa11PAcfOJA
I have a homemade set of frames…It has the cog wheels, boards are 10ft. long… I can do my king size quilts on them. I tend to make king as I hate short blankets! So… the boards warped 🙁 I’ve looked high and lows up and down to find someone to make me new boards…and I live in Amish Country! I really don’t want to destroy my handmade frames!!! So, I’ve decided to use your tutorial and make my own frames, not sure how to do as a round pole for my wheel and cog set up but I’ll just hold on to them until I find a carpenter. I’m using the PVC pipe frame for the time being…it’s okayyy but I want my quilt frame! And yes, as a young girl I went to a quilting bee with Mennonite ladies, I’ll ever forget the fun!
Hi Jane,
I used to have the cog set up as well. But when it comes down to it, I do enjoy the simple board and stands much better.
Thanks for sharing and I wish you all the best in the making of your new stands.
❤️